Create BMI Calculator Using HTML and JavaScript
Hello Coder, Welcome to the Codewithrandom Blog. In This Article, We Learn How To Create A BMI Calculator Using HTML, CSS, And JavaScript. There are two ways to calculate BMI: manually or by entering the values into a BMI calculator and receiving the actual BMI. The formula will be the same in both cases, but manual BMI calculation is a time-consuming process, so we will create our own BMI Calculator to save time.

100+ HTML,CSS and JavaScript Projects With Source Code ( Beginners to Advanced)
Some criteria will help you determine which class you belong in, such as underweight, healthy, overweight, and obese. You can better understand it by looking at the chart below.
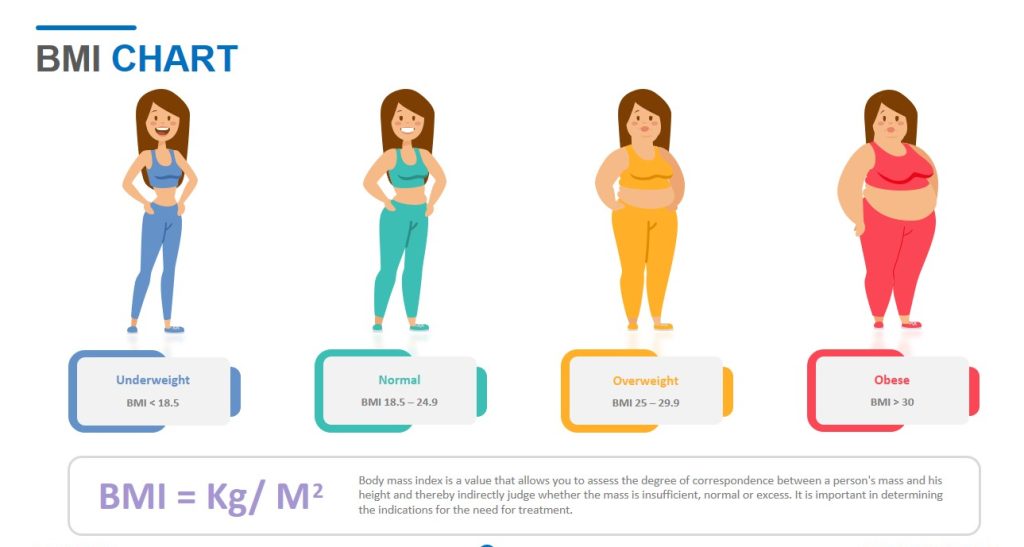
Live Preview of BMI Calculator
I hope You Enjoy Our Blog So Let’s Start With A Basic Html Structure For A BMI Calculator.
| Code by | nikolett_codes |
| Project Download | Link Available Below |
| Language used | HTML, CSS And JavaScript |
| External link / Dependencies | No |
| Responsive | YES |
Bmi Calculator Html Code:-
<head>
  <link href="https://fonts.googleapis.com/css?family=Quicksand:400,700" rel="stylesheet">
</head>
<body>
  <h3><b>B</b>ody <b>M</b>ass <b>I</b>ndex Calculator</h3>
<form class="form" id="form" onsubmit="return validateForm()">
<div class="row-one">
  <input type="text" class="text-input" id="age" autocomplete="off" required/><p class="text">Age</p>
  <label class="container">
  <input type="radio" name="radio" id="f"><p class="text">Female</p>
    <span class="checkmark"></span>
  </label>
  <label class="container">
  <input type="radio" name="radio" id="m"><p class="text">Male</p>
    <span class="checkmark"></span>
  </label>
  </div>

<div class="row-two">
<input type="text" class="text-input" id="height" autocomplete="off" required><p class="text">Height (cm)</p>
<input type="text" class="text-input" id="weight" autocomplete="off" required><p class="text">Weight (kg)</p>
</div>
<button type="button" id="submit">Submit</button>
</form>
</body>
Structure of BMI Calculator:
- Using the <h3> tag we will give a heading to our BMI calculator
- Now using the form tag we will create a form for taking the input from the user to calculate the BMI of the user.
- Now inside our form using the input tag with type text we will add the age input for the user to enter the age.
- Now we will create two radio button for choosing out the gender of the user .Using the input tag with type as “radio” we will create the bmi calculator.
- Now we’ll make two inputs, one for the user’s height and the other for their weight, and then we’ll make a submit button using the button tag to submit all the information.
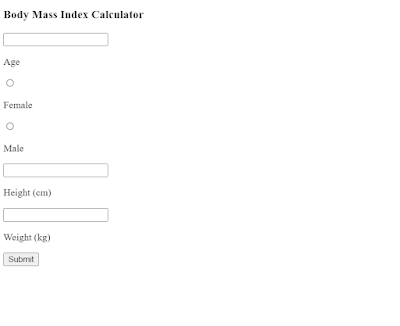
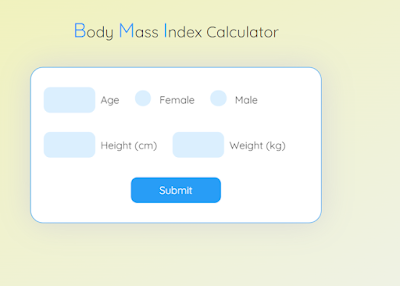
Below is the HTML code for the BMI Calculator Project. You can now view output without of JavaScript or CSS code. Then we create the source code for the BMI Calculator using CSS and Javascript.
Html Code Output Of Bmi Calculator:-
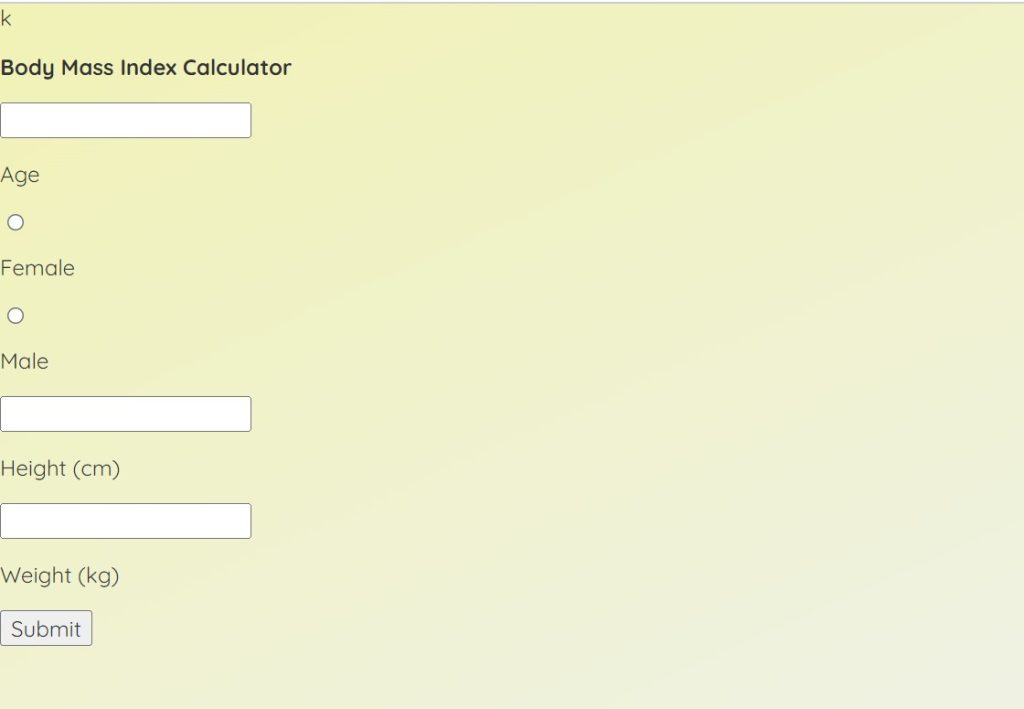
Css Code For Bmi Calculator:-
* {
    font-family: Quicksand;
    font-size: 16px;
    color: #333;
}
body {
    margin: 0;
    height: 100vh;
    padding: 0;
    border: 0;
    background: linear-gradient(to bottom right, #F1F2B5, #eef2f3);
}
.form {
    background-color: #fff;
    height: 240px;
    width: 450px;
    border-radius: 20px;
    margin: 20px auto 20px auto;
    display: block;
    border: solid 1px #289df6;
    box-shadow: 0 0 40px 0 #ddd;
}
.form:hover {
    box-shadow: 0 0 60px 0 #ccc;
    transition: 0.4s;
    transform: scale(1.02);
}
.row-one {
    padding: 20px;
}
.row-two {
    padding: 20px;
}
.text-input {
    width: 60px;
    height: 30px;
    border-radius: 10px;
    background-color: #dbeffe;
    border: none;
    outline: none;
    padding: 5px 10px;
    cursor: pointer;
}
.text-input:last-child {
    margin-bottom: 35px;
}
.text-input:hover {
    background-color: #cbe7fd;
}
#submit {
    border: none;
    border-radius: 10px;
    height: 40px;
    width: 140px;
    background-color: #289df6;
    color: #fff;
    margin: auto;
    display: block;
    outline: none;
    cursor: pointer;
}
#submit:hover {
    background-color: #0a8ef2;
}
.text {
    display: inline-block;
    margin: 5px 20px 5px 8px;
}
.row-one {
    padding: 30px 20px 15px 20px;
}
.row-two {
    padding: 15px 20px 30px 20px;
}
.container {
    display: inline-block;
    position: relative;
    padding-left: 30px;
    cursor: pointer;
    user-select: none;
}
.container input {
    position: absolute;
    opacity: 0;
}
.checkmark {
    position: absolute;
    top: 0;
    left: 0;
    height: 25px;
    width: 25px;
    background-color: #dbeffe;
    border-radius: 50%;
}
.container:hover input ~ .checkmark {
    background-color: #cbe7fd;
}
.container input:checked ~ .checkmark {
    background-color: #289df6;
}
h1 {
    font-size: 30px;
    font-weight: 300;
    text-align: center;
    color: #289df6;
    padding-top: 15px;
    display: block;
}
h2 {
    font-size: 22px;
    font-weight: 300;
    text-align: center;
}
h3 {
    font-size: 24px;
    font-weight: 300;
    text-align: center;
    padding: 15px;
}
h3 b {
    font-size: 32px;
    font-weight: 300;
    color: #289df6;
}
.checkmark:after {
    content: "";
    position: absolute;
    display: none;
}
.container input:checked ~ .checkmark:after {
    display: block;
}
.container .checkmark:after {
    left: 9px;
    top: 5px;
    width: 5px;
    height: 10px;
    border: solid white;
    border-width: 0 2px 2px 0;
    transform: rotate(45deg);
}
* {
    font-family: Quicksand;
    font-size: 16px;
    color: #333;
}

body {
    margin: 0;
    height: 100vh;
    padding: 0;
    border: 0;
    background: linear-gradient(to bottom right, #F1F2B5, #eef2f3);
}
Step2: The background of our form will now be set to “white” using the class selector (.form), and the width and height will be set to “240 px” and “450 px,” respectively, using the height and property. We will set the border-radius to “20 px” using the border-radius property. The form’s display is set to “block,” and a solid 1 px border with a “light blue” border has also been added.
.form {
    background-color: #fff;
    height: 240px;
    width: 450px;
    border-radius: 20px;
    margin: 20px auto 20px auto;
    display: block;
    border: solid 1px #289df6;
    box-shadow: 0 0 40px 0 #ddd;
}

.form:hover {
    box-shadow: 0 0 60px 0 #ccc;
    transition: .4s;
    transform: scale(1.02);
}

.row-one {
    padding: 20px;
}

.row-two {
    padding: 20px;
}
Step3: We will now style the form’s container and input fields. Using the class selector, we will change the display to “inline-block” and the position to “relative” (.container). Additionally, there is a 30px left padding and a “pointer” cursor type.
Restaurant Website Using HTML and CSS
Using the tag selectors h1, h2, and h3, we will now set the font-size attribute to 30 px, 22 px, 24 px, and 32 px.
.container {
    display: inline-block;
    position: relative;
    padding-left: 30px;
    cursor: pointer;
    user-select: none;
  }

  .container input {
    position: absolute;
    opacity: 0;
  }

  .checkmark {
    position: absolute;
    top: 0;
    left: 0;
    height: 25px;
    width: 25px;
    background-color: #dbeffe;
    border-radius: 50%;
  }

  .container:hover input ~ .checkmark {
    background-color: #cbe7fd;
  }

  .container input:checked ~ .checkmark {
    background-color: #289df6;
  }

  h1 {
    font-size: 30px;
    font-weight: 300;
    text-align: center;
    color: #289df6;
    padding-top: 15px;
    display: block;
  }

  h2 {
    font-size: 22px;
    font-weight: 300;
    text-align: center;
  }

  h3 {
    font-size: 24px;
    font-weight: 300;
    text-align: center;
    padding: 15px;
  }

  h3 b {
    font-size: 32px;
    font-weight: 300;
    color: #289df6;
  }

  .checkmark:after {
    content: "";
    position: absolute;
    display: none;
  }

  .container input:checked ~ .checkmark:after {
    display: block;
  }

  .container .checkmark:after {
    left: 9px;
    top: 5px;
    width: 5px;
    height: 10px;
    border: solid white;
    border-width: 0 2px 2px 0;
    transform: rotate(45deg);
  }
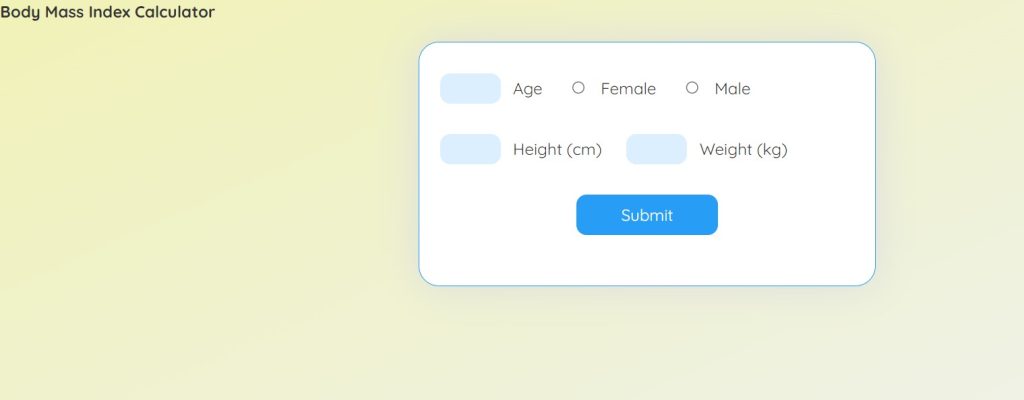
Now we have completed our css code section for BMI calculator, here is our updated output css.
ADVERTISEMENT
ADVERTISEMENT
ADVERTISEMENT

Now add a javascript code for calculating BMI.
ADVERTISEMENT
Bmi Calculator JavaScript Code:-
var age = document.getElementById("age");
var height = document.getElementById("height");
var weight = document.getElementById("weight");
var male = document.getElementById("m");
var female = document.getElementById("f");
var form = document.getElementById("form");
function validateForm() {
    if (
        age.value == "" ||
        height.value == "" ||
        weight.value == "" ||
        (male.checked == false && female.checked == false)
    ) {
        alert("All fields are required!");
        document
            .getElementById("submit")
            .removeEventListener("click", countBmi);
    } else {
        countBmi();
    }
}
document.getElementById("submit").addEventListener("click", validateForm);
function countBmi() {
    var p = [age.value, height.value, weight.value];
    if (male.checked) {
        p.push("male");
    } else if (female.checked) {
        p.push("female");
    }
    form.reset();
    var bmi = Number(p[2]) / (((Number(p[1]) / 100) * Number(p[1])) / 100);
    var result = "";
    if (bmi < 18.5) {
        result = "Underweight";
    } else if (18.5 <= bmi && bmi <= 24.9) {
        result = "Healthy";
    } else if (25 <= bmi && bmi <= 29.9) {
        result = "Overweight";
    } else if (30 <= bmi && bmi <= 34.9) {
        result = "Obese";
    } else if (35 <= bmi) {
        result = "Extremely obese";
    }
    var h1 = document.createElement("h1");
    var h2 = document.createElement("h2");
    var t = document.createTextNode(result);
    var b = document.createTextNode("BMI: ");
    var r = document.createTextNode(parseFloat(bmi).toFixed(2));
    h1.appendChild(t);
    h2.appendChild(b);
    h2.appendChild(r);
    document.body.appendChild(h1);
    document.body.appendChild(h2);
    document.getElementById("submit").removeEventListener("click", countBmi);
    document
        .getElementById("submit")
        .removeEventListener("click", validateForm);
}
document.getElementById("submit").addEventListener("click", countBmi);
using an if else statement, we will add that all of the fields inside the BMI calculator must be filled. Finally, using the click event listener, we will calculate the user’s BMI, and then, using the if else condition statements, we will check to see if the user is underweight, healthy, or overweight. First, we will create some variables, and then, use the document.getelementbyId() method, we will select all of the html elements.
ADVERTISEMENT
How to Add Search Icon in Input field Using HTML & CSS
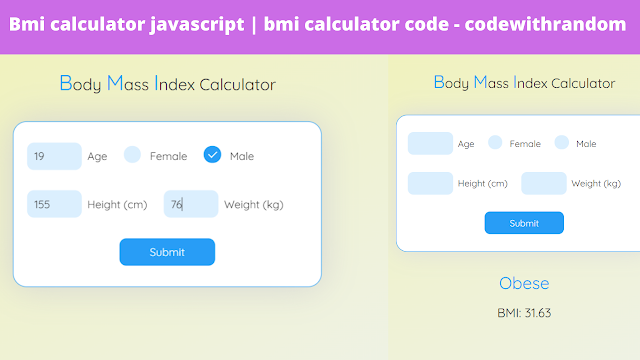
Final Output Of Bmi Calculator Using JavaScript:-
Live Preview Of BMI Calculator Using Html and JavaScript:–
I hope you like the BMI Calculator. you can see the output video and project screenshots. See our other blogs and gain knowledge in front-end development. Thank you!
Create Image Slider Using HTML, CSS And JavaScript Code
Written by – Code With Random/Anki
code by – @nikolett_codes


Error at form.reset();