Create Image Slider With Dot Animation
Hey Learners, In this article slider dots CSS Projects we are going to design a very interactive and impressive project which is a Dot Image Slider in CSS with detailed functionality.
| Code by | AMKohn |
| Project Download | Link Available Below |
| Language used | HTML and CSS |
| External link / Dependencies | NO |
| Responsive | YES |

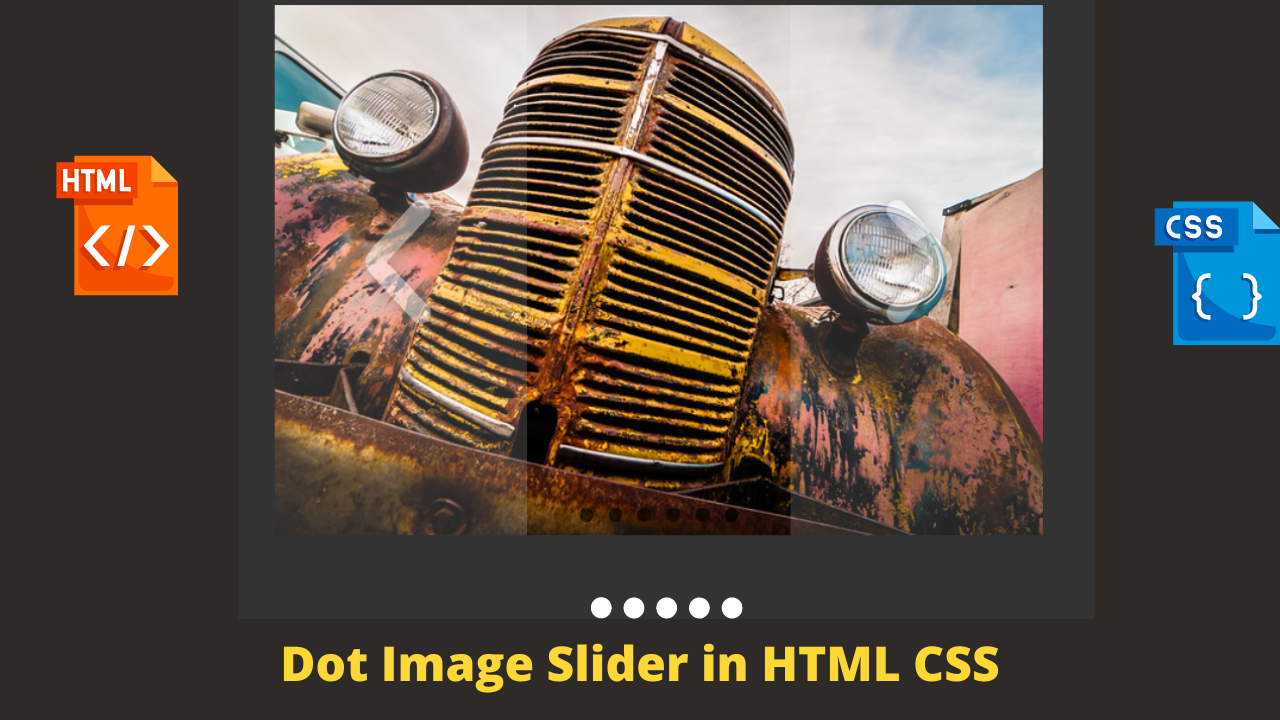
- Like if you are able to observe the attached image then you will see there is one image previewing and at the button of the image we have 6 dots and as the image is first. So the first dot is a little bit lighter which indicates that this is the first imagined.
- This is a manual slider so you need to manually allow it to move. After that our image will change and the dots’ intensity as well.

HTML SECTION Dot Image Slider:-
The HyperText Markup Language or HTML is the standard markup language for documents designed to be displayed in a web browser.
All HTML documents must start with a document type declaration: <!DOCTYPE html>.
The HTML document itself begins with <html> and ends with </html>.
The visible part of the HTML document is between <body> and </body>.Inside the body tag we insert the main content of the website.
- We have a container that will contain the all basic project part in it.
- In the container, we have <ul> and it is followed by four <li>li that will contain the image and two images as prev and next.
- And at the last, we have a respective number of dots for as many images as we have. For making the dots we are using the input type of radio so that when we click on it then it is active and others are inactive this will help us while changing the image using dots/when we click on the dot its corresponding image will appear.
<ul class="slides">
<input type="radio" name="radio-btn" id="img-1" checked />
<li class="slide-container">
<div class="slide">
<img
src="http://farm9.staticflickr.com/8072/8346734966_f9cd7d0941_z.jpg"
/>
</div>
<div class="nav">
<label for="img-6" class="prev">‹</label>
<label for="img-2" class="next">›</label>
</div>
</li>
<input type="radio" name="radio-btn" id="img-2" />
<li class="slide-container">
<div class="slide">
<img
src="http://farm9.staticflickr.com/8504/8365873811_d32571df3d_z.jpg"
/>
</div>
<div class="nav">
<label for="img-1" class="prev">‹</label>
<label for="img-3" class="next">›</label>
</div>
</li>
<input type="radio" name="radio-btn" id="img-3" />
<li class="slide-container">
<div class="slide">
<img
src="http://farm9.staticflickr.com/8068/8250438572_d1a5917072_z.jpg"
/>
</div>
<div class="nav">
<label for="img-2" class="prev">‹</label>
<label for="img-4" class="next">›</label>
</div>
</li>
<input type="radio" name="radio-btn" id="img-4" />
<li class="slide-container">
<div class="slide">
<img
src="http://farm9.staticflickr.com/8061/8237246833_54d8fa37f0_z.jpg"
/>
</div>
<div class="nav">
<label for="img-3" class="prev">‹</label>
<label for="img-5" class="next">›</label>
</div>
</li>
<input type="radio" name="radio-btn" id="img-5" />
<li class="slide-container">
<div class="slide">
<img
src="http://farm9.staticflickr.com/8055/8098750623_66292a35c0_z.jpg"
/>
</div>
<div class="nav">
<label for="img-4" class="prev">‹</label>
<label for="img-6" class="next">›</label>
</div>
</li>
<input type="radio" name="radio-btn" id="img-6" />
<li class="slide-container">
<div class="slide">
<img
src="http://farm9.staticflickr.com/8195/8098750703_797e102da2_z.jpg"
/>
</div>
<div class="nav">
<label for="img-5" class="prev">‹</label>
<label for="img-1" class="next">›</label>
</div>
</li>
<li class="nav-dots">
<label for="img-1" class="nav-dot" id="img-dot-1"></label>
<label for="img-2" class="nav-dot" id="img-dot-2"></label>
<label for="img-3" class="nav-dot" id="img-dot-3"></label>
<label for="img-4" class="nav-dot" id="img-dot-4"></label>
<label for="img-5" class="nav-dot" id="img-dot-5"></label>
<label for="img-6" class="nav-dot" id="img-dot-6"></label>
</li>
</ul>
CSS SECTION For Dot Image Slider:-
@import url(https://fonts.googleapis.com/css?family=Varela+Round);
html,
body {
    background: #333 url("https://codepen.io/images/classy_fabric.png");
}
.slides {
    padding: 0;
    width: 609px;
    height: 420px;
    display: block;
    margin: 0 auto;
    position: relative;
}
.slides * {
    user-select: none;
    -ms-user-select: none;
    -moz-user-select: none;
    -khtml-user-select: none;
    -webkit-user-select: none;
    -webkit-touch-callout: none;
}
.slides input {
    display: none;
}
.slide-container {
    display: block;
}
.slide {
    top: 0;
    opacity: 0;
    width: 609px;
    height: 420px;
    display: block;
    position: absolute;
    transform: scale(0);
    transition: all 0.7s ease-in-out;
}
.slide img {
    width: 100%;
    height: 100%;
}
.nav label {
    width: 200px;
    height: 100%;
    display: none;
    position: absolute;
    opacity: 0;
    z-index: 9;
    cursor: pointer;
    transition: opacity 0.2s;
    color: #FFF;
    font-size: 156pt;
    text-align: center;
    line-height: 380px;
    font-family: "Varela Round", sans-serif;
    background-color: rgba(255, 255, 255, 0.3);
    text-shadow: 0px 0px 15px rgb(119, 119, 119);
}
.slide:hover + .nav label {
    opacity: 0.5;
}
.nav label:hover {
    opacity: 1;
}
.nav .next {
    right: 0;
}
input:checked + .slide-container .slide {
    opacity: 1;
    transform: scale(1);
    transition: opacity 1s ease-in-out;
}
input:checked + .slide-container .nav label {
    display: block;
}
.nav-dots {
    width: 100%;
    bottom: 9px;
    height: 11px;
    display: block;
    position: absolute;
    text-align: center;
}
.nav-dots .nav-dot {
    top: -5px;
    width: 11px;
    height: 11px;
    margin: 0 4px;
    position: relative;
    border-radius: 100%;
    display: inline-block;
    background-color: rgba(0, 0, 0, 0.6);
}
.nav-dots .nav-dot:hover {
    cursor: pointer;
    background-color: rgba(0, 0, 0, 0.8);
}
input#img-1:checked ~ .nav-dots label#img-dot-1,
input#img-2:checked ~ .nav-dots label#img-dot-2,
input#img-3:checked ~ .nav-dots label#img-dot-3,
input#img-4:checked ~ .nav-dots label#img-dot-4,
input#img-5:checked ~ .nav-dots label#img-dot-5,
input#img-6:checked ~ .nav-dots label#img-dot-6 {
    background: rgba(0, 0, 0, 0.8);
}
A live preview of our project is attached below refer to this codepen
Final Output Of Dot Image Slider
By this blog dot slider… We have learned how we can design a Dot Image Slider in CSS Project HTML CSS.
What are the opening and closing tags used to define the beginning and end of an HTML document?
The HTML document itself begins with <html> and ends with </html>.
How to add background image to a slider in HTML ?
Use this line of code and add image to your slider:-<style>body{background: url('image.jpg')center center;}</style>


