Ice Cream Maker Website using HTML, CSS, and JavaScript Code
Hello Coder, today we’re going to Create an Ice Cream Maker Website using HTML, CSS, and JavaScript Code. Simply by adhering to the procedures mentioned below, you will be able to develop this amazing Ice Cream Maker.
Live Preview Of Ice Cream Maker Website:-

50+ HTML, CSS and JavaScript Projects With Source Code
Project Description
Step 1
The HTML (Hypertext Markup Language) will help us to create the structure for the list with some necessary attributes and elements to make Ice Cream Maker Project.
Step 2
Then we will use CSS (Cascading Stylesheet) which will help us to style or design the project with suitable padding and alignment in the Ice Cream Maker Project.
Step 3
At last we will use JS (JavaScript) which will add a logic to make the Ice Cream Maker Project functioning from the user end.
I hope you have got an idea about the project.
Restaurant Website Using HTML and CSS
Ice Cream Website Html Code:-
<html lang="en">
  <head>
    <meta name="viewport" content="width=device-width, initial-scale=1.0" />
    <title>Customize Icecrean</title>
    <!-- Google Fonts -->
    <link
      href="https://fonts.googleapis.com/css2?family=Poppins:wght@500&display=swap"
      rel="stylesheet"
    />
    <!-- Stylesheet -->
    <link rel="stylesheet" href="style.css" />
  </head>
  <body>
    <div class="wrapper">
      <div class="container">
        <div class="scoop1"></div>
        <div class="scoop2"></div>
        <div class="scoop3"></div>
        <div class="bowl">
          <div class="base"></div>
        </div>
      </div>
      <div class="btns">
        <button id="btn-scoop1">Scoop 1</button>
        <button id="btn-scoop2">Scoop 2</button>
        <button id="btn-scoop3">Scoop 3</button>
        <button id="btn-topping1">Topping 1</button>
        <button id="btn-topping2">Topping 2</button>
      </div>
    </div>
    <!-- Script -->
    <script src="script.js"></script>
  </body>
</html>
We’ll begin by building the project’s framework for the Ice Cream Maker first. As you can see from the above code, we have used all the required elements and attributes to set up the structure.
Ecommerce Website Using HTML, CSS, and JavaScript (Source Code)
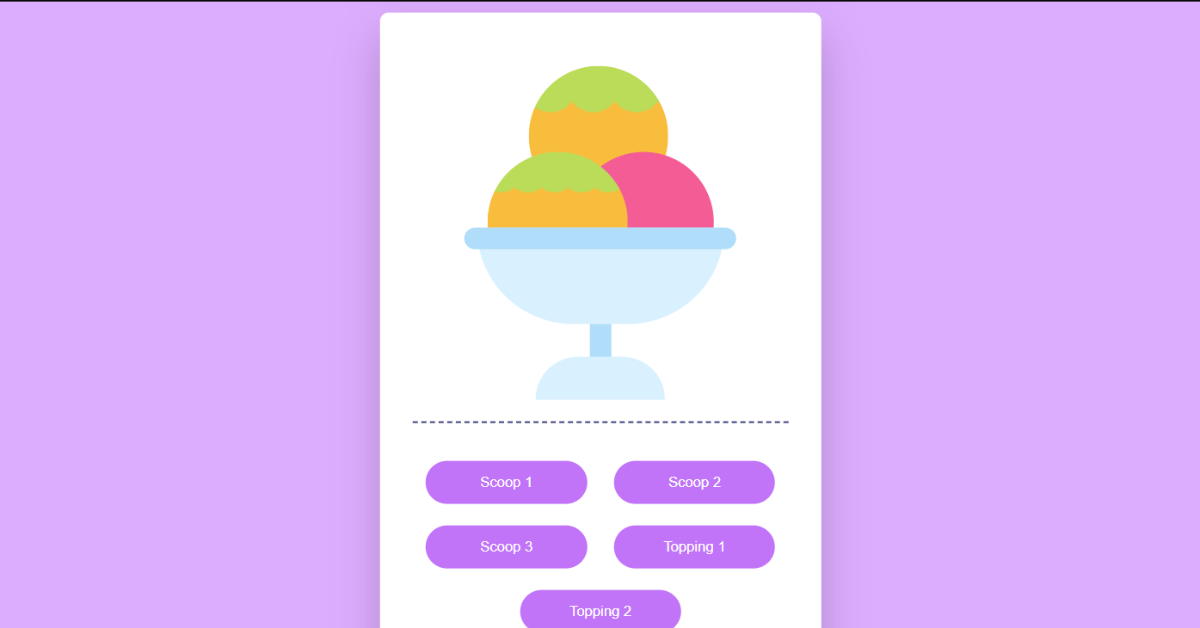
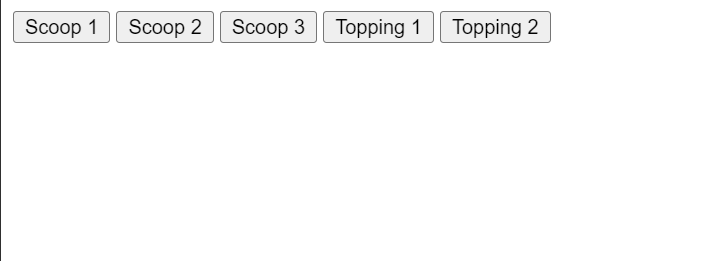
We’ll make a container for our ice cream maker using the div element with the class wrapper, and then we’ll make several containers for different ice cream scoops using the div tag with the class scoop. The bowl and base for our ice cream will also be made using the div element. Additionally, using the button tag, we will make buttons for each of our various scoops to place into our bowls. We’ll make two buttons for the garnish and three buttons for scoops for our ice cream.
HTML Code Output:-
Let us know to code the CSS part to add styling and aligned the tags.
CSS Code for Ice Cream:-
body {
  padding: 0;
  margin: 0;
  background-color: #dcacfe;
}
.wrapper {
  width: 350px;
  position: absolute;
  transform: translate(-50%, -50%);
  top: 50%;
  left: 50%;
  padding: 30px;
  background-color: #ffffff;
  border-radius: 8px;
  box-shadow: 0 20px 40px rgba(0, 0, 0, 0.2);
}
.container {
  width: 100%;
  height: 350px;
  position: relative;
}
.bowl {
  width: 230px;
  height: 90px;
  background-color: #d9f0fe;
  position: absolute;
  margin: auto;
  left: 0;
  right: 0;
  bottom: 90px;
  border-radius: 0 0 150px 150px;
}
.bowl:before {
  content: "";
  position: absolute;
  height: 20px;
  width: 110%;
  background-color: #afddfa;
  left: -5%;
  border-radius: 20px;
}
.base {
  height: 40px;
  width: 20px;
  background-color: #afddfa;
  position: absolute;
  margin: auto;
  left: 0;
  right: 0;
  top: 90px;
}
.base:after {
  content: "";
  position: absolute;
  height: 40px;
  width: 120px;
  background-color: #d9f0fe;
  left: -50px;
  top: 30px;
  border-radius: 50px 50px 0 0;
}
.scoop1 {
  height: 130px;
  width: 130px;
  background-color: #f45c96;
  border-radius: 50%;
  position: absolute;
  background-size: 40px 150px;
  background-image: radial-gradient(
    circle at 20px 12px,
    #f8bd3d 25px,
    transparent 25px
  );
  top: 20px;
  left: 108px;
}
.scoop2 {
  height: 130px;
  width: 130px;
  background-color: #badc58;
  border-radius: 50%;
  position: absolute;
  top: 100px;
  right: 70px;
}
.scoop3 {
  height: 130px;
  width: 130px;
  background-color: #f58619;
  border-radius: 50%;
  position: absolute;
  top: 100px;
  left: 70px;
  background-size: 25px 80px;
  background-image: radial-gradient(
    circle at 12.5px 17px,
    #5c0003 20px,
    transparent 21px
  );
}
.btns {
  width: 100%;
  display: flex;
  align-items: center;
  justify-content: space-around;
  flex-wrap: wrap;
  padding-top: 15px;
  border-top: 2px dashed #404080;
}
.btns button {
  width: 150px;
  padding: 12px 0;
  border-radius: 20px;
  margin-top: 20px;
  border: none;
  outline: none;
  background-color: #c174f8;
  color: #ffffff;
  cursor: pointer;
}
Step1: Using the body tag selector we will set the padding and margin as “zero” and using the background color property we will set the background as “purple”.
Create Resume/CV Website Using HTML and CSS (Source Code)
Now using the wrapper class we will set the width as 350px and using the position property we will set the position as “Absolute”. We have also added a background color to our ice cream container using the background property we will set the background as “white”.
body {
  padding: 0;
  margin: 0;
  background-color: #dcacfe;
}
.wrapper {
  width: 350px;
  position: absolute;
  transform: translate(-50%, -50%);
  top: 50%;
  left: 50%;
  padding: 30px;
  background-color: #ffffff;
  border-radius: 8px;
  box-shadow: 0 20px 40px rgba(0, 0, 0, 0.2);
}
.container {
  width: 100%;
  height: 350px;
  position: relative;
}Step2:Now, using the class selector, we will apply styling to the ice cream bowl. (.bowl). The breadth will be set to 230 pixels, and the height will be set to 90 pixels using the height property. Additionally, we’ll use the position property to set the location to “absolute,” and the border-radius property to set the border’s radius to 150 pixels to the left and right.
Create A Travel/Tourism Website Using HTML and CSS
In a similar manner, we will add styling to the ice cream bowl’s base. For this, the height and breadth are set to 40px and 20px, respectively, and the background property is used to set the color to sky blue.
.bowl {
  width: 230px;
  height: 90px;
  background-color: #d9f0fe;
  position: absolute;
  margin: auto;
  left: 0;
  right: 0;
  bottom: 90px;
  border-radius: 0 0 150px 150px;
}
.bowl:before {
  content: "";
  position: absolute;
  height: 20px;
  width: 110%;
  background-color: #afddfa;
  left: -5%;
  border-radius: 20px;
}
.base {
  height: 40px;
  width: 20px;
  background-color: #afddfa;
  position: absolute;
  margin: auto;
  left: 0;
  right: 0;
  top: 90px;
}
.base:after {
  content: "";
  position: absolute;
  height: 40px;
  width: 120px;
  background-color: #d9f0fe;
  left: -50px;
  top: 30px;
  border-radius: 50px 50px 0 0;
}Step3:The class selector will now be used to style the scoops and buttons on our ice cream dish. (.scoop1,.scoop2,.scoop3,.btns). We’ll set the border radius to 50% using the border-radius attribute, and we’ll set the width and height to 130px. The linear gradient property will be added using the backdrop image property.
.scoop1 {
  height: 130px;
  width: 130px;
  background-color: #f45c96;
  border-radius: 50%;
  position: absolute;
  background-size: 40px 150px;
  background-image: radial-gradient(
    circle at 20px 12px,
    #f8bd3d 25px,
    transparent 25px
  );
  top: 20px;
  left: 108px;
}
.scoop2 {
  height: 130px;
  width: 130px;
  background-color: #badc58;
  border-radius: 50%;
  position: absolute;
  top: 100px;
  right: 70px;
}
.scoop3 {
  height: 130px;
  width: 130px;
  background-color: #f58619;
  border-radius: 50%;
  position: absolute;
  top: 100px;
  left: 70px;
  background-size: 25px 80px;
  background-image: radial-gradient(
    circle at 12.5px 17px,
    #5c0003 20px,
    transparent 21px
  );
}
.btns {
  width: 100%;
  display: flex;
  align-items: center;
  justify-content: space-around;
  flex-wrap: wrap;
  padding-top: 15px;
  border-top: 2px dashed #404080;
}
.btns button {
  width: 150px;
  padding: 12px 0;
  border-radius: 20px;
  margin-top: 20px;
  border: none;
  outline: none;
  background-color: #c174f8;
  color: #ffffff;
  cursor: pointer;
}
Second comes the CSS code, which is mentioned above in that we have styled for the structure we have padded as well as aligned the Ice Cream Maker project so that it is properly situated and doesn’t get messy with suitable CSS elements. Now we have created the structure using HTML and styled the webpage using CSS it’s time to add the functionality using JavaScript in this project.
100+ HTML,CSS and JavaScript Projects With Source Code ( Beginners to Advanced)
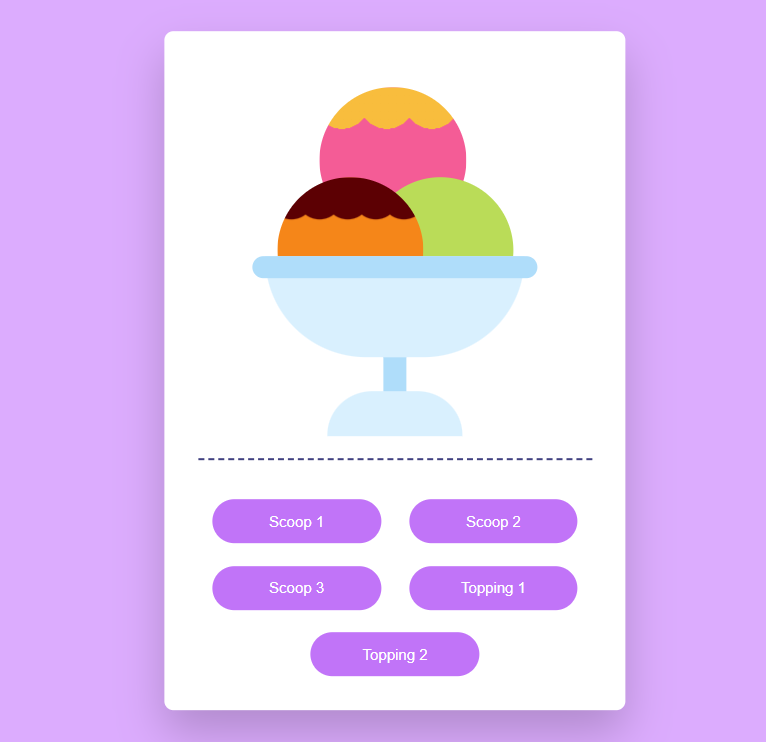
HTML + CSS Code Output:-
ADVERTISEMENT
ADVERTISEMENT
JavaScript Code for Ice Cream Maker:-
let scoop1 = document.querySelector(".scoop1");
let scoop2 = document.querySelector(".scoop2");
let scoop3 = document.querySelector(".scoop3");

let btnScoop1 = document.getElementById("btn-scoop1");
let btnScoop2 = document.getElementById("btn-scoop2");
let btnScoop3 = document.getElementById("btn-scoop3");
let btnTopping1 = document.getElementById("btn-topping1");
let btnTopping2 = document.getElementById("btn-topping2");

let colors = ["#f45c96", "#f8bd3d", "#badc58", "#5c0003", "#f58619", "#ebab70"];

let counter1 = 0;
let counter2 = 0;
let counter3 = 0;
let counter4 = 0;
let counter5 = 0;

function setCounterValue(counter) {
  return counter < colors.length - 1 ? counter + 1 : 0;
}

btnScoop1.addEventListener("click", () => {
  scoop1.style.backgroundColor = colors[counter1];
  counter1 = setCounterValue(counter1);
});
btnScoop2.addEventListener("click", () => {
  scoop2.style.backgroundColor = colors[counter2];
  counter2 = setCounterValue(counter2);
});
btnScoop3.addEventListener("click", () => {
  scoop3.style.backgroundColor = colors[counter3];
  counter3 = setCounterValue(counter3);
});
btnTopping1.addEventListener("click", () => {
  scoop1.style.backgroundImage = `radial-gradient(circle at 20px 18px, ${colors[counter4]} 25px, transparent 25px)`;
  counter4 = setCounterValue(counter4);
});
btnTopping2.addEventListener("click", () => {
  scoop3.style.backgroundImage = `radial-gradient(circle at 12.5px 17px, ${colors[counter5]} 20px, transparent 21px)`;
  counter5 = setCounterValue(counter5);
});
We will first choose the scoops using the text within our Java script. We will use queryselector to select every scoop before using the document. With the aid of getElementById, we will choose the button for the scoops and generate an array of hues.
ADVERTISEMENT
Now, we’ll construct the function setCounterValue, choose every scoop, and use the setbackground colour property to specify the hue of our ice cream bowl.
ADVERTISEMENT
Last stage of the project the JavaScript in which we have added the logical and coded as per the requirement with some conditions. We have defined the event listener function to make the ice cream project function from the user side and add the toping & scoops as per the user action. Let us see the Final Output of the project Ice Cream Maker using HTML, CSS & JavaScript.
ADVERTISEMENT
Ice Cream Maker Website using HTML Code:-
Live Code Preview:-
We have successfully created our Ice Cream Maker using HTML, CSS & JavaScript. You can use this project for your personal needs and the respective lines of code are given with the code pen link mentioned above.
If you find out this Blog helpful, then make sure to search Codewithrandom on google for Front End Projects with Source codes and make sure to Follow the Code with Random Instagram page.
Code Idea – codingartist
Written By – Harsh Sawant
Code By – @harshh9
What is an ice cream maker?
An ice cream machine is a simple project where we will add an animation of an ice cream scoop into the bowl to make it appear as though ice cream is generating.
What is the purpose of making this project?
The main ideas behind our Javascript and CSS are explained in this project, which enables developers to create the most cutting-edge webpages by applying the same ideas.
