Responsive Login Form Using HTML and CSS
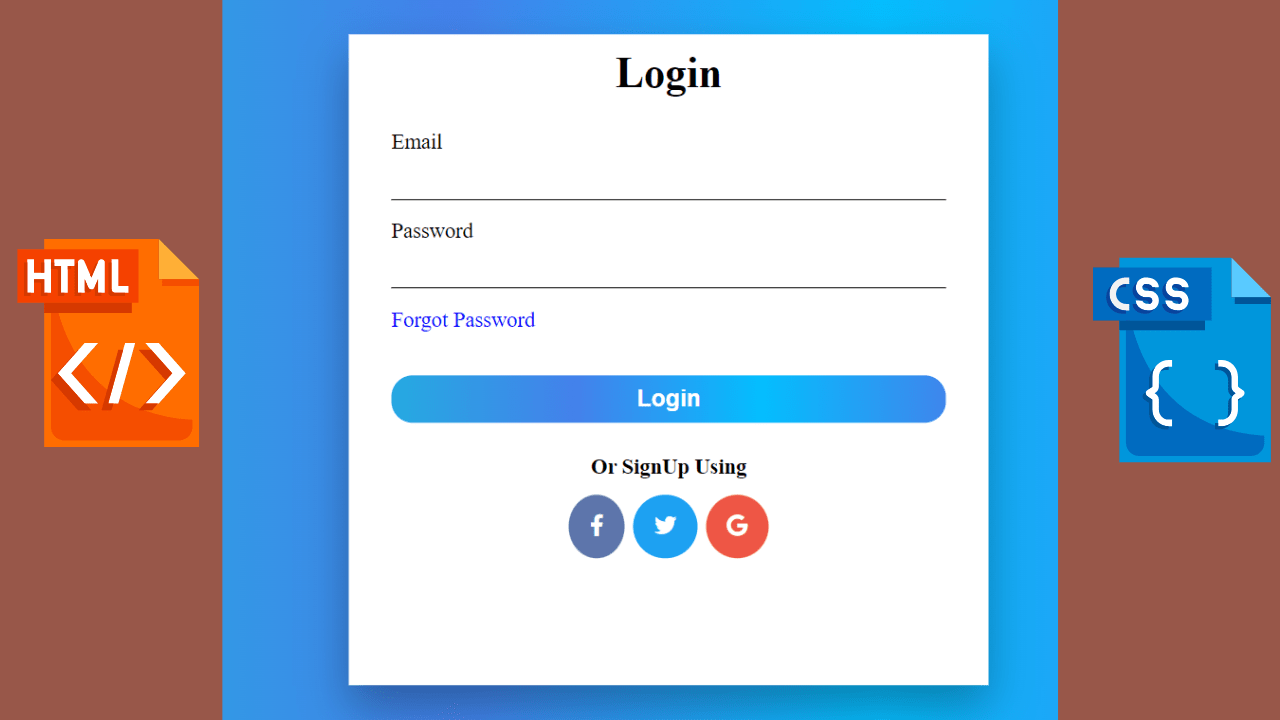
Hello Coder! Welcome to the Codewithrandom blog. In this article, we create a responsive login page in HTML with CSS code. A login form is a security solution for most responsive websites. The login form acts as a security component for most of the websites using HTML and CSS. The login form is used to take the login input of the user’s login credentials and then cross-verify them on the server, allowing access to many features of responsive websites. We have two input fields in the Login Page for email and password, and we have a Forgot Password link below the password input field.
Before we start learning, we need to understand the importance of responsive login forms with CSS.
Importance of Responsive Login With CSS
Login Form is a security system that helps developers authenticate verified users on websites. A login form helps developers collect data from the user through various input elements and then cross-verify it on the server, providing access to various features of the website.
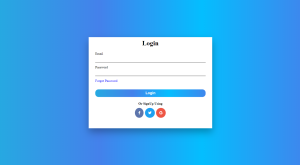
So let’s write HTML Code for our Login Form and create a baisc structure for the login form.
50+ HTML, CSS & JavaScript Projects With Source Code
| Code by | Sanket Bodake |
| Project Download | Link Available Below |
| Language used | HTML and CSS |
| External link / Dependencies | YES |
| Responsive | YES |
Html Code For Responsive Login Page:-
<html lang="en">
  <head>
    <meta charset="UTF-8" />
    <meta http-equiv="X-UA-Compatible" content="IE=edge" />
    <meta name="viewport" content="width=device-width, initial-scale=1.0" />
    <title>Login Form</title>
    <script
      src="https://kit.fontawesome.com/66aa7c98b3.js"
      crossorigin="anonymous"
    ></script>
    <link rel="stylesheet" href="./Login Form.css" />
  </head>
  <body>
    <div class="container">
      <form class="form-1">
        <h1>Login</h1>
        <label for="email">Email</label>
        <input type="email" name="email" id="email" required />
        <label for="password">Password</label>
        <input type="password" name="password" id="password" required />
        <span>Forgot Password</span>
        <button>Login</button>

        <!-- .........///sign-up///.......... -->

        <p>Or SignUp Using</p>
        <div class="icons">
          <a href="https://www.facebook.com/" target="blank"
            ><i class="fab fa-facebook-f"></i
          ></a>
          <a href="https://twitter.com/" target="blank"
            ><i class="fab fa-twitter"></i
          ></a>
          <a href="https://mail.google.com/" target="blank"
            ><i class="fab fa-google"></i
          ></a>
        </div>
      </form>
    </div>
  </body>
</html>
In this Html code, we create the Baisc Html template for our Login Page and our Link Css file. Also, we use the font awesome CDN link for the social media icons because we use the social media icon in the login form.
And after the body tag, we create a div, and in the div create a form and use input type email and password.
100+ JavaScript Projects With Source Code ( Beginners to Advanced)
Then use some text like forgot password, login text with a button, and use social media icon.
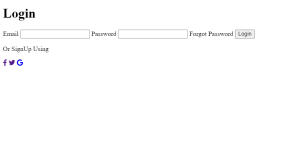
Here you👇 can see an output with only Html🤯 Code.
ADVERTISEMENT
Html Output:-
ADVERTISEMENT
ADVERTISEMENT
ADVERTISEMENT
ADVERTISEMENT
Restaurant Website Using HTML and CSS
Let’s Write Css Code for styling and making a responsive login page.
CSS Code For Responsive Login Page:-
*{
  margin: 0;
  padding: 0;
  box-sizing: border-box;
}

.container {
  height: 100vh;
  margin: 0 auto;
  position: relative;
  background: linear-gradient(to right, #25aae1, #4481eb, #04befe, #3f86ed);
}

.container .form-1 {
  display: flex;
  flex-direction: column;
  position: absolute;
  top: 50%;
  left: 50%;
  transform: translate(-50%, -50%);
  background: #fff;
  width: 40%;
  box-shadow: 0 19px 38px rgba(0, 0, 0, 0.3);
}

.form-1 h1 {
  text-align: center;
  margin-top: 0.7rem;
  margin-bottom: 1.5rem;
}

input[type="email"],
input[type="password"] {
  border: none;
  outline: none;
  border-bottom: 1px solid;
  background: none;
  margin: 0.9rem 2rem;
  font-size: 1rem;
}

label {
  margin: 0 2rem;
}

span {
  margin: 0 2rem;
  color: blue;
  cursor: pointer;
}

button {
  margin: 2rem;
  margin-bottom: 1.5rem;
  padding: 0.5rem;
  cursor: pointer;
  border-radius: 1rem;
  border: none;
  font-size: 1.1rem;
  font-weight: bolder;
  color: #fff;
  background: linear-gradient(to right, #25aae1, #4481eb, #04befe, #3f86ed);
}

/* ........///Sign-Up///......... */

p {
  text-align: center;
  font-weight: bolder;
}

.icons {
  display: flex;
  justify-content: center;
  margin-bottom: 3rem;
  margin-top: 0.5rem;
}

.icons a {
  text-decoration: none;
  font-size: 1rem;
  margin: 0.2rem;
}

.icons .fa-facebook-f {
  border-radius: 50%;
  background: #5d75ab;
  color: #fff;
  padding: 1rem;
}

.icons .fa-twitter {
  border-radius: 50%;
  background: #1da1f2;
  color: white;
  padding: 1rem;
}

.icons .fa-google {
  border-radius: 50%;
  background: #ee5645;
  color: #fff;
  padding: 1rem;
}

/* ....///Media query///..... */

@media (max-width: 501px) {
  html {
    font-size: 15px;
  }

  .container .form-1 {
    width: 300px;
  }
}

@media (min-width: 501px) and (max-width: 768px) {
  html {
    font-size: 14px;
  }

  .container .form-1 {
    width: 450px;
  }
}

@media (min-width: 765px) and (max-width: 1200px) {
  html {
    font-size: 18px;
  }

  .container .form-1 {
    width: 540px;
    height: 550px;
  }
}

@media (orientation: landscape) and (max-height: 500px) {
  .container {
    height: 100vmax;
  }
}
We have utilized some fundamental CSS ideas to style the login page. We’ll adjust the padding and margin to “zero” and the outline to “none” using the universal selector tag. After that, we will style the container by setting its height to “100vh” and its background to “linear-gradient” using the background property. To add styling to the form inside our login page, all we need to do is utilize the class selector.
This is all the Css code for our login Page form with the social media icon. We use Css basic code to style our login Page form. We style the form and then use input type email and password styling together.
Restaurant Website Using HTML And CSS With Source Code
Then styling our social media icon using font awesome classes. Then use a media query for a responsive Login Page form. We use 3 to 4 media queries to make a responsive login Page form.
Final Output Of Responsive Login Page Using Html And Css:-
15+ CSS Login forms (Example + Free Code)
Video Output Responsive Login Page:-
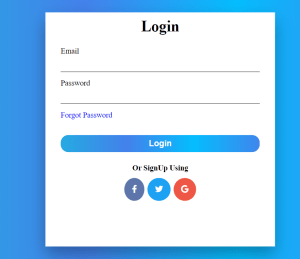
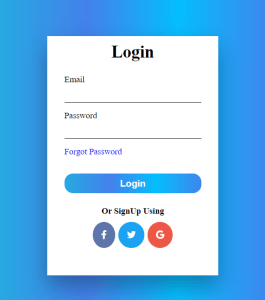
Here you can see the final output of our Responsive Login Page Using Html And Css. Here you can see from the login page box have 3d shadow and that’s all for this project💝. Hope you like this project, we create your own and use this project in any project as a part project like the reviews section, and a contact form. If you need any more project-related frontend. Visit our homepage and you get 100+ projects💝.
If you have any confusion Comment below or you can contact us by filling out our contact us form from the home section. 🤞🎉
Code By – Sanket Bodake
written by – Codewithrandom
FAQ for Responsive Login form Using HTML & CSS
Which code editor do you use for this Responsive Login Page with CSS?
I personally recommend using VS Code Studio, it’s straightforward and easy to use.
What is the use Responsive Login Form ?
Login Form is a security system that helps developers authenticate verified users on websites. A login form helps developers collect data from the user through various input elements and then cross-verify it on the server, providing access to various features of the website.
