Card Carousel Using HTML, CSS, and JavaScript
The following article will walk you through the steps of Creating a basic Card/Image Carousel using Html, Css, and vanilla JavaScript. Our goal will be to create a Carousel that:
Displays/advances by 3 cards at a time
Is the keyboard accessible and constructed with semantic html
Has upper and lower limits to the direction in which it slides
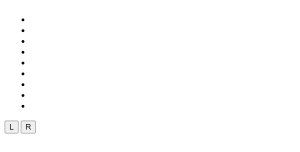
Before we dive into the javascript portion, let’s take a look at the html we’ll be using. Our carousel will have one “parent wrapper” that contains the list of cards as well as the control buttons.
I’m using a <ul> because I assume all of the child cards will have some sort of shared commonality or relationship, and a <ul> tag communicates that to screen readers much better than a stack of <div>s.
50+ HTML, CSS & JavaScript Projects With Source Code
Rather than using class names to target elements in the future, the html below uses data attributes, such as “target” and “action,” with respective values. This approach reduces the risk of someday having a class name accidentally deleted or changed by someone else.
People are more likely to leave a piece of markup alone if they don’t understand it, or if it looks important, which data attributes usually do.
| Code by | Ninja_webtech |
| Project Download | Link Available Below |
| Language used | HTML, CSS and JavaScript |
| External link / Dependencies | No |
| Responsive | No |
Html code for Card Carousel
<!DOCTYPE html>
<html lang="en">
  <head>
    <meta charset="UTF-8" />
    <meta http-equiv="X-UA-Compatible" content="IE=edge" />
    <meta name="viewport" content="width=device-width, initial-scale=1.0" />
    <title>Simple Carousel with Vanilla JS</title>
  </head>
  <body>
    <div class="wrapper">
      <ul class="carousel" data-target="carousel">
        <li class="card" data-target="card"></li>
        <li class="card" data-target="card"></li>
        <li class="card" data-target="card"></li>
        <li class="card" data-target="card"></li>
        <li class="card" data-target="card"></li>
        <li class="card" data-target="card"></li>
        <li class="card" data-target="card"></li>
        <li class="card" data-target="card"></li>
        <li class="card" data-target="card"></li>
      </ul>
      <div class="button-wrapper">
        <button data-action="slideLeft">L</button>
        <button data-action="slideRight">R</button>
      </div>
    </div>
  </body>
</html>
Without dwelling on it for too long, let’s glance at the css we’ll need. In our parent class, it’s most important that the overflow is hidden, and that the width is explicitly set. That way the parent class acts as a mask for any underlying cards in the carousel, and we only see 3 at a time.
Weather App Using Html,Css And JavaScript
I chose a fixed width below because I had already decided the card width was set at 200px, with a right margin of 16px. (200 * 3) + (16 * 2) = 632px for the width of the parent container. Feel free to take a different approach to get to the point of masking the content.
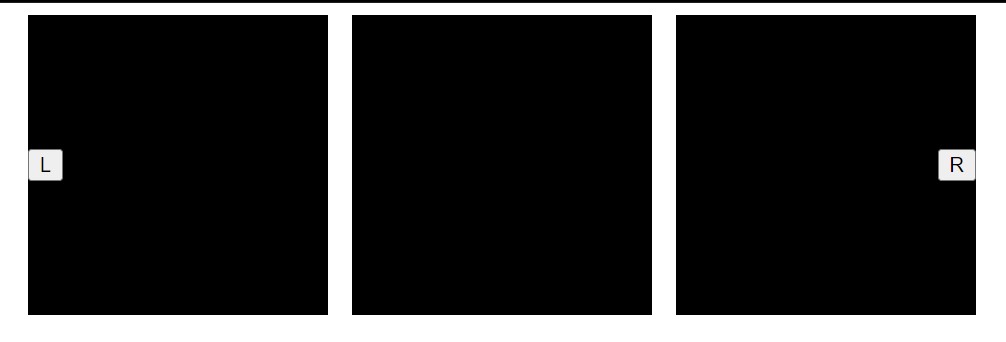
The button wrapper serves to position the buttons such that they’re flush with each side, vertically centered, and sitting on top of the carousel itself. The rest of the styles just make it so that the list of cards flows horizontally, is spaced nicely, and lacks the default list style of an html element.
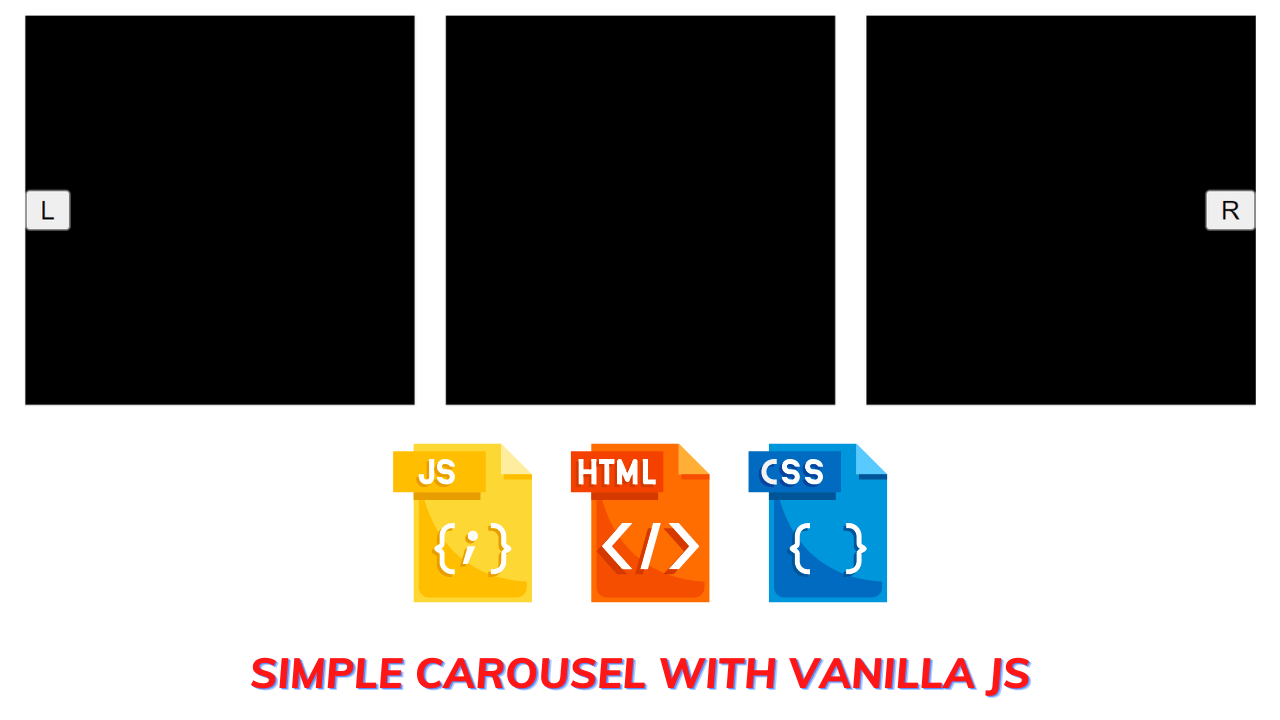
Html output of carousel
CSS Code For Card Carousel
.wrapper {
  height: 200px;
  width: 632px;
  position: relative;
  overflow: hidden;
  margin: 0 auto;
}

.button-wrapper {
  width: 100%;
  height: 100%;
  display: flex;
  justify-content: space-between;
  align-items: center;
  position: absolute;
}

.carousel {
  margin: 0;
  padding: 0;
  list-style: none;
  width: 100%;
  display: flex;
  position: absolute;
  left: 0;
  transition: all 1s ease;
}

.card {
  background: black;
  min-width: 200px;
  height: 200px;
  margin-right: 1rem;
  display: inline-block;
}
And now for the moment, you’ve been waiting for, the javascript! As with the above html and css, there are many ways to make a carousel. Below is just one of them. So if you see something you’d do differently, that’s totally cool and you should feel free to do so!
Restaurant Website Using HTML and CSS
The first step we’ll take is to select the necessary elements using a common approach, the .Queryselector() method and our handy data attribute that we set up in the html. Note, however, that you don’t always have to start from the document root (document.Queryselector()).
It’s possible to start on any node in the dom tree; and in fact, it’s a tiiiiiny bit more efficient to begin on a nested node when you can, because then you don’t have to traverse the whole dom to find the node you want. So that’s what we’ll do to select one of the cards in the carousel (see how we’re starting from the carousel.Queryselector() instead of the document.Queryselector() on line 4?).
Next, we need a few other pieces of information to help us slide the carousel in just the right way. The effect we want is for the carousel to advance by 3 cards at a time, and it should stop each time in the same position (no margin on either of the outsides, with all 3 cards perfectly visible).
Responsive Gym Website Using HTML ,CSS & JavaScript
To do that, we need to know the width of the visible part of the carousel, and the margin-right property assigned to the cards (without accounting for the margin, you wind up with the cards sliding into a final position that’s just a little off).
One thing that’s a bit tricky in this step is the way we get these properties. Unfortunately, you can’t do “carousel.Width()” to get the width of the carousel. Instead, you must use carousel.Offsetwidth. And for the card margin, it’s even trickier. You can only use “card.Style.Marginright()” if you define an inline style in the html, which we didn’t do.
Ecommerce Website Using Html Css And Javascript Source Code
ADVERTISEMENT
We want the style we wrote in a separate stylesheet. To get that value, we have to do what’s written on line 12 below, which tries two ways to get the externally defined style object for the card element. The reason for the two approaches is that different browsers call this object different things, so we have to try both ways.
ADVERTISEMENT
Once we get that object, we can target the marginright property…but it’s a string, “16px”. So we have to do two things, use a regular expression to select the numbers, then turn the string “16” into the number 16.
ADVERTISEMENT
Css output of carousel
ADVERTISEMENT


Javascript Code For Card Carousel
// Select the carousel you'll need to manipulate and the buttons you'll add events to
const carousel = document.querySelector("[data-target='carousel']");
const card = carousel.querySelector("[data-target='card']");
const leftButton = document.querySelector("[data-action='slideLeft']");
const rightButton = document.querySelector("[data-action='slideRight']");

// Prepare to limit the direction in which the carousel can slide,
// and to control how much the carousel advances by each time.
// In order to slide the carousel so that only three cards are perfectly visible each time,
// you need to know the carousel width, and the margin placed on a given card in the carousel
const carouselWidth = carousel.offsetWidth;
const cardStyle = card.currentStyle || window.getComputedStyle(card);
const cardMarginRight = Number(cardStyle.marginRight.match(/\d+/g)[0]);

// Count the number of total cards you have
const cardCount = carousel.querySelectorAll("[data-target='card']").length;

// Define an offset property to dynamically update by clicking the button controls
// as well as a maxX property so the carousel knows when to stop at the upper limit
let offset = 0;
const maxX = -(
  (cardCount / 3) * carouselWidth +
  cardMarginRight * (cardCount / 3) -
  carouselWidth -
  cardMarginRight
);

// Add the click events
leftButton.addEventListener("click", function () {
  if (offset !== 0) {
    offset += carouselWidth + cardMarginRight;
    carousel.style.transform = `translateX(${offset}px)`;
  }
});

rightButton.addEventListener("click", function () {
  if (offset !== maxX) {
    offset -= carouselWidth + cardMarginRight;
    carousel.style.transform = `translateX(${offset}px)`;
  }
});
Moving along, we now need to set boundaries. While you could create an “infinite” carousel that repeats the same content, I’m choosing to go with a fixed approach, so the behavior we’re aiming for is when the page loads and there is no content on the left side of the carousel,
ADVERTISEMENT
The “left” button won’t work, and when the user reaches the upper end of the carousel and there’s no more content hidden on the right side, the “right” button won’t work.We’ll do this using two variables: offset and maxx.
100+ JavaScript Projects With Source Code ( Beginners to Advanced)
Offset is a variable that will increment or decrement by (carouselwidth + cardmarginright, or 648) every time we click one of the buttons. Offset becomes more positive when we click the left button (because we’ll be pushing the cards to the right by 648px at a time),
And more negative when we click the right button (because we’ll be pulling the cards to the left by 648px at a time). When the page loads, we want the carousel to start right at the beginning, so offset is initialized to 0 (line 20).
To calculate the maxx property, we need to know how many times the carousel could slide by 648px. We find this out by first getting the total number of cards we have (“cardcount” on line 16); we know this by obtaining the length of “carousel.Queryselectorall()”, which returns a node list of all the cards.
Weather App Using HTML, CSS And JavaScript (Source Code)
Once we know that, we factor in how many cards we are showing at a time(3) and multiply that by the width of the carousel, then we add (cardmarginright * cardcount). I also had to do some unexpected subtraction so that the “right” button would disable at the desired point.
Without line 23, the “right” button remains usable for one click too long, and the user can slide past the upper limit of the carousel. You’ll see what I mean if you don’t add line 23 to your maxx calculation.
And there you have it! A functioning carousel with simple js. Some next steps I might take with this are to pull the callback functions out of each event listener so they could be reused in the future if necessary, or add navigational progress dots below the cards.
I could also convert the carousel into its own class, or even a web component. If you have other ideas for improvement, feel free to comment below!
Final Output of Card Carousel Using JavaScript


Video output Of Card Carousel :
Codepen Preview Of Card Carousel :
If You Enjoyed Reading This Post And Have Found It Useful For You, Then Please Give Share It With Your Friends, And Follow Me To Get Updates On My Upcoming Posts. You Can Connect With Me On Instagram.
If You Have Any Confusion Comment Below Or You Can Contact Us By Filling Out Our Contact Us Form From The Home Section.
Written By – Ninja_webtech
Which code editor do you use for this Carousel coding?
I personally recommend using VS Code Studio, it’s straightforward and easy to use.
What is carousel in HTML and CSS?
A carousel is a slideshow of multiple images that slide automatically for a defined period of time. A carousel is a slideshow that includes a collection of rotating banners or images. Carousels are typically found on a website’s main page. It improves the look of your website.
![15+ Amazing HTML CSS Progress Bars [ Demo + Code ] Read more about the article 15+ Amazing HTML CSS Progress Bars [ Demo + Code ]](https://www.codewithrandom.com/wp-content/uploads/2022/12/codewithrandom117-300x157.png)
