Create Login Form Validation Using JavaScript
You must be familiar with the validation concept before designing the login form with validation.
Live Preview Of Login Form Validation Using JavaScript:-
| Code by | Nikhil |
| Project Download | Link Available Below |
| Language used | HTML ,CSS and JavaScript |
| External link / Dependencies | No |
| Responsive | Yes |
50+ HTML, CSS & JavaScript Projects With Source Code
How to Create Login Form Validation Using JavaScript
The HTML form’s validation process involves determining whether the user’s email address, username, and password are true and correct. A valid Username and password must be entered before the user may access the reserved page.
Users can access a certain system by identifying and authenticating themselves using login forms. Let’s have a look at the process I used to create this login form step by step.
Step1: Login Form Structure
<html>

<head>
    <link rel="stylesheet" href="style.css">
    <title>Login Form </title>
</head>

<body>
    <div class="login-page">
        <div class="form">
            <form class="login-form " action="https://www.instagram.com/codewith_random/" target="_blank">
                <h2>SIGN IN TO YOUR ACCOUNT</h2>
                <input type="text" required placeholder="Username" id="user" autocomplete="off" />
                <input oninput="return formvalid()" type="password" required placeholder="Password" id="pass"
                    autocomplete="off" />
                <img src="https://cdn2.iconfinder.com/data/icons/basic-ui-interface-v-2/32/hide-512.png"
                    onclick="show()" id="showimg">
                <span id="vaild-pass"></span>
                <button type="submit">SIGN IN</button>
                <p class="message"><a href="#">Forgot your password?</a></p>
            </form>
        </div>
    </div>
    <script src="index.js"></script>
</body>

</html>
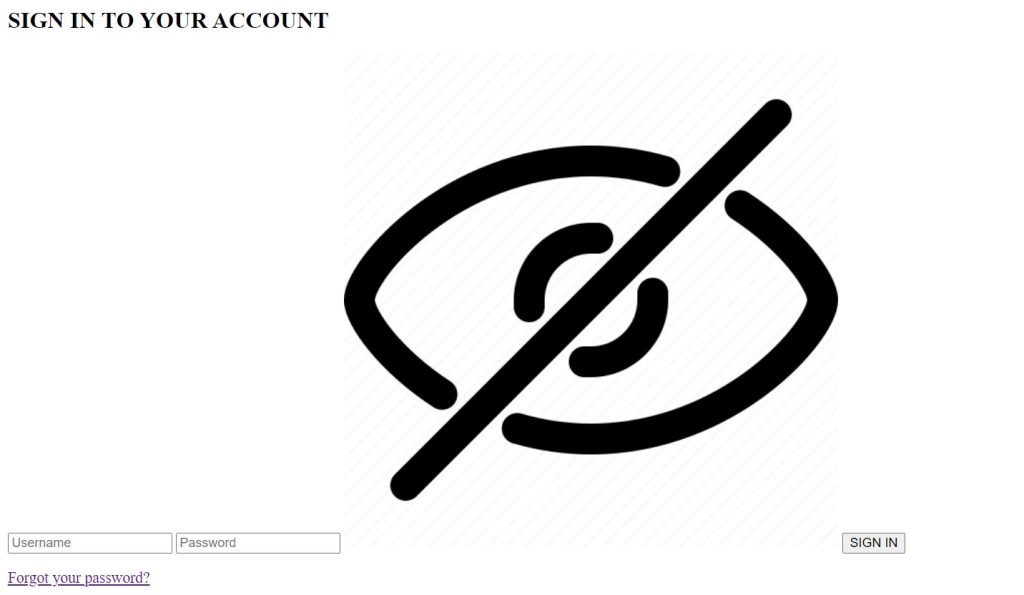
In order to maintain good code management, we will be generating three separate files in our code editor for HTML, CSS, and Javascript. Our login form will be made up of HTML, CSS, and Javascript. Now let’s add CSS and JavaScript features to our website. The links for JavaScript and CSS must be included to our HTML.
<link rel="stylesheet" href="style.css">
<script src="index.js"></script>
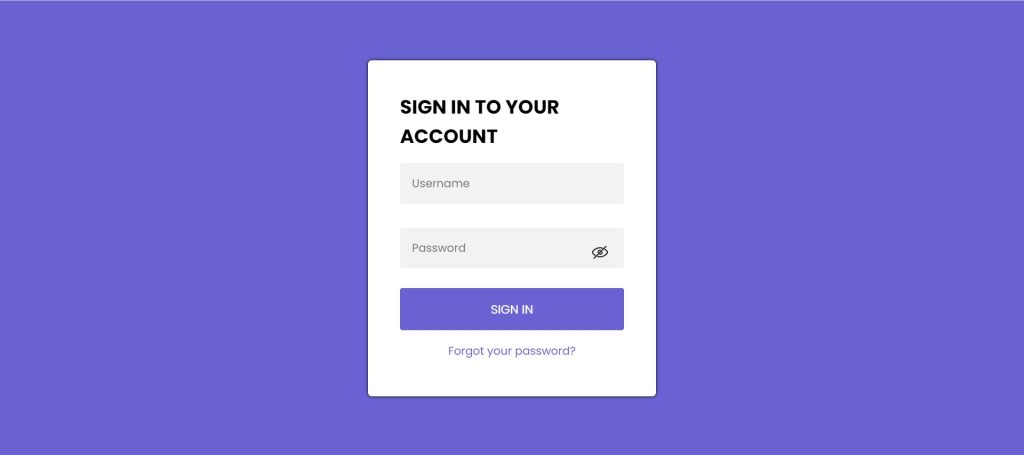
Now we’ll add the form’s structure. We need to create a div with a class (login-page) which will be the main container for our login. Now to create the form, we need to use the <form> tag. Now we will be adding a heading for our login form using the <h2> tag. The login form is mainly made up of three <input> elements: a text field for the username, a password field for the password, and a button with the type of “submit” for creating the login button.
Portfolio Website using HTML and CSS (Source Code)
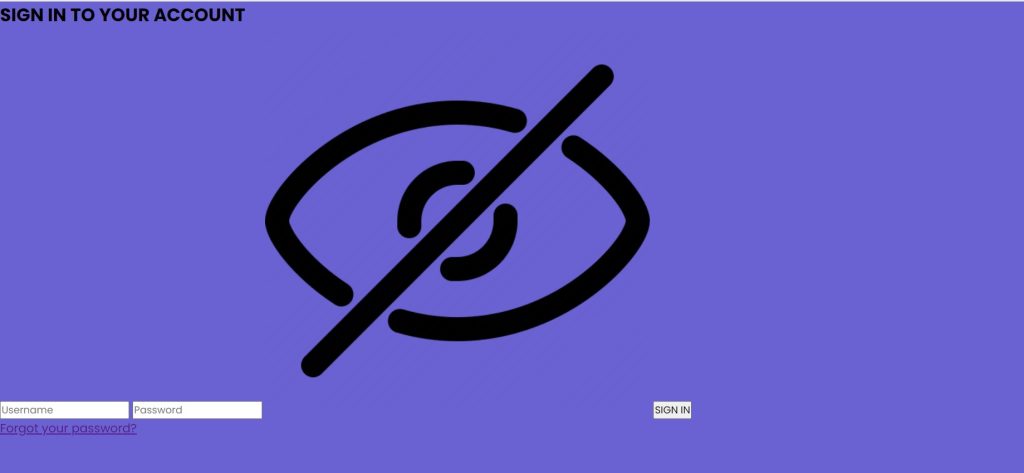
To add the hide/show functionality to our password, we will use an image of an eye. Everyone understands the value of remembering passwords, but what happens if someone forgets their login password? So, using the <a> tag, we will link forgetting passwords.
Output:
Step2: Styling Login Form
Our website can be made more colourful by utilising CSS. A style sheet can be inserted in three different ways. By including CSS properties and a style property on the appropriate element, you can use inline CSS. If not, you can utilise internal CSS, which is used in the style> element and the head> section. Another option is to make an external CSS file with the.css suffix and link to it in the HTML file’s head> section. When creating a web page, it is best practise to use an external CSS file.
@import url("https://fonts.googleapis.com/css2?family=Poppins:ital,wght@0,200;0,400;0,500;0,600;0,700;1,100;1,200;1,300&display=swap");
* {
  margin: 0;
  padding: 0;
  box-sizing: border-box;
  font-family: "Poppins", sans-serif;
}
body {
  background: #6a62d2;
}

.login-page {
  height: 100vh;
  width: 100%;
  align-items: center;
  display: flex;
  justify-content: center;
}

.form {
  position: relative;
  filter: drop-shadow(0 0 2px #000000);
  border-radius: 5px;
  width: 360px;
  height: 420px;
  background-color: #ffffff;
  padding: 40px;
}

.form img {
  position: absolute;
  height: 20px;
  top: 230px;
  right: 60px;
  cursor: pointer;
}

.form input {
  outline: 0;
  background: #f2f2f2;
  border-radius: 4px;
  width: 100%;
  border: 0;
  margin: 15px 0;
  padding: 15px;
  font-size: 14px;
}

.form input:focus {
  box-shadow: 0 0 5px 0 rgba(106, 98, 210);
}

span {
  color: red;
  margin: 10px 0;
  font-size: 14px;
}

.form button {
  outline: 0;
  background: #6a62d2;
  width: 100%;
  border: 0;
  margin-top: 10px;
  border-radius: 3px;
  padding: 15px;
  color: #ffffff;
  font-size: 15px;
  -webkit-transition: all 0.3 ease;
  transition: all 0.4s ease-in-out;
  cursor: pointer;
}

.form button:hover,
.form button:active,
.form button:focus {
  background: black;
  color: #fff;
}

.message {
  margin: 15px 0;
  text-align: center;
}
.form .message a {
  font-size: 14px;
  color: #6a62d2;
  text-decoration: none;
}
Basic Styling to our Webpage:
First, we’ll use the import link for our CSS to add Poppins fonts. Our login form uses this typeface. The padding and margin have now been set to “0” using the universal selector, and the box-sizing has been changed to “border-box”. We will set the “Poppins” font for our entire webpage using the font-family attribute.
100+ HTML,CSS and JavaScript Projects With Source Code ( Beginners to Advanced)
We can add a background to the body of the web page by using the background property. The background colour of our webpage can be set in different ways by using the direct names,then using the hex codes etc.
@import url("https://fonts.googleapis.com/css2?family=Poppins:ital,wght@0,200;0,400;0,500;0,600;0,700;1,100;1,200;1,300&display=swap");
* {
  margin: 0;
  padding: 0;
  box-sizing: border-box;
  font-family: "Poppins", sans-serif;
}
body {
  background: #6a62d2;
}
Styling login page Container:
We will style our login page by adding the class selector (.login-page). The width and height are both set to 100% and 100vh, respectively. We will centre all the objects using the align-item attribute. We can easily position all of the items by setting the display attribute to flex.
.login-page {
  height: 100vh;
  width: 100%;
  align-items: center;
  display: flex;
  justify-content: center;
}
Styling Login Form :
The position of the form container is set to relative using the class selector (.form). Relative to the login page container . The border-radius property will be used to give our form some curves. We will set the width and height to “360px” and “420px,” respectively, using the width and height attributes. Using the background property, the background is set to white.
Ecommerce Website Using HTML, CSS, & JavaScript (Source Code)
.form {
  position: relative;
  filter: drop-shadow(0 0 2px #000000);
  border-radius: 5px;
  width: 360px;
  height: 420px;
  background-color: #ffffff;
  padding: 40px;
}

Styling Form Elements (Input & button):
The image that we added to the form will first be styled. Using the img tag, we can customise our image. The location of the image is set to “absolute.” It has a 20-pixel height. Using the top attribute, our eye icon will now be positioned 230 pixels from the top and 36 pixels to the right.
Using the input tag, we can style our input fields. The background is offwhite in colour. The input box’s width is set to 100%. Additionally, we gave our input tag a 15px padding and a margin. The text between the input areas has a 14px font size.
A box shadow will form around the input box when the user has the focus property set on the input field.
ADVERTISEMENT
.form img {
  position: absolute;
  height: 20px;
  top: 230px;
  right: 60px;
  cursor: pointer;
}

.form input {
  outline: 0;
  background: #f2f2f2;
  border-radius: 4px;
  width: 100%;
  border: 0;
  margin: 15px 0;
  padding: 15px;
  font-size: 14px;
}

.form input:focus {
  box-shadow: 0 0 5px 0 rgba(106, 98, 210);
}
Now we will style the button and the hyperlink for our forget password. We will set the blue background of our button using the background property. The width of our button is set at 100%. Using the margin-top property, we will have a top margin of “10px”. The font size and font colour are 15 px and the white colour of our font.
ADVERTISEMENT
How to Create a Weather App using JavaScript
ADVERTISEMENT
Now, a margin of 15px is given to our forget password message using the class selector (.message). We will centre the text by using the text-align attribute.
ADVERTISEMENT
.form button {
  outline: 0;
  background: #6a62d2;
  width: 100%;
  border: 0;
  margin-top: 10px;
  border-radius: 3px;
  padding: 15px;
  color: #ffffff;
  font-size: 15px;
  -webkit-transition: all 0.3 ease;
  transition: all 0.4s ease-in-out;
  cursor: pointer;
}

.form button:hover,
.form button:active,
.form button:focus {
  background: black;
  color: #fff;
}

.message {
  margin: 15px 0;
  text-align: center;
}
.form .message a {
  font-size: 14px;
  color: #6a62d2;
  text-decoration: none;
}

Step3: JavaScript Code For Login Page With Username And Password:-
//TODO : Its a Completed Code
function formvalid() {
  var vaildpass = document.getElementById("pass").value;

  if (vaildpass.length <= 8 || vaildpass.length >= 20) {
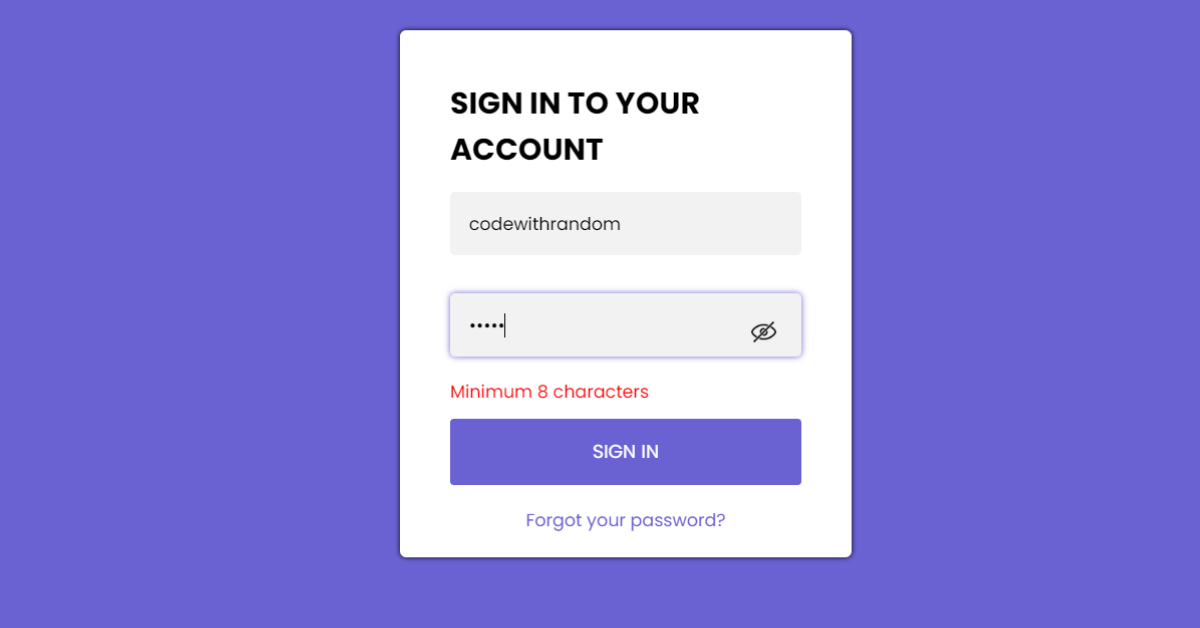
    document.getElementById("vaild-pass").innerHTML = "Minimum 8 characters";
    return false;
  } else {
    document.getElementById("vaild-pass").innerHTML = "";
  }
}
To include the functionality for form validation. A function called formvalid will be created (). We shall define a validpass variable within our code. We will choose our password input using the document’s getelementById function.
ADVERTISEMENT
Calculator Using HTML,CSS & JavaScript With Source Code
We will display a notice stating that the password is fewer than 8 characters if the length is less than 8 characters or larger than 20 characters using the conditional statement.
Step4: Show/Hide functionality
function show() {
  var x = document.getElementById("pass");
  if (x.type === "password") {
    x.type = "text";
    document.getElementById("showimg").src =
      "https://static.thenounproject.com/png/777494-200.png";
  } else {
    x.type = "password";
    document.getElementById("showimg").src =
      "https://cdn2.iconfinder.com/data/icons/basic-ui-interface-v-2/32/hide-512.png";
  }
}
We will designate our password input utilising the document inside a procedure named display(). getElementById() We will now examine the variable value’s equality with the string “password” using the condition and the document. The value of our input with the type password will change to type text when we use the src method to transform the image to an open eye. The image will switch from an open eye to a closed eye if we set x.type = password in the otherwise sentence.
10+ JavaScript Projects With Source Code
The project is now finished, we have completed Form validation using HTML ,CSS & Javascript. Now look at the live preview.
Final Output Of Login Form Validation Using JavaScript:
Now We have Successfully Login Form validation using HTML, CSS and Javascript. You can use this project directly by copying it into your IDE. We hope you understood the project, If you have any doubts feel free to comment!!
Portfolio Website Using HTML CSS And JAVASCRIPT ( Source Code)
If you find out this Blog helpful, then make sure to search Codewithrandom on google for Front End Projects with Source codes and make sure to Follow the Code with Random Instagram page.
Which code editor do you use for this Login Form Validation coding?
I personally recommend using VS Code Studio, it’s straightforward and easy to use.
is this project responsive or not?
Yes! this is a responsive project
Do you use any external links to create this project?
No!
