Create Star Rating using HTML And CSS Code
Giving anything a “star rating” is a way to use stars to convey your opinions. There are 5 empty stars in a star rating (where 0 is for the worst and 5 is for the best). A star turns yellow when the user clicks on it. A star rating functions in this way. Five radio buttons will be added and styled with CSS to resemble stars in order to establish a star-rating website for this project. Now, let’s examine our project.

Hello Coder! In this Article, we Learn How to Add Star Rating In HTML And CSS Code. we have a 5-star rating so you can give any star rating by just clicking and star fill according to you give a rating.
50+ HTML, CSS & JavaScript Projects With Source Code
| Code by | N/A |
| Project Download | Link Available Below |
| Language used | HTML , CSS and JavaScript |
| External link / Dependencies | No |
| Responsive | Yes |
I hope you must have got an idea about the project. So, Let’s Begin Star Rating Project By Adding The Source Codes. first We Are Using The HTML Code.
Step 1: Html Code For Star Rating:-
this is All Html Code inside into <!DOCTYPE html> tag.
<!DOCTYPE html>
<html lang="en" dir="ltr">
  <head>
    <meta charset="utf-8" />
    <meta name="viewport" content="width=device-width, initial-scale=1.0" />
    <title>Star Rating</title>
    <link rel="stylesheet" href="style.css" />
  </head>
  <body>
    <h1>Pure CSS Star Rating</h1>
    <div class="rating">
        <input type="radio" id="star5" name="rating" value="5" /><label for="star5"></label>
        <input type="radio" id="star4" name="rating" value="4" /><label for="star4"></label>
        <input type="radio" id="star3" name="rating" value="3" /><label for="star3"></label>
        <input type="radio" id="star2" name="rating" value="2" /><label for="star2"></label>
        <input type="radio" id="star1" name="rating" value="1" /><label for="star1"></label>
    </div>
  </body>
</html>
- First, we will use an H1 tag to create the main heading of our webpage.
- Now we will create a div
- Inside the div tag we will 5 input with type as “radio” and we will also id and name of inputs
- we will also use label to label as our star1,star2 and so on…
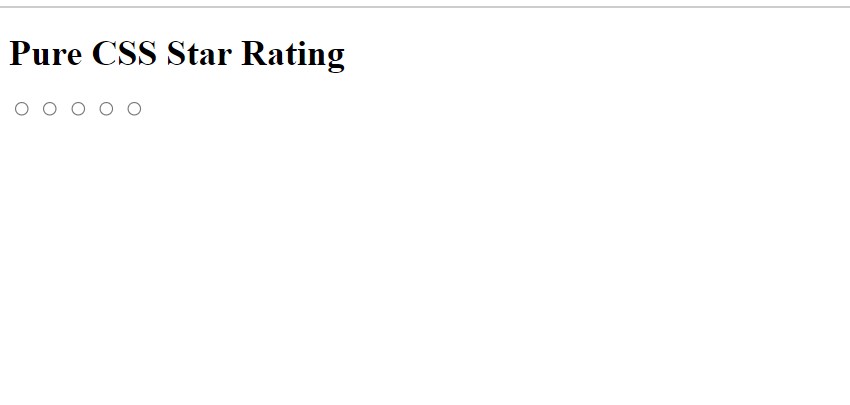
Now let’s take look at our output without styling
Restaurant Website Using HTML and CSS

So we have added the HTML tags and Their contents, Now it’s time to make it attractive by adding the CSS code.
Step2: CSS Code for Star Rating
This Css Code is for styling Html elements.
@import url('https://fonts.googleapis.com/css2?family=Roboto+Slab:wght@500&display=swap');
body {
     background: #f1f1f1;
}
 body h1 {
   font-family: 'Roboto Slab', serif;
     margin: 50px 20px 40px;
     font-size: 50px;
     letter-spacing: 0.5px;
     color: #999;
     text-align: center;
}
 .rating {
     width: 208px;
     height: 40px;
     margin: 0 auto;
     padding: 40px 50px;
     border: 1px solid #ccc;
     background: #f9f9f9;
}
 .rating label {
     float: right;
     position: relative;
     width: 40px;
     height: 40px;
     cursor: pointer;
}
 .rating label:not(:first-of-type) {
     padding-right: 2px;
}
 .rating label:before {
     content: "\2605";
     font-size: 42px;
     color: #ccc;
     line-height: 1;
}
 .rating input {
     display: none;
}
 .rating input:checked ~ label:before, .rating:not(:checked) > label:hover:before, .rating:not(:checked) > label:hover ~ label:before {
     color: #f9df4a;
}
in this css code we import google font and give Baisc styling to html tags.
@import url('https://fonts.googleapis.com/css2?family=Roboto+Slab:wght@500&display=swap');
body {
     background: #f1f1f1;
}
in this css code, we style the H1 tag in the body and give fonts, color, and adjust h1 using Margin and lastly give text-align: center.
Ecommerce Website Using HTML, CSS, & JavaScript (Source Code)
 body h1 {
     font-family: 'Lobster', cursive;
     margin: 50px 20px 40px;
     font-size: 50px;
     letter-spacing: 0.5px;
     color: #999;
     text-align: center;
}
this all code is for rating div we style rating div and rating label style with this css code.
 .rating {
     width: 208px;
     height: 40px;
     margin: 0 auto;
     padding: 40px 50px;
     border: 1px solid #ccc;
     background: #f9f9f9;
}
 .rating label {
     float: right;
     position: relative;
     width: 40px;
     height: 40px;
     cursor: pointer;
}
this css code is very important, we use :before the rating label which means before this div what we want style we put all css code in the rating label div just use :before.
 .rating label:before {
     content: "\2605";
     font-size: 42px;
     color: #ccc;
     line-height: 1;
}
 .rating input {
     display: none;
}
this css code we use for only color on this all elements.
 .rating input:checked ~ label:before, .rating:not(:checked) > label:hover:before, .rating:not(:checked) > label:hover ~ label:before {
     color: #f9df4a;
}
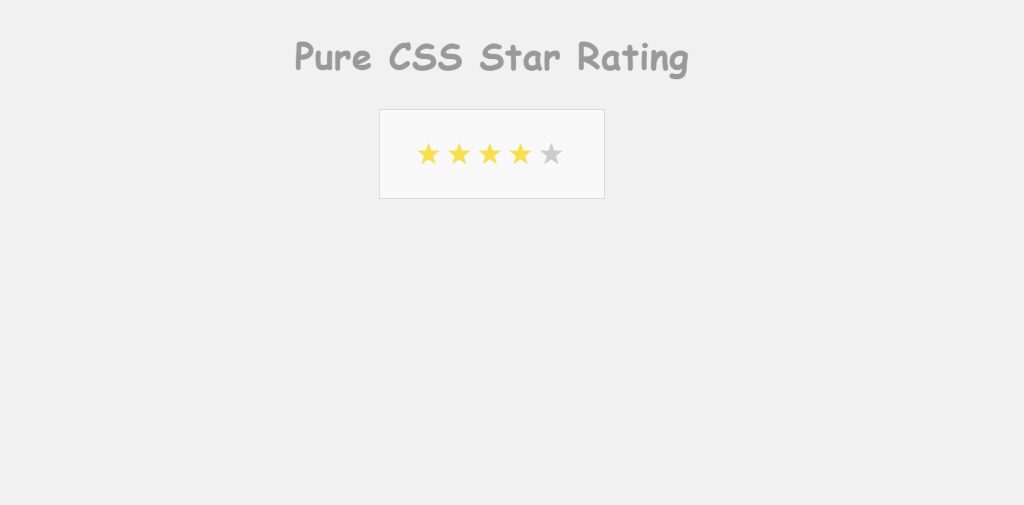
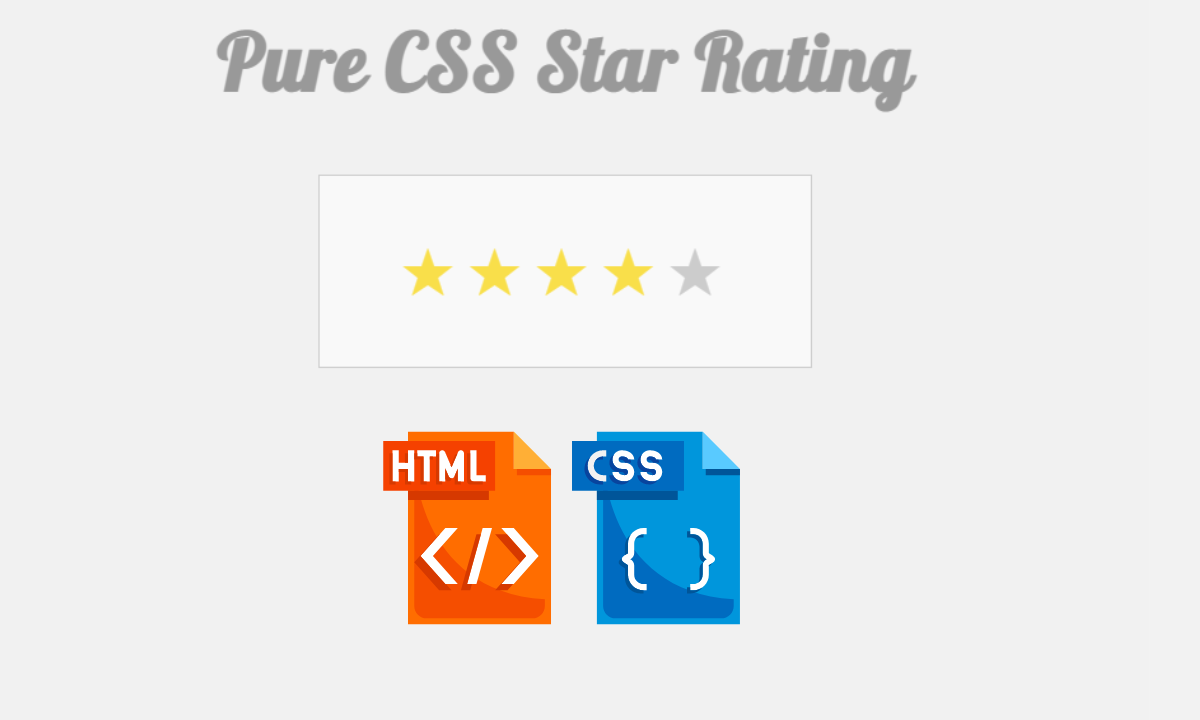
Now we have completed our css code and below👇here is the output after styling our webpage.
100+ JavaScript Projects With Source Code ( Beginners to Advanced)
Final Output Of Star Rating Using Html and Css Code:-

Now as we completed our project now will look at how it is working. Preview:
Live Preview HTML CSS Star Rating:-
Now We have Successfully created our Star Rating Using Html and Css Code Projects. You can use this project for your personal webpage and We hope you understood the project, If you any doubt feel free to comment!! If you find out this Blog helpful, then make sure to search Codewithrandom on Google for Front End Projects with Source codes and make sure to Follow the Code with Random Instagram page.
ADVERTISEMENT
What is a star-rating project?
A rating question that assigns a product or service a number of stars is known as a star rating. Between 0 and 5 stars may be present. A star rating question is a particular kind of rating question that enables users to score characteristics on a scale using stars rather than radio buttons or checkboxes.
ADVERTISEMENT
What are the advantages of a star rating?
You can compare various persons, subjects, or items with ease since they establish standards.
ADVERTISEMENT
How do you get a star rating in JavaScript?
All components with the my-star class will be queried, and after looping over each one, we will attach a click event that will print the data-star value. The user-selected star element will be represented by this value.
ADVERTISEMENT


