Create Side By Side Images Using Html And Css ( Source Code)
Hey guys, Welcome to Our Blog, In Today’s Blog We Are Going to See How to Create a Side by Side Images Using HTML and CSS. Before That, We Could See What This Side by Side Image Is About.
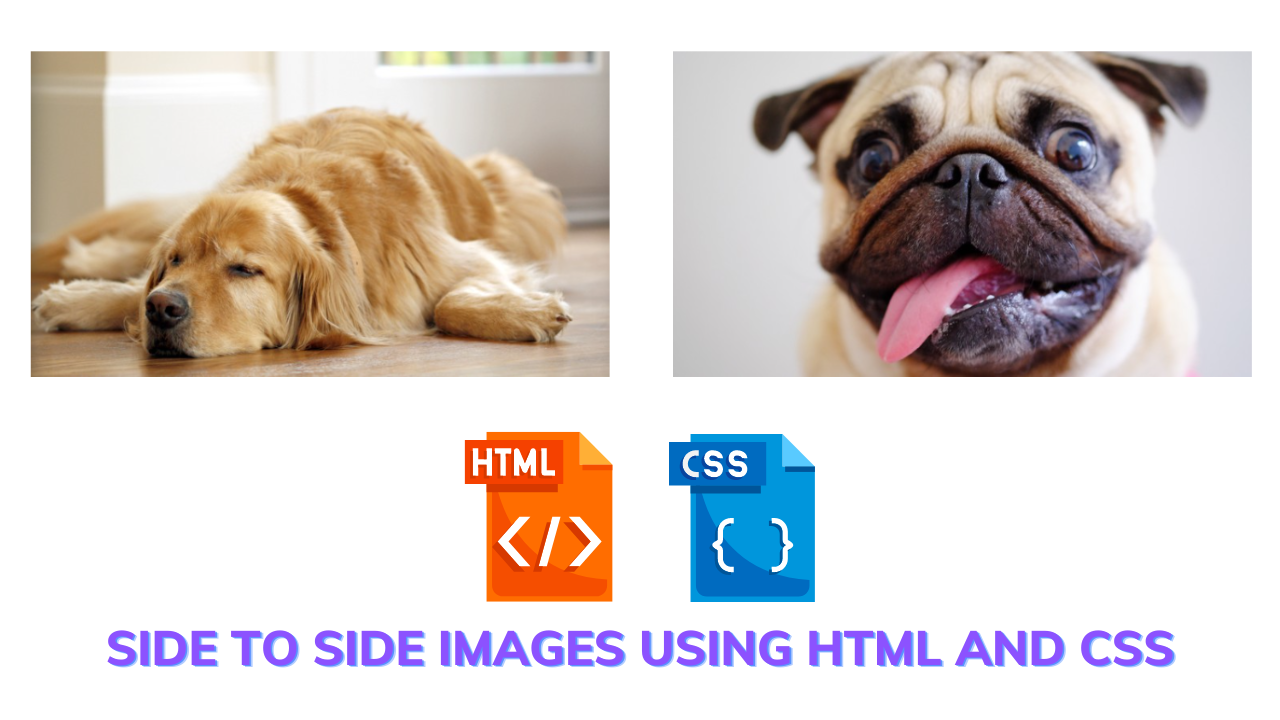
A side-to-side image is nothing but an image that is placed side by side in the same line and consists of two to three images and more, that’s why it is referred to as Side by Side image. It is a great example of a product card in which it is placed in same line with more of it, which can be used on e-commerce websites. Likewise, here we implemented the images for it.
So, Now Let’s Begin Creating Our side-to-side image Project by adding the Source Codes. and For That, here we are using HTML code first.
HTML CODE For Side by Side Images
<center>
    <ul class="homepageGuide column">
        <a href="/blog/"><img class="img-responsive" data-original="/uploads/button-1.png" />
            <p>
                <img src="https://cdn.theatlantic.com/assets/media/img/mt/2019/07/GettyImages_138965532/lead_720_405.jpg?mod=1563813032" width="100%" alt="example one">
            </p>
            <span class="color-overlay"></span>
        </a>
    </ul>
    <ul class="homepageGuide column">
        <a href="/testimonials.php">
        	<img class="img-responsive" data-original="/uploads/button-2.png" />
            <p>
                <img src="https://cdn.theatlantic.com/assets/media/img/mt/2018/11/shutterstock_552503470/lead_720_405.jpg?mod=1541605820" width="100%" alt="example two">
            </p>
            <span class="color-overlay"></span>
        </a>
    </ul>
</center>
Now we have added our HTML code. First, we are creating a center tag so that the content inside of it will be the center of the web page. and we are creating an unordered list to make aligning of images with the help of CSS.
Inside of it, we now add the images using the IMG tag with a separate UL class, and a link was added for the image using the anchor tag. then we close our anchor, UL, and center tag to complete our HTML.
Create Horizontal Timeline Using HTML And CSS (Source Code)
Now we are almost done but for alignment and size adapting we just using a little piece of CSS code.
CSS CODE For Side by Side Images
.column {
  box-sizing: border-box;
  float: left;
  width: 50%;
  display: inline-block;
}

ul{

padding-left: 2.5%;
padding-right: 2.5%;
}
Now we just added the CSS code. In this, we are first calling out the UL class with the class name, so the images/contents inside of it will work according to the values given. The values were box-sizing, float, width, and display in which we are fixing the width to 50% and displaying it in the inline-block where the images would be in the same line, and with float, we make images to stick on the left side.
Lastly, we just give padding values to make the images align rather than the fixed boxes. For that, we were using a UL with padding properties.
We were done with the completion of the project as source codes have been added successfully. So, for our reference, the Code pen with the link was given in the below output section.
FINAL OUTPUT Of Side by Side Images
Now We have Successfully created our Side-to-Side Images Using HTML and CSS. You can use this project for your personnel needs and the respective lines of code are given with the code pen link mentioned below.
100+ Front-end Projects for Web developers (Source Code)
If you find out this Blog helpful, then make sure to search code with random on google for Front End Projects with Source codes and make sure to Follow the Code with Random Instagram page.
REFER CODE – Mr Bear 258
WRITTEN BY –Ragunathan S


