Create Slider Navbar Using Html Css (Source Code)
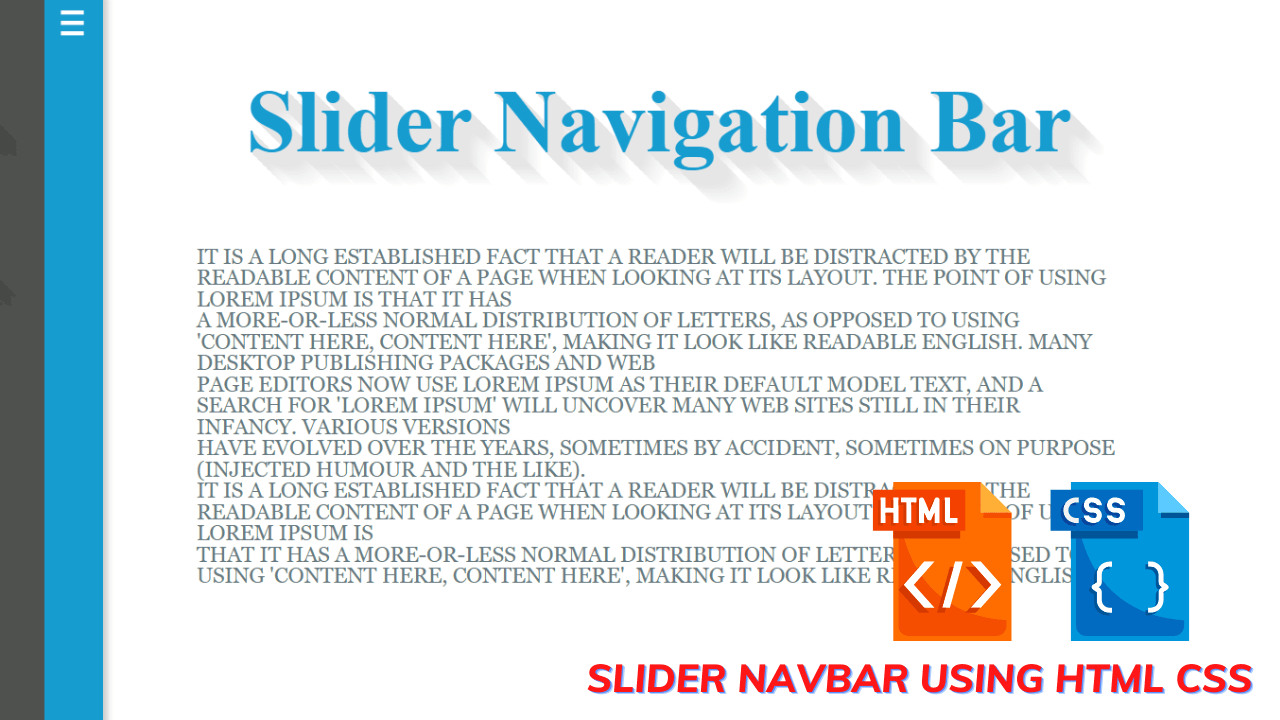
Hello coders, a very warm welcome to the codewithrandom today’s blog in which we are going to create a slider navbar with the help of html & css. We have seen many navbars as front-end developers, using many effects. But today we’ll make this as a slider. Before going to the coding part we’ll see what exactly is navbar slider.
What is a navbar slider?
It helps the user read in the selecting topics, links, or sub-topics of their interest. But here it will be hidden on the left side and as soon as the user will take the mouse pointer it will be shown to the user. Let us see the coding part of this project.
Html code for Slider Navbar:-
In html, we draw the layout of the website. We are using basic properties of the html like span, div, anchor tag, classes, ids, and semantic tags.
<body>
<nav>
<span class="icon">≡</span>
<ul>
<li class="lili"><a href="index.html">Home</a></li>
<li class="lili"><a href="radiusslider.html">Border Slider Control</a></li>
<li class="lili"><a href="shadowslider.html">Slider Control</a></li>
<li><a href="textslider.html">Navigation Bar Slider</a></li>
</ul>
</nav>
<article>
<h1>Slider Navigation Bar </h1>
<p>It is a long established fact that a reader will be distracted by the readable content of a page when looking at its layout. The point of using Lorem Ipsum is that it has <br>a more-or-less normal distribution of letters, as opposed to using 'Content here, content here', making it look like readable English. Many desktop publishing packages and web <br> page editors now use Lorem Ipsum as their default model text, and a search for 'lorem ipsum' will uncover many web sites still in their infancy. Various versions <br> have evolved over the years, sometimes by accident, sometimes on purpose (injected humour and the like).
<br>
It is a long established fact that a reader will be distracted by the readable content of a page when looking at its layout. The point of using Lorem Ipsum is <br> that it has a more-or-less normal distribution of letters, as opposed to using 'Content here, content here', making it look like readable English.
</article>
</body>
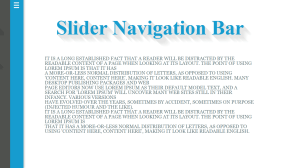
In this html code under the <body> tag we have defined the menu and labeled it accordingly. Then we have given the heading and written some write-up under the <p> tag. Let us look at the html output. Before writing css for the slider navbar.
100+ Front-end Projects for Web developers (Source Code)
Html output Slider Navbar:
Css code Slider Navbar:-
Css is used for styling. Here we are using plain css for styling.
body {
    background-color: #fff; /*rgb(22, 160, 133);*/
    width: 100%;
    margin: 0;
    padding: 0;
}
nav {
    position: fixed;
    left: -16em;
    top: 0;
    bottom: 0;
    background-color: #4F514E;
    border-right: 50px solid #169CCF;
    box-shadow: 4px 0 5px rgba(0, 0, 0, 0.2);
    z-index: 1;
    cursor: pointer;
}
.icon {
    left: 6.7em;
    display: block;
    font-size: 30pt;
    color: #fff;
    position: absolute;
    text-decoration: none;
    font-family: "Carrois Gothic", sans-serif;
}
nav ul {
    width: 14em;
    list-style-type: none;
    margin: 0;
    padding: 1em;
}
nav ul li {
    width: 100%;
    text-align: left;
    padding: 4px 4px;
    margin-top: 5px;
    color: #fff;
    background: transparent;
    font-size: 20px;
    float: left;
    text-shadow: rgb(71, 73, 70) 1px 1px, rgb(71, 73, 70) 2px 2px,
        rgb(71, 73, 70) 3px 3px, rgb(71, 73, 70) 4px 4px,
        rgb(71, 73, 70) 5px 5px, rgb(71, 73, 70) 6px 6px,
        rgb(71, 73, 70) 7px 7px, rgb(71, 73, 70) 8px 8px,
        rgb(71, 73, 70) 9px 9px, rgb(71, 73, 70) 10px 10px,
        rgb(71, 73, 70) 11px 11px, rgb(71, 73, 70) 12px 12px,
        rgb(71, 73, 70) 13px 13px, rgb(71, 73, 70) 14px 14px,
        rgb(72, 74, 71) 15px 15px, rgb(72, 74, 71) 16px 16px;
}
nav a:link,
nav a:visited {
    display: block;
    width: 100%;
    font-weight: bold;
    line-height: 2.5em;
    text-indent: 10px;
    text-decoration: none;
    color: #fff;
    border-radius: 4px;
    outline: 0 none;
}
In this snippet of external css, we have styled the body, and navbar, and given the effects on the text which we have defined in the html code. With the help of text-shadow, we have given an effect to the text which will be in the form of shadow.
The text-shadow property adds a shadow to text.
This property accepts a comma-separated list of shadows to be applied to the text.
Text-shadow: h-shadow v-shadow blur-radius color|none|initial|inherit;
Note: to add more than one shadow to the text, add a comma-separated list of shadows.
nav a:hover,
nav a:focus {
    color: #fff;
    background-color: #4F514E;
    text-shadow: 0 0 4px #fff; /*box-shadow: inset 0 2px 2px #808080;*/
}
article,
article:after,
nav,
nav * {
    -webkit-transition: all 500ms ease;
    transition: all 500ms ease;
}
nav:hover {
    left: 0;
}
nav:hover ~ article:after {
    left: 60%;
}
article {
    width: 70%;
    margin: auto;
    text-align: center;
}
h1 {
    text-shadow: rgb(230, 230, 230) 1px 1px, rgb(230, 230, 230) 2px 2px,
        rgb(230, 230, 230) 3px 3px, rgb(230, 230, 230) 4px 4px,
        rgb(230, 230, 230) 5px 5px, rgb(230, 230, 230) 6px 6px,
        rgb(230, 230, 230) 7px 7px, rgb(230, 230, 230) 8px 8px,
        rgb(230, 230, 230) 9px 9px, rgb(230, 230, 230) 10px 10px,
        rgb(230, 230, 230) 11px 11px, rgb(230, 230, 230) 12px 12px,
        rgb(231, 231, 231) 13px 13px, rgb(232, 232, 232) 14px 14px,
        rgb(234, 234, 234) 15px 15px, rgb(235, 235, 235) 16px 16px,
        rgb(236, 236, 236) 17px 17px, rgb(238, 238, 238) 18px 18px,
        rgb(239, 239, 239) 19px 19px, rgb(241, 241, 241) 20px 20px,
        rgb(242, 242, 242) 21px 21px, rgb(243, 243, 243) 22px 22px,
        rgb(245, 245, 245) 23px 23px, rgb(246, 246, 246) 24px 24px,
        rgb(248, 248, 248) 25px 25px, rgb(249, 249, 249) 26px 26px,
        rgb(250, 250, 250) 27px 27px, rgb(252, 252, 252) 28px 28px,
        rgb(253, 253, 253) 29px 29px, rgb(255, 255, 255) 30px 30px;
    color: #169CCF;
    font-size: 75px;
    text-align: center;
}
p {
    text-align: left;
    color: #576978;
    list-style-type: none;
    font-family: "freight-text-pro", Georgia, Cambria, "Times New Roman", Times,
        serif;
    font-style: normal;
    font-size: 18px;
    line-height: 1;
    text-transform: uppercase;
    color: #677a82;
}
In this snippet of external css, we have added the color for the heading and a hover effect for the menu so that when the user takes the icon on it. We can see that effect. Let us see the output of this project.
Task Management Ui Html,css And ,Javascript (Source Code)
Final output Slider Navbar:

Summary:
We have created the slider navbar with the help of html & css. We created the html file and defined the requirements for the navbar, label the menu and give a heading with some write-up. Then in css, we styled the tags mentioned in html code, and added a shadow effect for the heading and labels of the menu. And we have added an effect of hover on the labels. If you loved it do comment as it boosts our motivation to bring new projects for you guys. If you face any difficulty while performing you can reach out to us with the help of the comment section.
Happy coding
Written by @harsh_9 & Himanshu Singh


