Create Image Slider Using HTML, CSS And JavaScript Code
Hey Guys, Welcome To Our Blog, In Today’s Blog We Are Going To See How To Create An Image Slider Using HTML, CSS, and JavaScript.
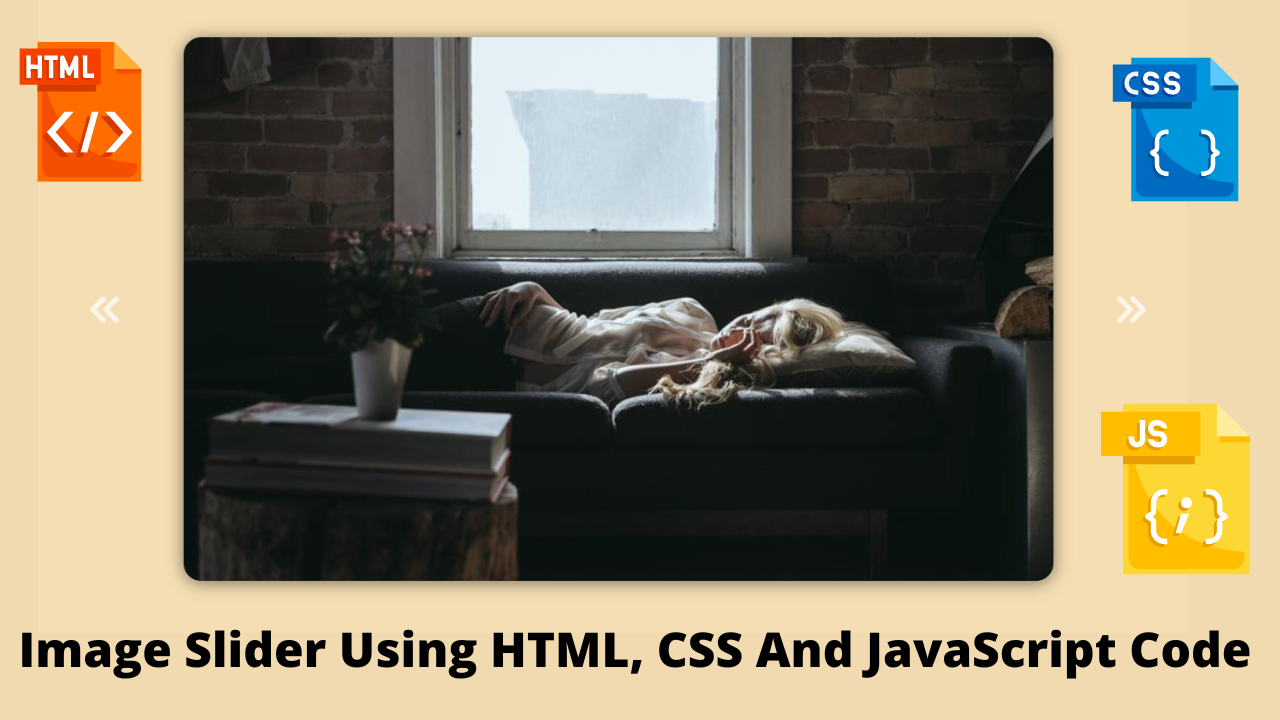
An image slider consists of three to five images in which it can be slide over the next images as well as we can move it by using the forward icon for the next to next images.
So, Let’s Begin Our Image Slider Project By Adding The Source Codes. For That, First, We Are Using The Html Code.
HTML CODE For Image Slider
<link rel="stylesheet" href="https://cdnjs.cloudflare.com/ajax/libs/font-awesome/6.1.2/css/all.min.css" integrity="sha512-1sCRPdkRXhBV2PBLUdRb4tMg1w2YPf37qatUFeS7zlBy7jJI8Lf4VHwWfZZfpXtYSLy85pkm9GaYVYMfw5BC1A==" crossorigin="anonymous" referrerpolicy="no-referrer" />
<div class="slider">
  <i class="fa-solid fa-angles-left fa-2x previous"></i>
  <div class="img-container">
    <img src="https://picsum.photos/id/237/800/500.jpg" alt="">
    <img src="https://picsum.photos/id/137/800/500.jpg" alt="">
    <img src="https://picsum.photos/id/127/800/500.jpg" alt="">
    <img src="https://picsum.photos/id/300/800/500.jpg" alt="">
    <img src="https://picsum.photos/id/1008/800/500.jpg?hmac=906z84ml4jhqPMsm4ObF9aZhCRC-t2S_Sy0RLvYWZwY" alt="">
  </div>
  <i class="fa-solid fa-angles-right fa-2x next"></i>
</div>
Here there is simple code of HTML is added for Slider. First We added a font family link for importing the fonts and a div class with a slider has a name created.
Create Horizontal Flip Image Using Simple HTML And CSS
Then We are adding the Previous icon using the I tag and again we create a div class with a separate name inside we add our images using the IMG tag which needs to be slide.
Now we adding a forward icon and finishing our HTML code. So we start styling the project using the CSS code.
CSS CODE For Image Slider
* {
  padding: 0;
  margin: 0;
  box-sizing: border-box;
  -webkit-tap-highlight-color: transparent;
  user-select: none;
}

body {
  display: flex;
  height: 100vh;
  justify-content: center;
  align-items: center;
  background-color: wheat;
}

.slider {
  display: flex;
  align-items: center;
  overflow: hidden;
  border-radius: 1em;
  width: 800px;
  height: 500px;
  box-shadow: 0px 2px 15px 0px rgba(0, 0, 0, 0.5);
      -webkit-tap-highlight-color: transparent;

}

.img-container {
  display: flex;
  transition: transform 300ms ease-in-out;
}

.fa-solid {
  cursor: pointer;
  color: white;
  position: absolute;
  opacity: 0.75;
  transition: opacity 100ms ease-in-out;
  z-index: 100;
}

.fa-solid:hover {
  opacity: 1;
}

.previous {
  left: 4.5rem;
}

.next {
  right: 4.5rem;
}
Now In this CSS code, The First Step is just adding the regular properties which are margin, padding, box-size, background color, and flex items in the universal section and body section.
The Separate Code for the above explanation.
* {
  padding: 0;
  margin: 0;
  box-sizing: border-box;
  -webkit-tap-highlight-color: transparent;
  user-select: none;
}

body {
  display: flex;
  height: 100vh;
  justify-content: center;
  align-items: center;
  background-color: wheat;
}
Now in the Second Step, We call out the div class name slider and fix the properties (display, align-items ) to make it center alignment and width, height and overflow for making changes in size and overflow, and a border radius to make sink in all corners
Also, We are adding a specific box-shadow property using RGBA and fixing the highlight color of tapping to transparent.
In the Last step, We just add properties to icons and styling out it by adding the Hover effects.
So Here we move on to Java Script for making the images slide.
JavaScript Code For Image Slider
const next = document.querySelector(".next");
const prev = document.querySelector(".previous");

const numImg = document.querySelectorAll("img").length;
let currImg = 1;

let timeoutID;

next.addEventListener("click", () => {
  currImg++;
  clearTimeout(timeoutID);
  updateImage();
});

prev.addEventListener("click", () => {
  currImg--;
  clearTimeout(timeoutID);

  updateImage();
});

const imgcontainer = document.querySelector(".img-container");

function updateImage() {
  if (currImg > numImg) {
    currImg = 1;
  } else if (currImg < 1) {
    currImg = numImg;
  }
  imgcontainer.style.transform = `translateX(-${(currImg - 1) * 800}px)`;

  timeoutID = setTimeout(() => {
    currImg++;
    updateImage();
  }, 2000);
}

updateImage();
Now We added the Java Script Code for making the Slider. The First Step is we getting the elements using the JavaScript query selector and create a current image and timeout to 1 and 0.
The Second Step is with the help of the event listener property we perform an event to make images the slider by incrementing the current image to + and using update IMG the image gets updated.
The Third Step is repeating the same step as the second but here we use the previous instead of the next.
const next = document.querySelector(".next");
const prev = document.querySelector(".previous");

const numImg = document.querySelectorAll("img").length;
let currImg = 1;

let timeoutID;

next.addEventListener("click", () => {
  currImg++;
  clearTimeout(timeoutID);
  updateImage();
});

prev.addEventListener("click", () => {
  currImg--;
  clearTimeout(timeoutID);

  updateImage();
});
The Fourth Step is calling out the div class image container in which the images were added inside. Now we add conditions for images to slide by creating separate functions and lastly, we give an updated image(), so every image started sliding.
ADVERTISEMENT
const imgcontainer = document.querySelector(".img-container");

function updateImage() {
  if (currImg > numImg) {
    currImg = 1;
  } else if (currImg < 1) {
    currImg = numImg;
  }
  imgcontainer.style.transform = `translateX(-${(currImg - 1) * 800}px)`;

  timeoutID = setTimeout(() => {
    currImg++;
    updateImage();
  }, 2000);
}

updateImage();
ADVERTISEMENT
Now We have Completed Our Project by adding the source codes. So we can see the project’s preview in the Output Section Mentioned below.
ADVERTISEMENT
FINAL OUTPUT Of Image Slider
ADVERTISEMENT
Now We have Successfully created our Image Slider Using HTML, CSS, and JavaScript. You can use this project for your personnel needs and the respective lines of code are given with the code pen link mentioned below.
ADVERTISEMENT
100+ Front-end Projects for Web developers (Source Code)
If you find out this Blog helpful, then make sure to search code with random on google for Front End Projects with Source codes and make sure to Follow the Code with Random Instagram page.
REFER CODE – Satvik Papoli
WRITTEN BY – Ragunathan S


