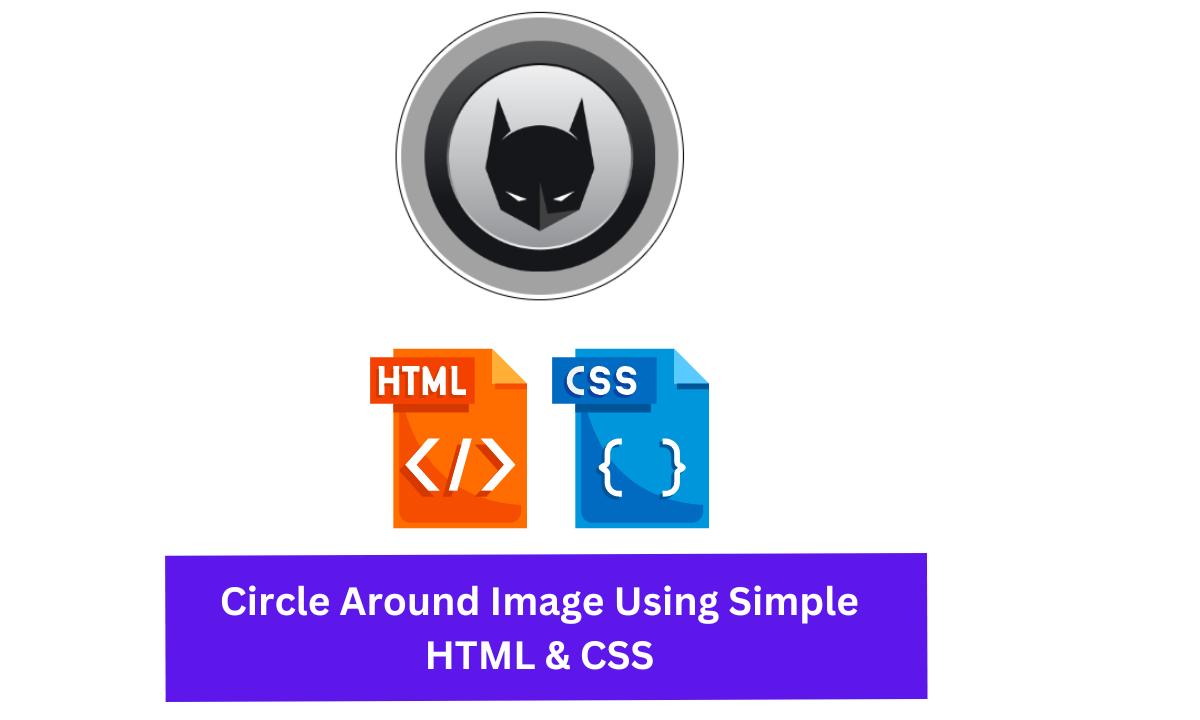
Hey Guys, Welcome To Our Blog, In Today’s Blog We Are Going To See How To Create An Circle Around Image Using Simple HTML and CSS Only.
The Circle around image is simply an circle is drawn over the image with centering of image to the circle. Like this we are going to create this project.
Circle Around Image Using Simple HTML & CSS
So, Let’s Begin Our Circle Around Image Project By Adding The Source Codes. For That, First, We Are Using The Html Code.
HTML CODE – Circle Around Image
<div class="container">
  <div class="crop">
    <img src="https://cdn.batman-news.com/wp-content/uploads/2014/06/Batman-News-Default.jpg" alt="" />
  </div>
</div>
Now We have added the HTML Code. In the First line we are creating an div class with name container and inside of div class we adding another div class with name crop, So these both were created for adding circle and centering image which would be done by CSS.
After that , we were adding an image using the img tag.
So that’s of for HTML , Now we move onto CSS to make this project complete.
CSS CODE – Circle Around Image
.container {
  background: #fff;
  border: 1px solid #000;
  padding: 3px;
  width: 200px;
  height: 200px;
  border-radius: 50%;
  overflow: hidden;
  margin: 20px;
}
.crop {
  height: 100%;
  border-radius: 50%;
  overflow: hidden;
  position: relative;
}
img {
  display: block;
  height: 100%;
  position: absolute;
  margin: auto;
  top: -100%;
  right: -100%;
  bottom: -100%;
  left: -100%;
}
Now the CSS code were added. Let me explain this code in easy steps. First we calling out the div class .container and adding the properties like background color , border , width , height , margin and padding , border-radius, and lastly overflow which will make the image with circle to the added CSS properties.
.container {
  background: #fff;
  border: 1px solid #000;
  padding: 3px;
  width: 200px;
  height: 200px;
  border-radius: 50%;
  overflow: hidden;
  margin: 20px;
}
Second, we have calling out the next div class . crop and adding the height, position , border-radius and overflow to make an circle for the project.
.crop {
  height: 100%;
  border-radius: 50%;
  overflow: hidden;
  position: relative;
}
Lastly, we calling out the image tag and adding the following properties in order to make the image centered position to the circle. The properties were given below for an image center position.
img {
  display: block;
  height: 100%;
  position: absolute;
  margin: auto;
  top: -100%;
  right: -100%;
  bottom: -100%;
  left: -100%;
}
Now We have completed adding the source code for the project. As we came to end of the project we can make use of source codes and output of project which given in the below output section.
FINAL OUTPUT – Circle Around Image

Codepen Preview Of Circle Around Image Using Simple HTML & CSS
Now We have Successfully created our Circle Around Image Using Simple HTML & CSS. You can use this project for your personnel needs and the respective lines of code are given with the code pen link mentioned below.
100+ Front-end Projects for Web developers (Source Code)
If you find out this Blog helpful, then make sure to search code with random on google for Front End Projects with Source codes and make sure to Follow the Code with Random Instagram page.
REFER CODE – Lennagar
WRITTEN BY – Ragunathan S


