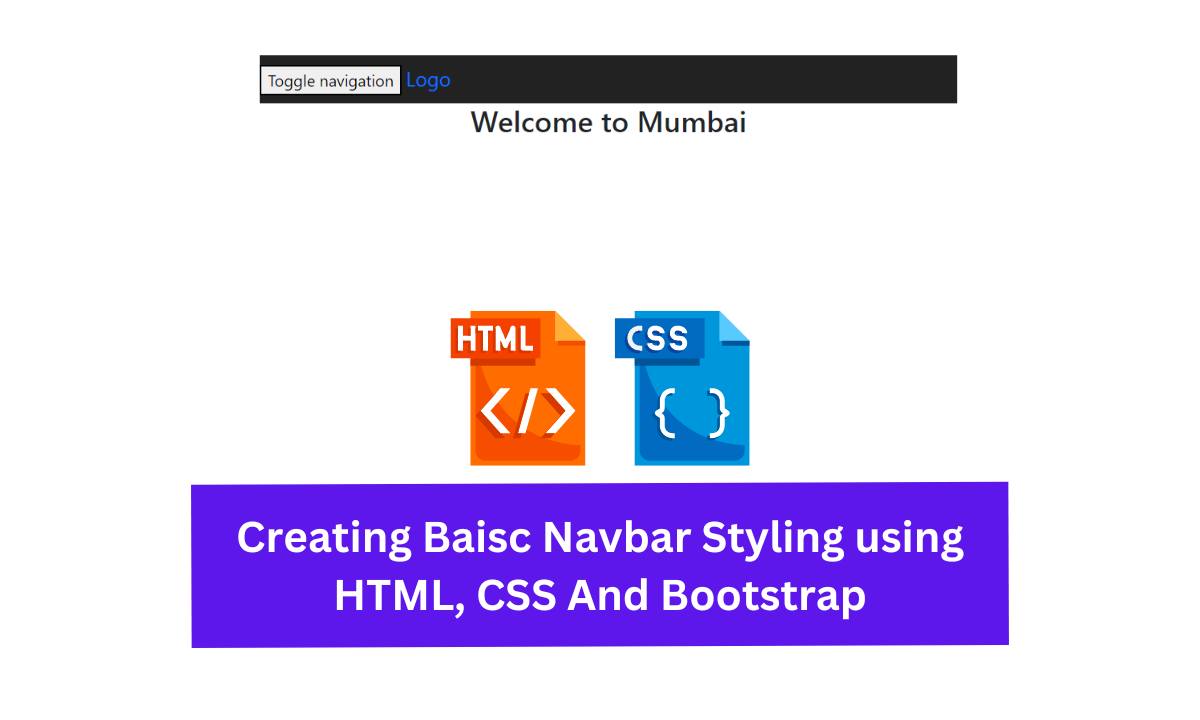
Hello coders, welcome to codewithrandom. Today we shall see the building of Navbar using HTML, CSS & JavaScript. We have seen numerous navbar on each and every website. It like a GPS for the website which guides the user to switch between webpages. But the thing which differs that the way of presentation which means every developer build the same navbar but the way of adding effects and altering it size makes it different from other website.
Creating Baisc Navbar Styling using HTML, CSS And Bootstrap
Let us see the coding part for this project:
HTML CODE For Navbar:
<div class="container">
    <header style="height: 80px"></header>
    <nav class="navbar navbar-inverse bs-dark">
        <div class="navbar-header">
            <button
                type="button"
                class="navbar-toggle collapsed"
                data-toggle="collapse"
                data-target="#bs-example-navbar-collapse-1"
                aria-expanded="false"
            >
                <span class="sr-only">Toggle navigation</span>
                <span class="icon-bar"></span> <span class="icon-bar"></span>
                <span class="icon-bar"></span>
            </button>
            <a class="navbar-brand" href="#">Logo</a>
        </div>
        <div class="collapse navbar-collapse" id="bs-example-navbar-collapse-1">
            <ul class="nav navbar-nav">
                <li class="active">
                    <a href="#"
                        >Homepage <span class="sr-only">(current)</span></a
                    >
                </li>
                <li class="dropdown">
                    <a
                        href="#"
                        class="dropdown-toggle"
                        data-toggle="dropdown"
                        role="button"
                        aria-haspopup="true"
                        aria-expanded="false"
                        >Explores <span class="caret"></span
                    ></a>
                    <ul class="dropdown-menu">
                        <li><a href="#">News</a></li>
                        <li><a href="#">Sports</a></li>
                        <li><a href="#">Business</a></li>
                        <li><a href="#">Fashion</a></li>
                        <li role="separator" class="divider"></li>
                        <li><a href="#">Gallery</a></li>
                        <li role="separator" class="divider"></li>
                        <li><a href="#">Videos</a></li>
                    </ul>
                </li>
            </ul>
            <form class="navbar-form navbar-left form-horizontal" role="search">
                <div class="input-group">
                    <input
                        type="text"
                        class="search-box"
                        placeholder="Search"
                    />
                    <button type="submit" class="btn">
                        <span class="glyphicon glyphicon-search"></span>
                    </button>
                </div>
            </form>
            <ul class="nav navbar-nav navbar-right">
                <li class="dropdown">
                    <a
                        href="#"
                        class="dropdown-toggle navbar-img"
                        data-toggle="dropdown"
                        role="button"
                        aria-haspopup="true"
                        aria-expanded="false"
                    >
                        Account
                        <img
                            src="http://placehold.it/150x150"
                            class="img-circle"
                            alt="Profile Image"
                        />
                    </a>
                    <ul class="dropdown-menu">
                        <li><a href="#">Profile</a></li>
                        <li><a href="#">Inbox</a></li>
                        <li><a href="#">Followers</a></li>
                        <li role="separator" class="divider"></li>
                        <li><a href="#">Settings</a></li>
                    </ul>
                </li>
            </ul>
        </div>
    </nav>
    <!----------- !Navbar End ------------>
    <div class="row" style="text-align: center"><h2>Welcome to Mumbai</h2></div>
    <section style="text-align: center; margin: 10px auto"></section>
</div>
HTML OUTPUT:
CSS Code For Navbar:
.bs-dark.navbar-inverse {
    background-color: #222;
    border-color: #080808;
}
.bs-dark .navbar-img {
    padding: 5px 6px !important;
}
.bs-dark .navbar-img img {
    width: 40px;
}
.bs-dark .dropdown-menu {
    min-width: 200px;
    padding: 5px 0;
    margin: 2px 0 0;
    background-color: #000;
    border: 1px solid rgba(0, 0, 0, 0.7);
    border: 1px solid rgba(0, 0, 0, 0.15);
    -webkit-box-shadow: 0 6px 12px rgba(0, 0, 0, 0.175);
    box-shadow: 0 6px 12px rgba(0, 0, 0, 0.175);
}
.bs-dark .dropdown-menu .divider {
    border: 1px solid rgba(0, 0, 0, 0.8);
}
.bs-dark .dropdown-menu > li > a {
    padding: 6px 20px;
    color: rgba(255, 255, 255, 0.8);
}
.bs-dark .dropdown-menu > li > a:hover,
.bs-dark .dropdown-menu > li > a:focus {
    color: rgba(255, 255, 255, 0.7);
    text-decoration: none;
    background-color: transparent;
}
.bs-dark .dropdown-menu > .active > a,
.bs-dark .dropdown-menu > .active > a:hover,
.bs-dark .dropdown-menu > .active > a:focus {
    color: rgba(255, 255, 255, 0.7);
    text-decoration: none;
    background-color: transparent;
    outline: 0;
}
.bs-dark .navbar-form {
    margin: 0;
    margin-top: 5px;
    padding: 8px 0px;
}
.bs-dark .navbar-form .search-box {
    border: 0px;
    height: 35px;
    outline: none;
    width: 320px;
    padding-right: 3px;
    padding-left: 15px;
    margin: 4px;
    -webkit-border-radius: 22px;
    -moz-border-radius: 22px;
    border-radius: 22px;
}
.bs-dark .navbar-form button {
    border: 0;
    background: none;
    padding: 2px 5px;
    margin-top: 2px;
    position: relative;
    left: -34px;
    margin-bottom: 0;
    -webkit-border-radius: 3px;
    -moz-border-radius: 3px;
    border-radius: 3px;
}
.bs-dark .search-box:focus + button {
    z-index: 3;
}
@media (min-width: 768px) {
    .bs-dark .dropdown:hover {
        background-color: #000;
    }
    .bs-dark .dropdown:hover .dropdown-menu {
        display: block;
    }
    .bs-dark .navbar-form {
        padding: 0px;
    }
    .bs-dark .navbar-form .search-box {
        width: 260px;
        height: 32px;
    }
}
In this External CSS code we have styled the tags and classes defined in HTML Code then we have set the bgcolor for the dropdown menu and navbar also we have set the border-radius for the navbar and set the size so that it can’t exceed from the usual size.
Final Output Of Navbar:
Summary Of Navbar:
We have created the navbar navigation using HTML & CSS. We defined all the necessary and required tags and classes in HTML code. Then styled the defined tags in HTML code, Then setting their size with the help of External CSS. If you loved it do comment as it boost our motivation to bring new projects for you guys. If you face any difficulty while performing you can reachout us with the help of comment section.


