Hello, Coders!! In this article, we’ll make a stopwatch out of HTML, and JavaScript. Stopwatch is a type of JavaScript project that is used to count things. To complete this project, you must be familiar with the fundamentals of JavaScript. In this tutorial, I will go over everything in detail.
Create a Simple Stopwatch Using JavaScript (Source Code)
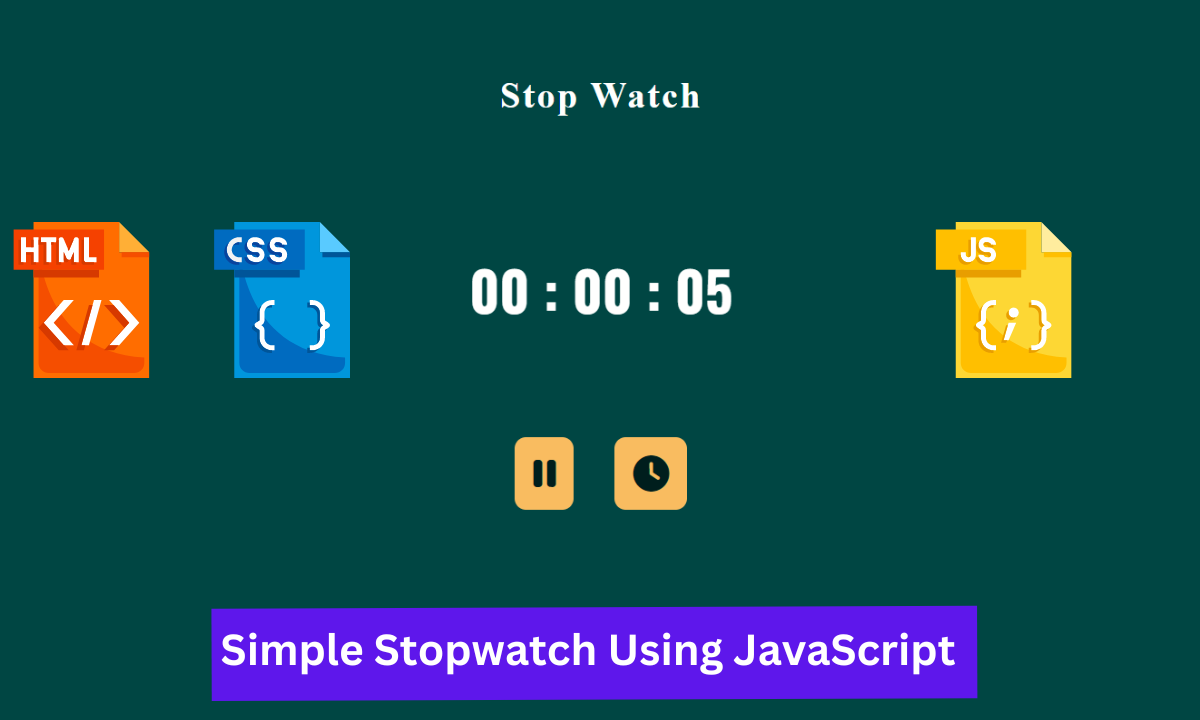
Let’s take a look at our Project 👇.
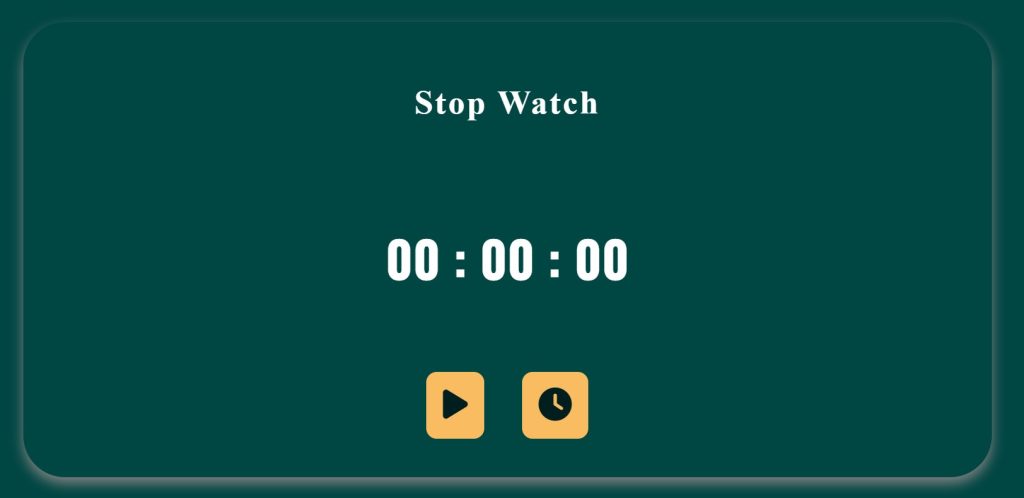
I hope you must have got an idea about the project.
So, Let’s Begin the Stopwatch Project By Adding The Source Codes. first We Are Using The Html Code.
Step1: Adding HTML code
HTML stands for Hyper Text Markup Language, and it provides structure to our website.
ALL HTML documents begin with <!doctype HTML>, which tells the browser that our code adheres to the most recent HTML version.
The HTML document begins with <html> and ends with </html>.
The main tag is <body>, where we will write all of our content that will be displayed on the browser later.
Now we’ll take a look at our HTML code.
<!DOCTYPE html>
<html>
  <head>
    <title>Timer</title>
    <meta charset="utf-8" />
    <meta name="viewport" content="width=device-width" />
    <link rel="stylesheet" href="style.css" />
    <script
      src="https://kit.fontawesome.com/1cf483120b.js"
      crossorigin="anonymous"
    ></script>
  </head>

  <body>
    <div class="container">
      <h1>Stop Watch</h1>
      <div class="timer">00 : 00: 00</div>
      <div class="navigation">
        <button class="btns play">
          <i class="fa-solid fa-play"></i>
        </button>
        <button class="reset">
          <i class="fa-solid fa-clock"></i>
        </button>
      </div>
    </div>

    <script src="index.js"></script>
  </body>
</html>
In our project, we added two icons: one to start the time and one to reset the time. To include those icons, we’ll need to include a link in our head section that allows us to import the icon later in our project.
<script src=”https://kit.fontawesome.com/1cf483120b.js” crossorigin=”anonymous” ></script>
No we can start making the structure of our stopwatch using HTML . First of all we add a div container which will contain the structure of our stopwatch .Now using h1 tag we will add the heading to our project. Using the div tag we will create our timer with 00 : 00 : 00 for our stopwatch.
Using the button tag, we now create another div that will contain our two buttons, one for play and one for reset.
We have added icon using the <i> from fontawesome.com into our html.
We’ll now look at the structure in the browser window to see how it looks without any styling.
Preview:
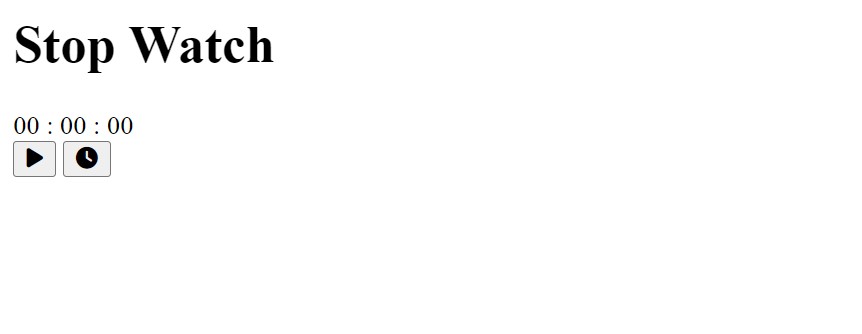
So we have added the HTML tags and Their contents, Now it’s time to make it attractive by adding the CSS code.
Step2: Adding CSS code
CSS is an abbreviation for Cascading Style Sheet. CSS will be used to style our webpage so that it looks appealing, and CSS is used to improve the user experience.
Now let’s take a look at our CSS code.
@import url("https://fonts.googleapis.com/css2?family=Oswald:wght@700&display=swap");

:root {
  --bkg: #004643;
  --textcolor: #fffffe;
  --buttonClr: #f9bc60;
  --btnTxtClr: #001e1d;
  --headlines: #abd1c6;
}
body {
  min-height: 100vh;
  display: flex;
  justify-content: center;
  align-items: center;
  background-color: var(--bkg);
  color: var(--textcolor);
}
.container {
  box-shadow: 0px 6px 12px grey;
  min-height: 80vh;
  min-width: 80vw;
  display: flex;
  justify-content: space-around;
  align-items: center;
  flex-direction: column;
  border-radius: 40px;
}

.container h1 {
  font-weight: 800;
  letter-spacing: 2px;
}
.timer {
  font-size: 3rem;
  font-weight: 900;
  font-family: "Oswald", sans-serif;
}

.navigation button {
  padding: 1rem;
  border-radius: 10px;
  outline: none;
  cursor: pointer;
  background-color: var(--buttonClr);
  border: none;
}
.navigation button i {
  font-size: 2rem;
  color: var(--btnTxtClr);
}
.navigation button:not(:last-child) {
  margin-right: 2rem;
}
button i:nth-child(2) {
  display: none;
}

button:nth-child(1):active {
  background-color: #001e1d;
}
button:nth-child(1):active i {
  color: var(--textcolor);
}
Now that we’ve included our CSS code in our article, let’s go over it step by step.
Portfolio Website Using HTML CSS And JAVASCRIPT ( Source Code)
ADVERTISEMENT
Step1: First, we’ll import the Google font “Oswald” so that we can use it to add them to our HTML later. We will declare text, background, and button colour using root so that we can use them to style our HTML elements later.
ADVERTISEMENT
@import url("https://fonts.googleapis.com/css2?family=Oswald:wght@700&display=swap");

:root {
  --bkg: #004643;
  --textcolor: #fffffe;
  --buttonClr: #f9bc60;
  --btnTxtClr: #001e1d;
  --headlines: #abd1c6;
}
Step2: Using the body tag Our body’s minimum height is “100 vh,” and the display is set to “flex.” We made our content “center” The border-radius was set to “40 px.” The background color as “Dark-green” and color “white”.
ADVERTISEMENT
body {
  min-height: 100vh;
  display: flex;
  justify-content: center;
  align-items: center;
  background-color: var(--bkg);
  color: var(--textcolor);
}
Step3: We added a grey box shadow using the class selector (.container). The minimum height is “80vh” and the minimum width is “80vw.” The display has been set to “flex.” The items are centred, and the flex-direction is set to “column.”
ADVERTISEMENT
We used the H1 tag to add a font weight of 800 and a letter spacing of 2 px.
ADVERTISEMENT
.container {
  box-shadow: 0px 6px 12px grey;
  min-height: 80vh;
  min-width: 80vw;
  display: flex;
  justify-content: space-around;
  align-items: center;
  flex-direction: column;
  border-radius: 40px;
}

.container h1 {
  font-weight: 800;
  letter-spacing: 2px;
}
Step4: We used the.timer to set the font-size to “3rem” and the font-weight to 900. The font family has been set to “Oswald.” Now we will be styling our button using the navigation button . The padding as “1rem” and border-radius as 10px and outline as “none” and the cursor is set to the pointer and border is set to “none”.
.timer {
  font-size: 3rem;
  font-weight: 900;
  font-family: "Oswald", sans-serif;
}

.navigation button {
  padding: 1rem;
  border-radius: 10px;
  outline: none;
  cursor: pointer;
  background-color: var(--buttonClr);
  border: none;
}
.navigation button i {
  font-size: 2rem;
  color: var(--btnTxtClr);
}
.navigation button:not(:last-child) {
  margin-right: 2rem;
}
button i:nth-child(2) {
  display: none;
}

button:nth-child(1):active {
  background-color: #001e1d;
}
button:nth-child(1):active i {
  color: var(--textcolor);
}
Now we have completed our css code and below👇here is the output after styling our webpage.

Step3: Adding javascript code
As seen above, we’ve used CSS to implement some designs in the HTML file. For functionality, we will use JavaScript to make the buttons work properly when clicked.
Weather App Using Html,Css And Javascript (Weather App Source Code )
We’ll get the HTML elements now by using the document. Using queryselector(), we will select our html element and then store its value by declaring constant variables.
// get elements
const timerContainer = document.querySelector(".timer"),
  playBtn = document.querySelector(".play"),
  playIcon = document.querySelector(".play i"),
  resetBtn = document.querySelector(".reset");
The variables for the timers will now be declared. Here, we created a let variable (these are those variables that can be used under the block for which they are specified). We defined the let variable timeInterval and set its value to null, as well as the values for the minute, hour, and second.
Then we created a function called startTimer() and set the value of second to increase as the function called We’ve used the condition statement here: if seconds divided by 60 equals 1, it resets the seconds to 0 and increments the minutes. Similarly, we created an if statement for our minutes, which states that if the minutes equal divided by minute, the minute value is set to zero and the hour is incremented. We also added the condition that if the second is less than 10, a zero will be appended to the prefix of our second. Similarly, the minutes, hours, and seconds have their values pushed to the hour, minute, and second elements.
let timeInterval = null,
  timeStatus = false,
  minutes = 0,
  seconds = 0,
  hours = 0,
  leadingMins = 0,
  leadingSecs = 0,
  leadingHrs = 0;

function startTimer() {
  seconds++;
  //if seconds dived by 60 = 1 set back the seconds to 0 and increment the minutes
  if (seconds / 60 === 1) {
    seconds = 0;
    minutes++;
    //if minutes dived by 60 = 1 set back the minutes to 0 and increment the hours
    if (minutes / 60 === 1) {
      minutes = 0;
      hours++;
    }
  }
  //add zero if seconds are less than 10
  if (seconds < 10) {
    leadingSecs = "0" + seconds.toString();
  } else {
    leadingSecs = seconds;
  }
  //add zero if minutes are less than 10
  if (minutes < 10) {
    leadingMins = "0" + minutes.toString();
  } else {
    leadingMins = minutes;
  }
  //add zero if hours are less than 10
  if (hours < 10) {
    leadingHrs = "0" + hours.toString();
  } else {
    leadingHrs = hours;
  }
  //Change timer text content to actaul stop watch
  timerContainer.innerHTML = `${leadingHrs} : ${leadingMins} : ${leadingSecs}`;
}
We’ll now add a click event to our button. When the user clicks the button, we will start the timer with a delay of 1000 miliseconds by using the setIntervsl method. and use the onClick function to reset the timer and reset all of the values to zero.
Now as we compeleted our project now will look at how it is working .
Preview:
Codepen Preview Create a Simple Stopwatch Using JavaScript
Now We have Successfully created our Timer poject. WE hope you understood the project , If you any doub’t feel free to comment!!
If you find out this Blog helpful, then make sure to search code with random on google for Front End Projects with Source codes and make sure to Follow the Code with Random Instagram page.
