Learners, In this article we are going to look at Email validation using Javascript. We all know when we fill out any form and when we do any mistake in the email section while writing it throw an error, Have you ever thought how this could even this possible all so don’t worry DEvs we have advanced this must that we can get this type of silly mistake.
Create Email Validation Using JavaScript
This is not so tough task learner that’s why we are going to experiment under a mini section of form validation. We are going to this with the javascript only, Are you all excited to look so join me till the end
Hey learners!
Welcome to our today’s blog with code with random. In this blog, we gonna learn how we can design Email Validation Using HTML CSS JAVASCRIPT.
I hope you must have got an idea about the project.
Let’s have a look at our project.
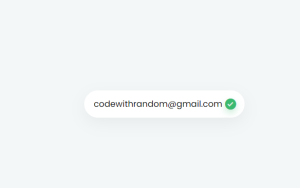
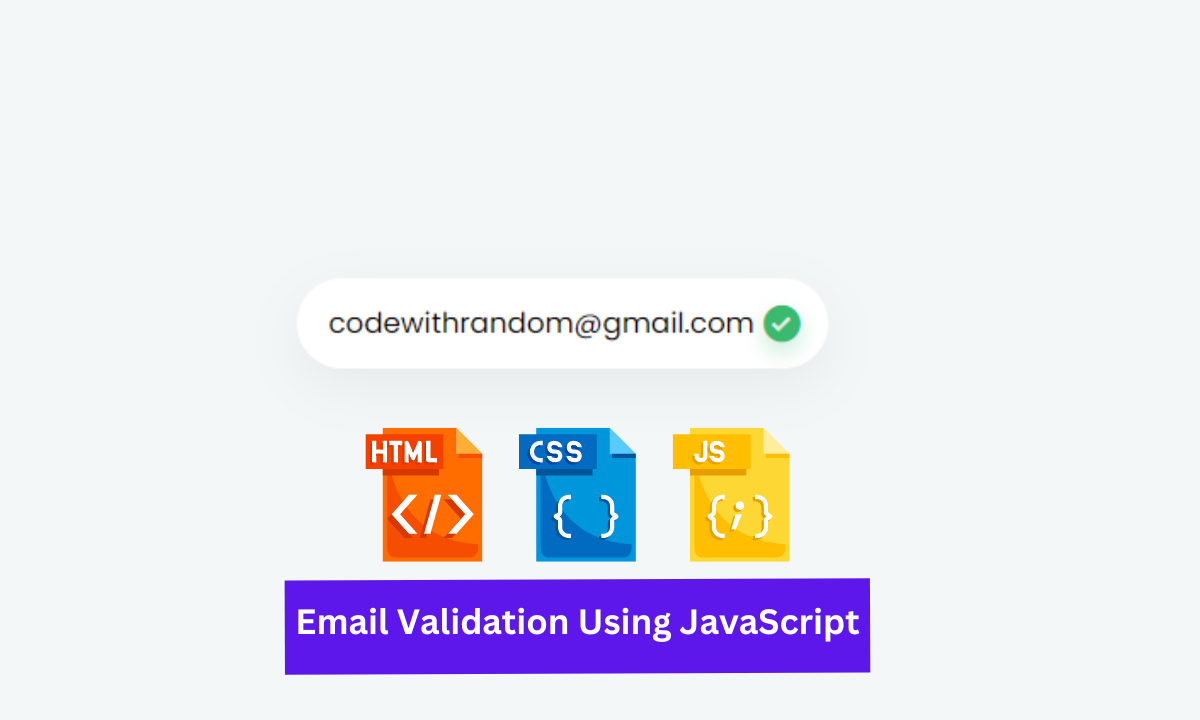
In the staring, our project will look like this and when we will do any mistake in writing an email then our project will turn in this mode and look at it closely.
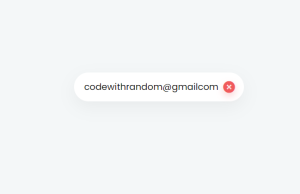
Are you able to see a green and red tick this is what we are validating?
HTML SECTION For Email Validation
Here I’m not going to add a structure of the HTML file from scratch, I will just paste the body part, it is so because the body is the main part of our designing a browser.
We have the following part in the HTML section.
First, we have a div with cons-input that will contain text as well as cross and sign tick.
Within the first div, we have this input type of email.
And in a separate div with a class icon, we have both cross and sign tick.
Go through the below code and run it in your IDE or where you used to design just HTML without CSS styling.
<link href="https://fonts.googleapis.com/css2?family=Poppins:wght@300;400;500;600;700;800&display=swap" rel="stylesheet">
    <link href='https://cdn.jsdelivr.net/npm/[email protected]/css/boxicons.min.css' rel='stylesheet'>

<div class="con-input">
  <input oninput="handleInput(event)" placeholder="Email" type="text">
  <div class="icons">
    <i class='bx bxs-check-circle check' ></i>
    <i class='bx bxs-x-circle x' ></i>
  </div>
</div>
CSS SECTION For Email Validation
By CSS we will design our first div and will bring in the center and then we will set the width of the text area and will design the input tag as icons also and in the end, both icons will be on hiding mode.
In the input design, we have added input focus this means when we will hover or select our input tag it will preview the focus property.
The Below code will analyze you more. So just add in your HTML half complete file and wait to watch some magic.
body {
        --primary: 25,91,255;
        --color: 44, 62, 80;
        display: flex;
        align-items: center;
        justify-content: center;
        flex-wrap: wrap;
        flex-direction: column;
        height: 100vh;
        background: #F4F7F8;
        height: calc(var(--vh, 1vh) * 100);
        overflow: hidden;
        color: rgb(var(--color));
        width: 100%;
        height: 100vh;
    }
    * {
        list-style: none;
        outline: none;
        padding: 0;
        margin: 0;
        font-family: 'Poppins', sans-serif;
        box-sizing: border-box;
    }
    .con-input {
        position: relative;
        display: flex;
        align-items: center;
    }
    input {
        padding: 11px 15px;
        border-radius: 25px;
        border: 0px;
        box-shadow: 0px 8px 25px 0px rgba(0,0,0,.05);
        transition: all .25s ease;
        min-width: 250px;
    }
    input.valid ~ .icons .check{
        opacity: 1;
        visibility: visible;
        transform: scale(1);
    }
    input.invalid ~ .icons .x{
        opacity: 1;
        visibility: visible;
        transform: scale(1);
    }
    .icons {
        position: absolute;
        right: 12px;
        display: flex;
        align-items: center;
        justify-content: center;
        pointer-events: none;
        width: 20px;
        height: 20px;
        transition: all .25s ease;
    }
    i {
        position: absolute;
        transition: all .25s ease;
        font-size: 1.3rem;
        opacity: 0;
        visibility: hidden;
        transform: scale(.5);
    }
    .check {
        color: #3aba6f;
        text-shadow: 0px 5px 10px rgba(58, 186, 111, .3);
    }
    .x {
        color: rgb(240, 90, 92);
        text-shadow: 0px 5px 10px rgba(240, 90, 92, .3);
    }
    input:focus {
        transform: translate(0,-6px);
        box-shadow: 0px 15px 25px 0px rgba(0,0,0,.09);
        padding-left: 20px;
    }
    input:focus ~ .icons {
        transform: translate(0, -6px);
    }
Javascript section For Email Validation
In the HTML file of the input tag, I have added oninput event that handles input means here in the js we will define this function for email validation.
In the function what we are doing is just whatever we will write in the input field it will take its value and cross-check its present syntax in the definition of the event. If it will be able to achieve the requirement as per field then it will give a response as valid and allow sign tick to preview otherwise invalid and a cross sign will preview.
For observing this magic for this project then you should add the js file with the rest of the HTML and CSS file and enjoy this project and deploy it on Github.
function handleInput(evt) {
        const value = evt.target.value
        const emailRegex = /^(([^<>()[\]\.,;:\s@\"]+(\.[^<>()[\]\.,;:\s@\"]+)*)|(\".+\"))@(([^<>()[\]\.,;:\s@\"]+\.)+[^<>()[\]\.,;:\s@\"]{2,})$/i

        if (emailRegex.test(value.trim())) {
            evt.target.classList.add('valid')
            evt.target.classList.remove('invalid')
        } else {
            evt.target.classList.add('invalid')
            evt.target.classList.remove('valid')
        }

        if (!value) {
            evt.target.classList.remove('invalid')
        }
    }
A live preview of our project is attached below refer to this codepen.
Final Output Of Email Validation
By this blog… We have learned how we can design Email validation using HTML CSS JAVASCRIPT.
Now I’m looking for your reviews.
So, How was the blog , Learners!
ADVERTISEMENT
If you want a more crisp blog like this then please check our Blogs sites CodewithRandom. keep tuned with us because every day you will learn something new here.
ADVERTISEMENT
I hope that I’m able to make you understand this topic and that you have learned something new from this blog. If you faced any difficulty feel free to drop a comment down your problems and if you liked it, please show your love in the comment section. This fills bloggers’ hearts with enthusiasm for writing more new blogs.
ADVERTISEMENT
You can follow me on Instagram
ADVERTISEMENT
Written by @Ankit kumar
ADVERTISEMENT
Code by @Luisdanielroviracontreras
