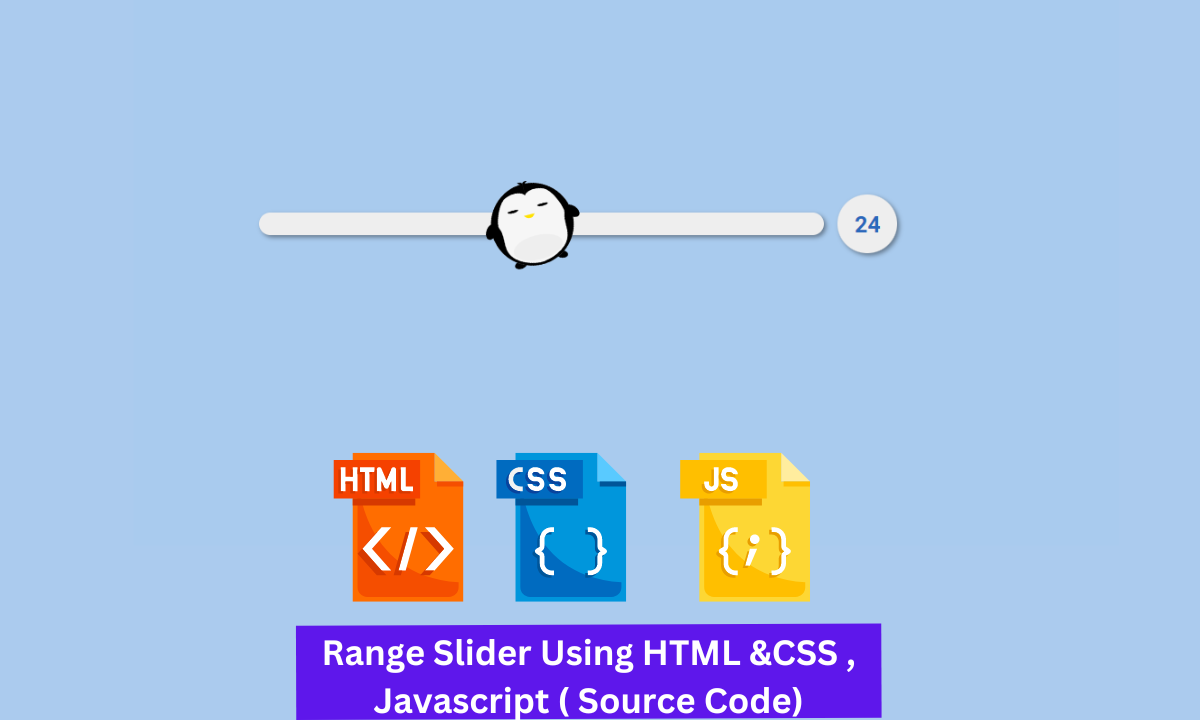
Learners, In this article we are going to design an interactive and impressive project which is a Rolling Range Slider.
Let me bit explain what is the project about whenever you have to mark anything out of a certain fixed number then what we do just put the marker anywhere on the defined range. similarly, our project is going to describe the stuff.
We will have a beautiful penguin over a range slider that takes around last till 50 value, so if you want to mark 25 out 50 just roll the penguin and place over 25 isn’t it cool.
Don’t worry Learner soon you will have with project preview .
Range Slider Using HTML &CSS , Javascript ( Source Code)
Hey learners!
Welcome to our today’s blog with code with random. In this blog, we gonna learn how we can design a Rolling Range Slider Using HTML CSS JAVASCRIPT.
I hope you must have got an idea about the project.
Let’s have a look at our project.
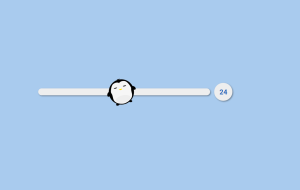
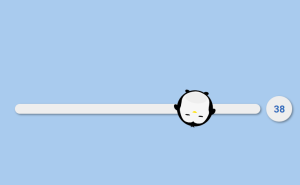
As you are looking at the project preview this is the starting or by default stage of the project while if you will roll the penguin then our project will look like this:-
HTML Code SECTION For Range Slider
Here I’m not going to add a structure of the HTML file from scratch, I will just paste the body part, it is so because the body is the main part of our designing a browser.
We have the following part in the HTML section.
An input with slider type that has by default value 0.
Then we have labeled it as slider type.
Go through the below code and run it in your IDE or where you used to design just HTML without CSS styling.
<input id="slider" name="slider" type="range" value=0>
<label for="slider">0</label>
Css Code SECTION For Range Slider
By CSS we will design our input tag and will bring it to the center and then we will set the width of the input tag and will more focus on designing the penguin (that is our label) and placing it over the input tag as above of slider.
Ecommerce Website Using Html Css And Javascript Source Code
The Below code will analyze you more. So just add in your HTML half-complete file and wait to watch some magic.
html,
body {
  margin: 0;
  height: 100%;
}
body {
  display: flex;
  justify-content: center;
  align-items: center;
  background-color: #a9cbee;
}
input[type="range"] {
  -webkit-appearance: none;
  background: transparent;
  width: 90%;
  max-width: 500px;
  outline: none;
}
input[type="range"]:focus,
input[type="range"]:active,
input[type="range"]::-moz-focus-inner,
input[type="range"]::-moz-focus-outer {
  border: 0;
  outline: none;
}
input[type="range"]::-moz-range-thumb {
  border: none;
  height: 50px;
  width: 50px;
  background-color: transparent;
  background-image: url("https://storage.googleapis.com/pw-stuff/thumbs-sprite.png");
  background-position: 0 0;
  background-size: cover;
  transform: scale(1.9) rotateZ(var(--thumb-rotate, 10deg));
  cursor: pointer;
}
input[type="range"]::-moz-range-thumb:active {
  background-position: 100% 0px;
  transform: scale(2) rotateZ(var(--thumb-rotate, 10deg));
}
input[type="range"]::-moz-range-track {
  width: 100%;
  height: 20px;
  background: #eee;
  border-radius: 10px;
  box-shadow: 2px 2px 4px rgba(0,0,0,0.4);
  cursor: pointer;
}
input[type="range"]::-moz-range-progress {
  height: 20px;
  background: #4685d7;
  border-radius: 10px;
  cursor: pointer;
}
input[type="range"]::-webkit-slider-thumb {
  border: none;
  height: 50px;
  width: 50px;
  background-color: transparent;
  background-image: url("https://storage.googleapis.com/pw-stuff/thumbs-sprite.png");
  background-position: 0 0;
  background-size: cover;
  transform: scale(1.9) rotateZ(var(--thumb-rotate, 10deg));
  cursor: pointer;
  margin-top: -15px;
  -webkit-appearance: none;
}
input[type="range"]::-webkit-slider-thumb:active {
  background-position: 100% 0px;
  transform: scale(2) rotateZ(var(--thumb-rotate, 10deg));
}
input[type="range"]::-webkit-slider-runnable-track {
  width: 100%;
  height: 20px;
  background: #eee;
  border-radius: 10px;
  box-shadow: 2px 2px 4px rgba(0,0,0,0.4);
  cursor: pointer;
  -webkit-appearance: none;
}
label {
  background: #eee;
  border-radius: 50%;
  box-shadow: 2px 2px 4px rgba(0,0,0,0.4);
  padding: 14px;
  margin-left: 10px;
  font-family: Roboto, 'Helvetica Neue', Arial;
  font-size: 20px;
  width: 25px;
  text-align: center;
  color: #2968bb;
  font-weight: bold;
  content: '';
}
.twitter-link {
  position: absolute;
  bottom: 4px;
  margin: auto;
  font-family: sans-serif;
  font-size: 12px;
  color: rgba(0,0,0,0.6);
}
JAVASCRIPT Code SECTION For Range Slider
In the Javascript part, we will add magic logic as initially when our page will be loaded then only the first preview part or default part of the project will be previewed you can refer to the attached first image.
As our value rage is fixed so we have added an event listener in the label and by defining the function within the function we are doing mathematical calculation.
For observing this magic for this project then you should add the js file with the rest of the HTML and CSS file and enjoy this project and deploy it on Github.
const input = document.querySelector("input");
const label = document.querySelector("label");

input.addEventListener("input", event => {
  const value = Number(input.value) / 100;
  input.style.setProperty("--thumb-rotate", `${value * 720}deg`);
  label.innerHTML = Math.round(value * 50);
});
A live preview of our project is attached below refer to this codepen
Final Output Of Range Slider Using Html & Css And JS
By this blog… We have learned how we can design a Rolling Range Slider Project HTML CSS JAVASCRIPT.
Now I’m looking for your reviews.
So, How was the blog , Learners!
ADVERTISEMENT
If you want a more crisp blog like this then please check our Blogs sites CodewithRandom. keep tuned with us because every day you will learn something new here.
ADVERTISEMENT
Weather App Using Html,Css And Javascript (Weather App Source Code )
ADVERTISEMENT
I hope that I’m able to make you understand this topic and that you have learned something new from this blog. If you faced any difficulty feel free to drop a comment down your problems and if you liked it, please show your love in the comment section. This fills bloggers’ hearts with enthusiasm for writing more new blogs.
ADVERTISEMENT
You can follow me on Instagram
ADVERTISEMENT
Written by @Ankit kumar
Code by @pwambach
