Create An Alarm Clock Using HTML, CSS, & JavaScript
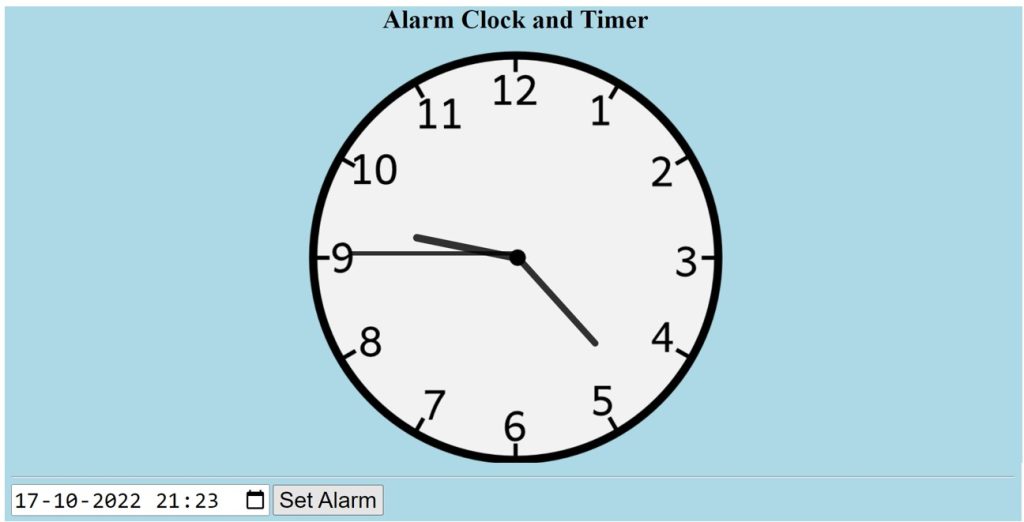
Hey Programmers!! We all prefer alarm clocks because we are aware that we programmers don’t have a good sleep pattern. You’ve all probably used an alarm clock at some point in your life, whether it was to get up early to practise coding or go for a run.
However, have you ever thought about how alarm clocks function and how we can create our own using only HTML, CSS, and Javascript? Using HTML, CSS, and Javascript, we’ll create an alarm Clock in this article.We will be using HTML to build the structure for our alarm clock, then using some styling concepts, we will be adding some sort of styling to our alarm clock and then using the javascript concepts to add the alarm functionality.
50+ HTML, CSS & JavaScript Projects With Source Code
| Code by | Robert L.Gorman |
| Project Download | Link Available Below |
| Language used | HTML, CSS and JavaScript |
| External link / Dependencies | No |
| Responsive | Yes |
This project is designed for beginners, and we will building our own Alarm Clock step by step. By the end of this article, you will be able to build your own Alarm Clock using HTML , CSS and Javascript.
I hope you have a general idea of what the project entails. In our article, we will go over this project step by step.
Step1: Adding some basic HTML Code
The whole interface of the Javascript Alarm Clock interaction is contained in this HTML code for the Javascript alarm. The structure will be created by HTML code only, and the browser will display the result. Simply write these blocks of code in the text editor you have and save it as index to create this. HTML.
<!DOCTYPE html>
<html lang="en">

<head>
    <meta charset="UTF-8" />
    <meta http-equiv="X-UA-Compatible" content="IE=edge" />
    <meta name="viewport" content="width=device-width, initial-scale=1.0" />
    <title>Alarm Clock</title>
    <link rel="stylesheet" href="style.css" />
</head>

<body>
    <!-- Clock Face -->
    <h1 style="text-align:center;">Alarm Clock and Timer</h1>

    <div id="clockContainer">
        <div id="hour"></div>
        <div id="minute"></div>
        <div id="second"></div>
    </div>

    <br><br>
    <hr>

    <!-- Day date Alarm Setting html -->

    <input id="alarmTime" type="datetime-local">
    <button id="alarmButton" onclick="setAlarm(this);">Set Alarm</button>

    <div id="alarmOptions" style="display: none;">
        <button onclick="snooze();">Snooze 5 minutes</button>
        <button onclick="stopAlarm();">Stop Alarm</button>
    </div>

    <script src="index.js"></script>
</body>

</html>
Before we add the structure to our Alarm Clock. We must include some links in the HTML head section. To link them to one another, we will primarily add the link to our external stylesheet file and we need to link the HTML file with our javascript file for that we need to add the Javascript link into the body section of our HTML.
100+ JavaScript Projects With Source Code ( Beginners to Advanced)
<link rel="stylesheet" href="style.css" /> //Add this under the head section.
<script src="index.js"></script> // Add this under the body section.
Now let’s create the structure for our alarm clock.
- We’ll make a heading for our web alarm clock using the <h1> tag, and we’ll center the text by utilising inline CSS as well.
- Now we will create a container using the div tag which will contain the div of our hour, minute, and second clock hand . We also used two br> (break tags) to add two line spaces after the container tag and also added a horizontal row using the <hr> tag.
- Now we will create the input type of date-time for taking the input of date and time from the user .
- We’ll now create two buttons: one for sleep and one for stop. Additionally, we will provide both of them an on-click function.
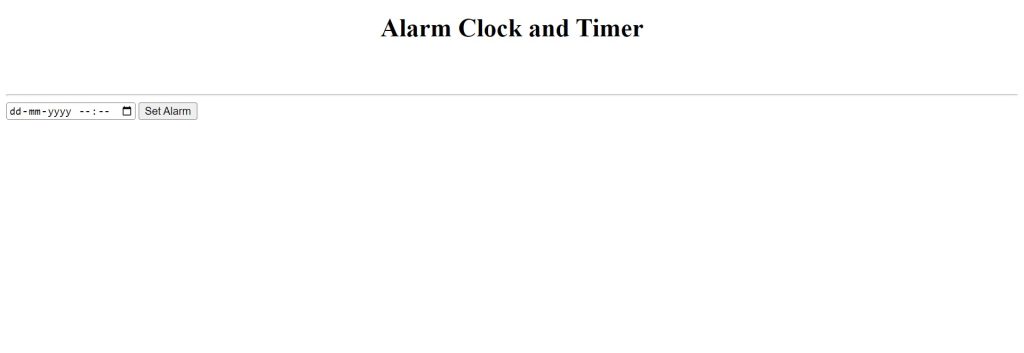
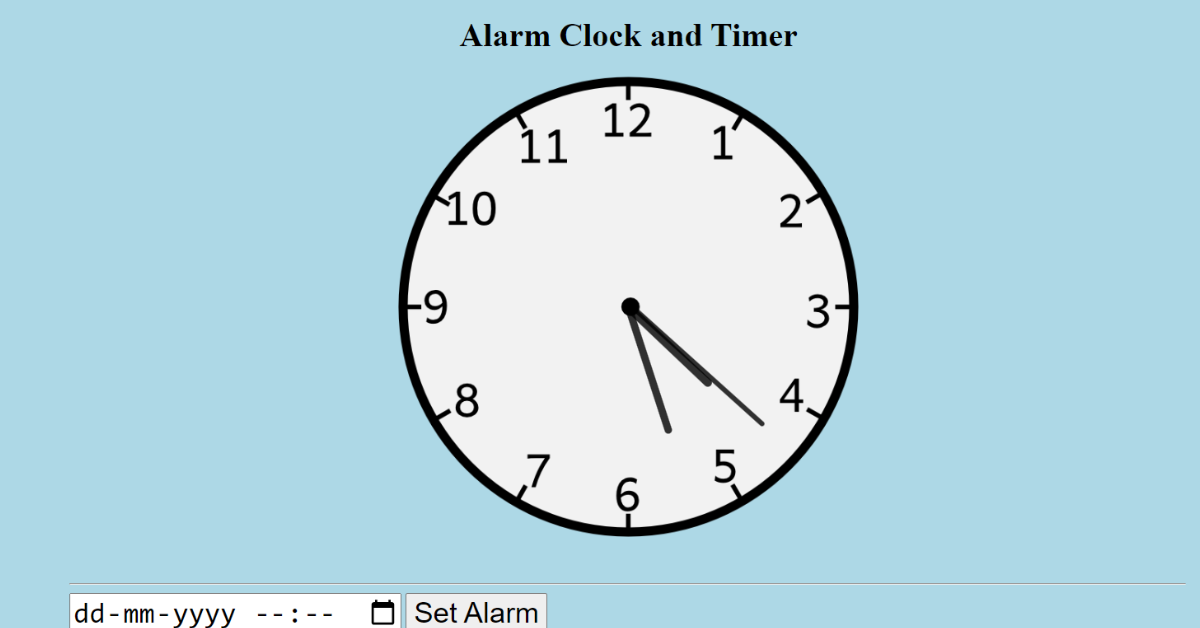
We have now added the basic structure of our webpage. Now we will be using our stylesheet to add styles to our portfolio, but first let’s take a look at our output.
Restaurant Website Using HTML and CSS
Output:
Step2: Adding CSS Code
We will now mostly style our structure using the classes we defined inside our html element.But in this project we have mostly used the Id selector becuase in this article we need style all the elements individually to add the clock look.
body {
  background-color: lightblue;
}

#clockContainer {
  position: relative;
  margin: auto;
  height: 40vw;
  /*to make the height and width responsive*/
  width: 40vw;
  background: url(https://assets.codepen.io/78749/clock-face.png) no-repeat;
  /*setting our background image*/
  background-size: 100%;
}

#hour,
#minute,
#second {
  position: absolute;
  background: black;
  border-radius: 10px;
  transform-origin: bottom;
}

#hour {
  width: 1.8%;
  height: 25%;
  top: 25%;
  left: 48.85%;
  opacity: 0.8;
}

#minute {
  width: 1.6%;
  height: 30%;
  top: 19%;
  left: 48.9%;
  opacity: 0.8;
}

#second {
  width: 1%;
  height: 40%;
  top: 9%;
  left: 49.25%;
  opacity: 0.8;
}

.audio {
  position: relative;
  margin-left: auto;
  margin-right: auto;
  height: 40vw;
  /*to make the height and width responsive*/
  width: 40vw;
}

/* This is a single-line comment */

.center {
  margin-left: auto;
  margin-right: auto;
  width: 60%;
  border: 3px solid #3b21ad;
  padding: 10px;
}

p {
  margin-top: 1em;
  margin-bottom: 1em;
  margin-left: 0;
  margin-right: 0;
}

label {
  font-size: 28px;
}

#party {
  font-size: 28px;
  color: #0320fc;
}

form {
  margin: 0 auto;
  width: 800px;
}

#alarmTime {
  font-size: 28px;
}

#alarmButton {
  font-size: 28px;
}
After we’ve added the CSS code, we’ll go over it step by step. To save time, you can simply copy this code and paste it into your IDE. Let us now examine our code step by step.
Gym Website Using HTML and CSS With Source Code
Step1:We will give our alarm clock body’s backdrop a light blue colour by using the body tag. Our clock’s container will now be styled using the id selector (#clockContainer). position is set to relative and margin is set to the auto Using the background and the url attribute, we will also upload an image of a clock with dimensions of 40vw in width and height. It is set to 100% for the background’s width.
body {
  background-color: lightblue;
}

#clockContainer {
  position: relative;
  margin: auto;
  height: 40vw;
  /*to make the height and width responsive*/
  width: 40vw;
  background: url(https://assets.codepen.io/78749/clock-face.png) no-repeat;
  /*setting our background image*/
  background-size: 100%;
}
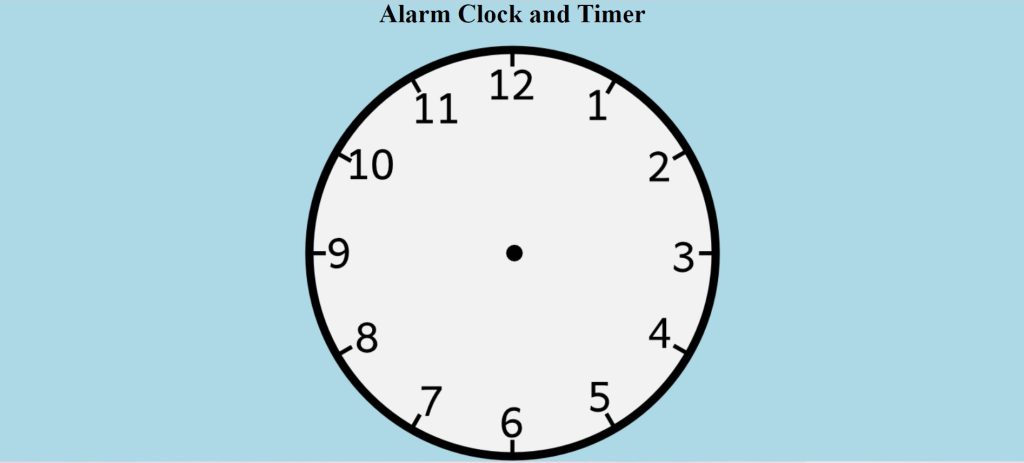
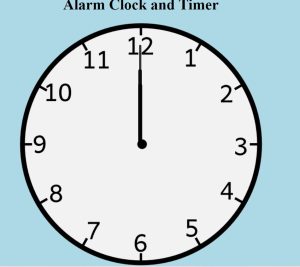
Step2: We will now add the clock’s hour, minute, and second hands using CSS utilising the id selector (hour, minute, second). First off, we’ve added a standard style with a border radius of 10px, a background colour of black, and a position that is relative.
We shall now specify the style of our clock hour hand. 1.8% of the width and 25% of the height are set. Using the top and left characteristics, we leave a space of 48.25% from the top and a space from the left. We will set its opacity to 0.8 using the opacity property.
In a similar manner, we will add the styling to our minute and second hands. Just once, go through the code and you will easily understand the code.
#hour,
#minute,
#second {
  position: absolute;
  background: black;
  border-radius: 10px;
  transform-origin: bottom;
}

#hour {
  width: 1.8%;
  height: 25%;
  top: 25%;
  left: 48.85%;
  opacity: 0.8;
}

#minute {
  width: 1.6%;
  height: 30%;
  top: 19%;
  left: 48.9%;
  opacity: 0.8;
}

#second {
  width: 1%;
  height: 40%;
  top: 9%;
  left: 49.25%;
  opacity: 0.8;
}
Step3: Using javascript ideas, we will now add styles to our HTML components, which will be added to our external CSS file. Let’s first look at what we have styled, though.
We’ll add a relative position using the audio class. Additionally, we will set the left and right margins to auto using the margin-left and margin-right properties. The dimensions are set to 40 vw for both height and width.
Additionally, we styled the input and button. We did that by using the id selector. Our alarm clock’s input and button now have a 28 px font size.
.audio {
  position: relative;
  margin-left: auto;
  margin-right: auto;
  height: 40vw;
  /*to make the height and width responsive*/
  width: 40vw;
}

/* This is a single-line comment */

.center {
  margin-left: auto;
  margin-right: auto;
  width: 60%;
  border: 3px solid #3b21ad;
  padding: 10px;
}

p {
  margin-top: 1em;
  margin-bottom: 1em;
  margin-left: 0;
  margin-right: 0;
}

label {
  font-size: 28px;
}

#party {
  font-size: 28px;
  color: #0320fc;
}

form {
  margin: 0 auto;
  width: 800px;
}

#alarmTime {
  font-size: 28px;
}

#alarmButton {
  font-size: 28px;
}
Step3: Adding Javascript Code
//  Day date Alarm Setting js
var alarmSound = new Audio();
alarmSound.src = "https://assets.codepen.io/78749/fantasy_alarm_clock.mp3";

var alarmTimer;
function setAlarm(button) {
  var ms = document.getElementById("alarmTime").valueAsNumber;
  if (isNaN(ms)) {
    alert("Invalid Date");
    return;
  }
  var alarm = new Date(ms);
  var alarmTime = new Date(
    alarm.getUTCFullYear(),
    alarm.getUTCMonth(),
    alarm.getUTCDate(),
    alarm.getUTCHours(),
    alarm.getUTCMinutes(),
    alarm.getUTCSeconds()
  );
  var differenceInMs = alarmTime.getTime() - new Date().getTime();
  if (differenceInMs < 0) {
    alert("Specified time is already passed");
    return;
  }
  alarmTimer = setTimeout(initAlarm, differenceInMs);
  button.innerText = "Cancel Alarm";
  button.setAttribute("onclick", "cancelAlarm(this);");
}

function cancelAlarm(button) {
  clearTimeout(alarmTimer);
  button.innerText = "Set Alarm";
  button.setAttribute("onclick", "setAlarm(this);");
}

function initAlarm() {
  alarmSound.play();
  document.getElementById("alarmOptions").style.display = "";
}

function stopAlarm() {
  alarmSound.pause();
  alarmSound.currentTime = 0;
  document.getElementById("alarmOptions").style.display = "none";
  cancelAlarm(document.getElementById("alarmButton"));
}

function snooze() {
  stopAlarm();
  alarmTimer = setTimeout(initAlarm, 300000); // 5 * 60 * 1000 = 5 Minutes
}
setInterval(() => {
  d = new Date(); //object of date()
  hr = d.getHours();
  min = d.getMinutes();
  sec = d.getSeconds();
  hr_rotation = 30 * hr + min / 2; //converting current time
  min_rotation = 6 * min;
  sec_rotation = 6 * sec;

  hour.style.transform = `rotate(${hr_rotation}deg)`;
  minute.style.transform = `rotate(${min_rotation}deg)`;
  second.style.transform = `rotate(${sec_rotation}deg)`;
}, 1000);
- In order to store the url to our alarm clock sound, we will first create a new variable called alarmSound and use the new Audio () constructor to fetch that sound.
- Now we will create a new function called setAlarm(button) we will pass a parameter called button. Inside that function we will store the value of HTML element using the document.getElementById. We will also use the conditional statement if the value of our variable is Nan it will show an alert (invalid date).
- Now we will create a variable called alarm which we will be using to fetch the date from user using new Date() which creates a new date object with the current date and time:
- using the conditional statement we will check whether the set alarm time is less than to the actual time then it will show an alert time passed .
- Usnig the setTimeOut method we will add a time out to our cancel alarm button as the user click on it the time is reset.
Ecommerce Website Using HTML, CSS, & JavaScript (Source Code)
The project is now finished, we have completed our Alarm Clock using HMTL ,CSS and Javascript. Now look at the live preview.
ADVERTISEMENT
Output:
ADVERTISEMENT
Codepen Preview Of Create An Alarm Clock Using HTML, CSS, & JavaScript
ADVERTISEMENT
25+ Html Css Card Design Layout Style ( Source Code)
ADVERTISEMENT
Here Below we will we provide you the link to the zip file for downloading the source code of our Webpage.
[su_button id=”download” url=”https://drive.google.com/file/d/1KVJLnqDZsZe9k1YsFaKWppranFV_qz2D/view?usp=sharing” target=”blank” style=”3d” size=”11″ wide=”yes” center=”yes” icon=”icon: download”]DOWNLOAD CODE NOW[/su_button]
ADVERTISEMENT
Now We have Successfully created our Alram Clock using HTML , CSS & Javascript. You can use this project directly by copying into your IDE. WE hope you understood the project , If you any doubt feel free to comment!!
If you find out this Blog helpful, then make sure to search code with random on google for Front End Projects with Source codes and make sure to Follow the Code with Random Instagram page.
Which code editor do you use for this Alarm Clock coding?
I personally recommend using VS Code Studio, it’s straightforward and easy to use.
is this project responsive or not?
Yes! this is a responsive project
Do you use any external links to create this project?
No!

![15+ CSS Text Hover Effects [Demo + Code] Read more about the article 15+ CSS Text Hover Effects [Demo + Code]](https://www.codewithrandom.com/wp-content/uploads/2022/11/codewithrandom47-300x157.png)
