File Upload with Progress Bar HTML ,CSS & JavaScript
Hello Coders!! In This Article We Will Be Creating A Simple Project We Will Create A File Upload With A Progress Bar. This Article We Will Be For Beginner And By The End Of The Article You Will Be Creating Your Own File Upload With Progress Bar Using Html,css And Javascript.
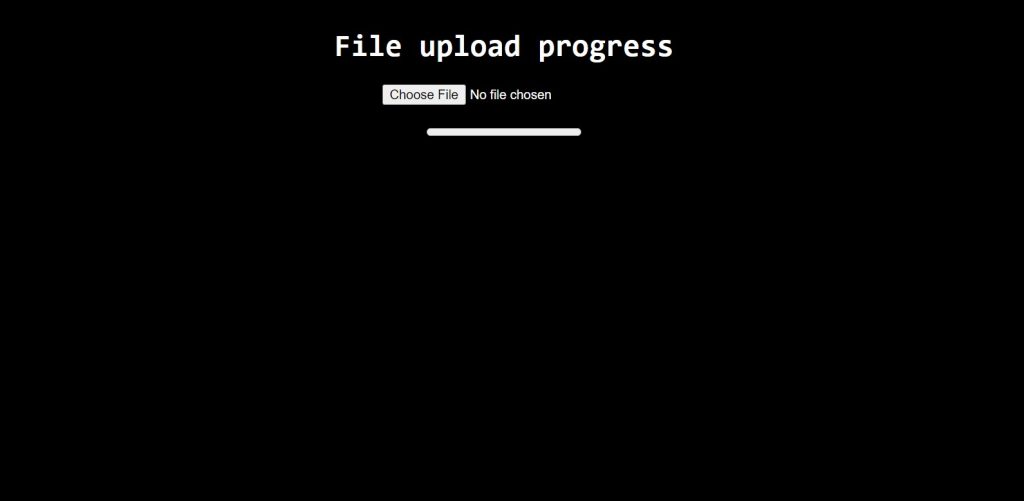
You will see a button and be prompted to select your file in this project (File Upload JavaScript with Progress Bar), as you can see in the preview image.
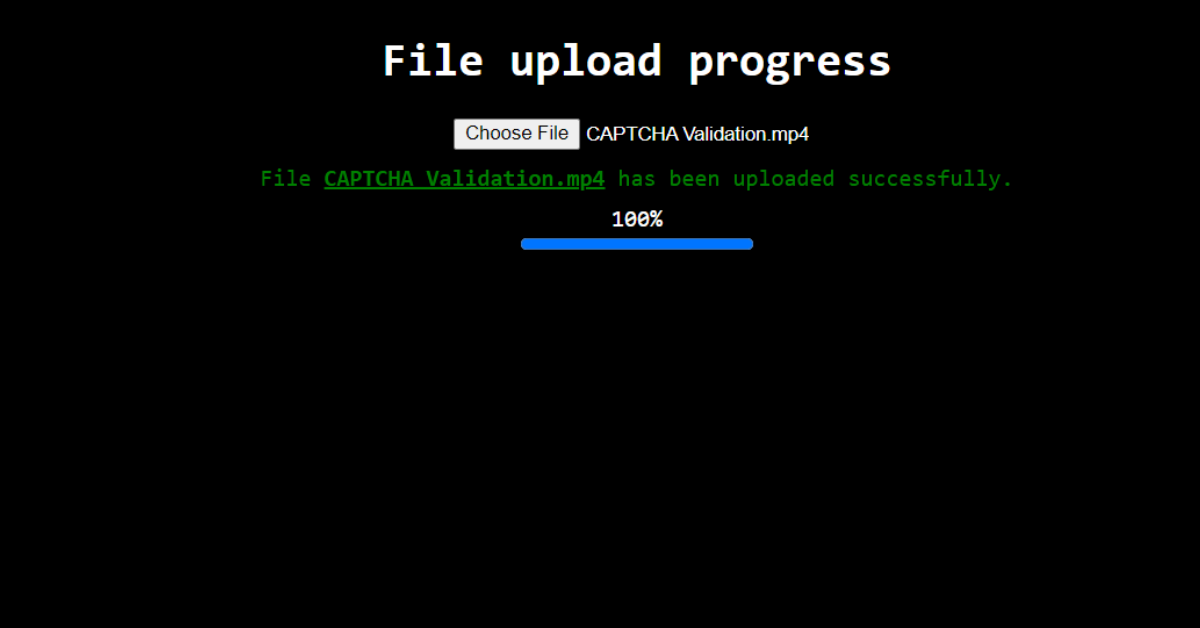
As soon as you press that button, You can choose any file to upload from the open file window and container. The name of the file will appear once you have chosen it. You can view the progress bar, filename, percentage of uploaded files, and other information there as your files are uploaded.
I hope you have a general idea of what the project entails. In our article, we will go over this project step by step.
Step1: Adding some basic HTML Code
HTML stands for HyperText Markup Language. This is a markup language. Its main job is to give our project structure. We will provide our project structure by utilising this markup language. So let’s look at our HTML code.
<html>

<head>
    <link rel="stylesheet" href="style.css">
    <title>Progress Bar</title>
</head>

<body>
    <div>
        <h1>File upload progress</h1>
        <input type="file" id="file-uploader">

        <div id="feedback">

        </div>

        <label id="progress-label" for="progress"></label>
        <progress id="progress" value="0" max="100"> </progress>
    </div>
    <script src="index.js"></script>
</body>

</html>
Before beginning to add structure to our navbar with a search box, We need to update some links. Because we used two separate files for our HTML and CSS in this project, we need to connect them all.To do this, please include the links to our CSS .
<link rel="stylesheet" href="style.css">
Now let’s Add the structure for our file progress bar.
In this project we have used 5 most basic element of HTML to add structure for our file upload progress bar.
- We will include a heading for our project using the <h1> tag.
- We will use the <input> tag with type “file” to select the file from the user’s computer.
- We will construct a div and give it the id feedback, which we will use in our java script.
- We will now include a label for our progress using the <label> tag.
- Using the <progress >, we can now track the development of our uploaded file.
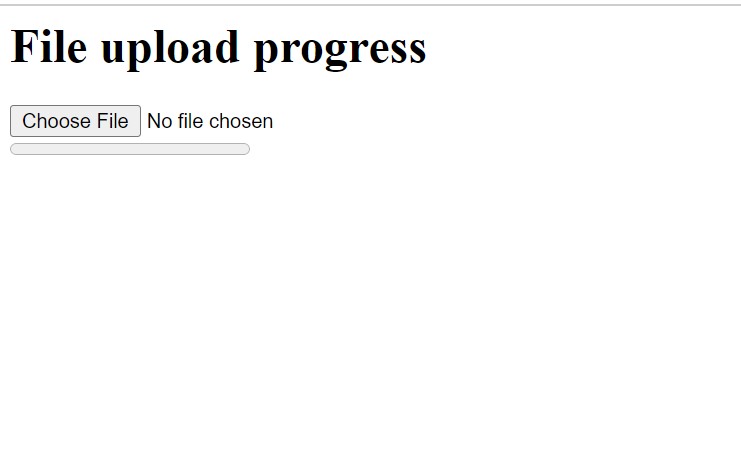
We have now added the basic structure of our webpage. Now we will be using our stylesheet to add styles to our file upload with progress bar but first let’s take a look at our output.
Output:
Step2: Adding CSS Code
Cascading Style Sheets (CSS) is a markup language for describing the presentation of a document written in HTML or XML. CSS, like HTML and JavaScript, is a key component of the World Wide Web.
50+ Html ,Css & Javascript Projects With Source Code
Now we will look at our CSS code.
html {
    height: 100%;
  }

  body {
    background: #000000;
    color: #FFFFFF;
  }

  div {
    display: flex;
    justify-content: center;
    flex-direction: column;
    align-items: center;
    font-family: 'Roboto Mono', monospace;
  }

  div#feedback {
    padding: 10px;
  }
After we’ve added the CSS code, we’ll go over it step by step. To save time, you can simply copy this code and paste it into your IDE. Let us now examine our code step by step.
Multiple Choice Quiz using HTML, CSS & JavaScript
We will be adding some basic styling to our file upload with progress, but you guys can try new styling and share your code in the comments, which will help other people to think out of the box. We will add their own styling.
Step1: We give our HTML page a height of 100% using the HTML element selector.
We will now specify a backdrop colour of black using Hex Code in the body tag. Our body’s font colour is set to “white.”
html {
    height: 100%;
  }

  body {
    background: #000000;
    color: #FFFFFF;
  }
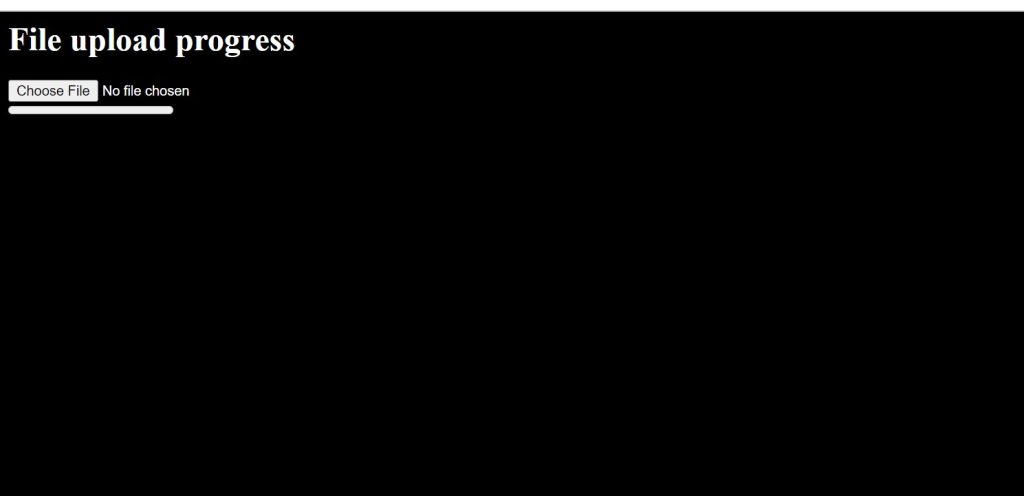
Step2: The display will now be changed to “flex” using the tag selector (div), and we will centre our content using the justify-content attribute. A font family called “Roboto” has also been introduced to our div container.
Using the id identifier (#feedback), we will now add a 10px padding.
div {
   display: flex;
   justify-content: center;
   flex-direction: column;
   align-items: center;
   font-family: 'Roboto Mono', monospace;
 }

 div#feedback {
   padding: 10px;
 }

Portfolio Website using HTML and CSS (Source Code)
ADVERTISEMENT
Step3: JavaScript Code
const fileUploader = document.getElementById('file-uploader');
const feedback = document.getElementById('feedback');
const progress = document.getElementById('progress');

const reader = new FileReader();

fileUploader.addEventListener('change', (event) => {
  const files = event.target.files;
  const file = files[0];
  reader.readAsDataURL(file);

  reader.addEventListener('progress', (event) => {
    if (event.loaded && event.total) {
      const percent = (event.loaded / event.total) * 100;
      progress.value = percent;
      document.getElementById('progress-label').innerHTML = Math.round(percent) + '%';

      if (percent === 100) {
        let msg = `<span style="color:green;">File <u><b>${file.name}</b></u> has been uploaded successfully.</span>`;
        feedback.innerHTML = msg;
      }
    }
  });
});
- The document.getElementById() method will be used to first choose our HTML elements, and we’ll then store their information in various variables.
- We will now create a variable called reader which store the value of new FileReader object which helps to read the content of files.
- We will now add event listener to our variable (fileUploader) . Using event.target.files which the user will select we will read as a URL.
- Now we add an another eventListener to our reader variable we will check if the progress value is equal percentage value the using the math function we will add the percentage to our progress bar and we will also check if the percentag is equal to 100 then a message will be displayed :
File uploaded succesfully.
ADVERTISEMENT
Now we’ve completed our simple file upload with progress bar using JavaScript. I hope you understood the whole project. Let’s take a look at our Live Preview.
ADVERTISEMENT
Output:
ADVERTISEMENT
Codepen Preview Of File Upload with Progress Bar HTML, CSS & JavaScript
Now We have Successfully created our File Upload with Progress Bar HTML, CSS & JavaScript You can use this project directly by copying into your IDE. WE hope you understood the project , If you any doubt feel free to comment!!
ADVERTISEMENT
We have also created an article where you can find 10+ front-end project . if you intreseted you can checkout the below link.
Front-End Projcets
If you find out this Blog helpful, then make sure to search code with random on google for Front End Projects with Source codes and make sure to Follow the Code with Random Instagram page.



Thank You!