Product Image Zoom On Hover using HTML, CSS, and JavaScript
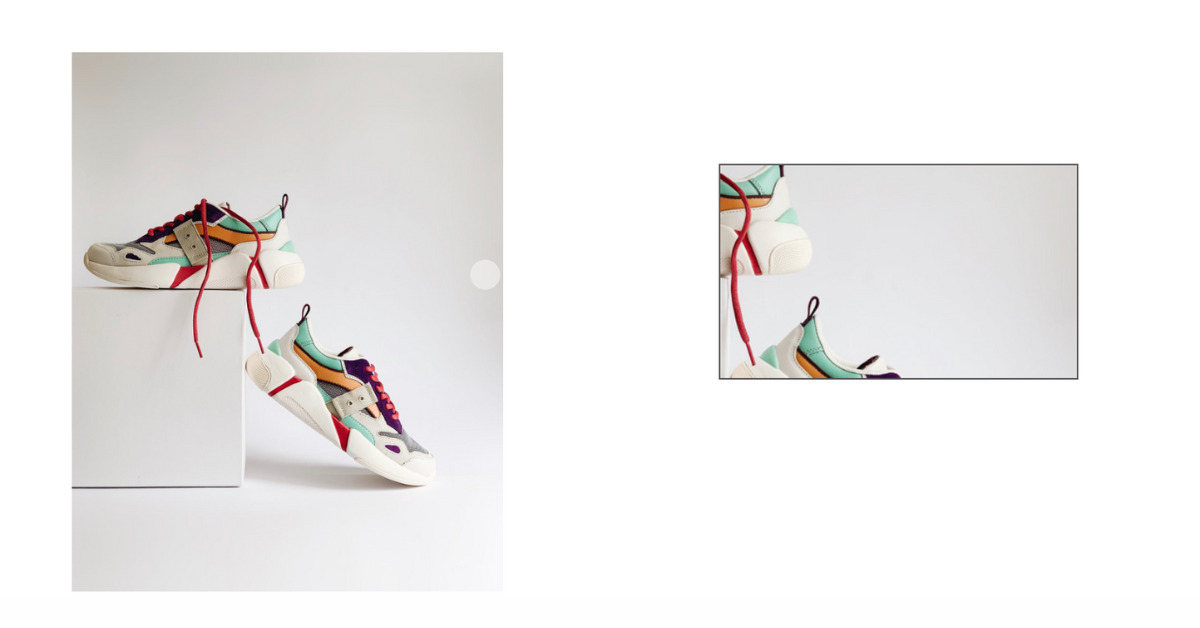
Hello Coder, today we’re going to learn how to Create a Product Image Zoom On Hover Using HTML, CSS, and JavaScript.In this Project, we have Imaged, and When you hover over the image, Image Zoom in a rectangle box near Full Image div. You can move the cursor and see every area of the image on zoom Simply by adhering to the procedures mentioned below, you will be able to develop this amazing Product Image Zoom.

50+ HTML, CSS & JavaScript Projects With Source Code
Preview of the project
Project Description
- Step 1 – The HTML (Hypertext Markup Language) will help us to create the structure for the list with some necessary attributes and elements to make this Project.
- Step 2 – Then we will use CSS (Cascading Stylesheet) which will help us to style or design the project with suitable padding and alignment in this Project.
- Step 3 – At last, we will use JS (JavaScript) which will add logic to make the Product Image Zoom Project functioning from the user end.
I hope you have got an idea about the project.
| Project Name | Product Image Zoom |
| Code By | @Harshh9 |
| Project Idea | Codingartist |
| Written By | Harsh Sawant |
| Project Download | Copy Code From Given Code Snippets And Codepen Embed |
| Language Used | HTML, CSS, And JavaScript |
| External Link / Dependencies | No |
| Responsive | Yes |
How to make Product Image Zoom using HTML, CSS, and JavaScript?
HTML Code for Product Image Zoom
In the HTML code first we have a div which class name is Image-Container and ID is also Image-Container, where we have a product image from a link.
Create Glassmorphism Login Form Using HTML and CSS
Then we have div, which Id name is Mouse-Overlay. This is basicaly for when user mouse over on the image, a overlay will be created on that time. So this for it, and when you watch the javaScript code you will get it better.
ADVERTISEMENT
At last we have a div, which Id name is Overlay. In this container the zoom part of the image will show there, while you Mouse over on that image.
ADVERTISEMENT
ADVERTISEMENT
ADVERTISEMENT
ADVERTISEMENT
<html lang="en">
  <head>
    <meta name="viewport" content="width=device-width, initial-scale=1.0" />
    <title>Product Image Zoom</title>
    <!-- Stylesheet -->
    <link rel="stylesheet" href="style.css" />
  </head>
  <body>
    <div class="image-container" id="image-container">
      <img src="https://i.postimg.cc/Y0hq1pvS/shoe-img.jpg" id="product-image" alt="shoe" />
    </div>
    <div id="mouse-overlay"></div>
    <div id="overlay"></div>
    <!-- Script -->
    <script src="script.js"></script>
  </body>
</html>
First we’ll start with creating the structure of the project for that as you can see the above code. we have used all the necessary elements & attributes to setup the structure.
HTML Output:
CSS Code for Product Image Zoom
After completing the HTML part of the project. let’s do the CSS part and give style to all the elements, we have created in HTML.
Restaurant Website Using HTML and CSS
In the CSS code, which is mentioned above in that we have styled for the structure we have padded as well as aligned all the elements. so that it is properly situated and doesn’t get messy with suitable CSS elements.
Alright, you copy all these CSS code given below and paste these in you CSS file.
Read also:
Weather App Using Html,Css And JavaScript
* {
  padding: 0;
  margin: 0;
  box-sizing: border-box;
}
.image-container {
  width: 30%;
  margin: 5% 0 0 5%;
}
img {
  max-width: 100%;
}
#overlay {
  display: none;
  background: url("https://i.postimg.cc/Y0hq1pvS/shoe-img.jpg");
  position: absolute;
  width: 25%;
  height: 35%;
  margin-top: -30%;
  margin-left: 50%;
  border: 2px solid #555;
  z-index: 1000;
  background-repeat: no-repeat;
}
#mouse-overlay {
  cursor: zoom-in;
  position: absolute;
  width: 2em;
  height: 2em;
  transform: translate(-50%, -50%);
  background-color: rgba(245, 245, 245, 0.6);
  border-radius: 50%;
}
@media only screen and (max-width: 768px) {
  .image-container {
    width: 55%;
  }
  #overlay {
    margin-left: 70%;
    width: 25%;
    height: 15%;
  }
}
Step1:Using the universal selector, we will set the padding and margin to “zero,” the box-sizing property, to “border-box,” and the class selection, to “30% from the top and bottom” for the width of our image container and “5% from the top and bottom” for the margin.
* {
    padding: 0;
    margin: 0;
    box-sizing: border-box;
}

.image-container {
    width: 30%;
    margin: 5% 0 0 5%;
}

img {
    max-width: 100%;
}
Step 2: Using the id selector (#overlay) we will set the display as “none” and using the background property we will add an image in the background using the URL. The width and height are set as “25%” and “35%” and using the margin-top and margin-left properties we will “-30%” and “50%” margin to our overlay.
#overlay {
    display: none;
    background: url("https://i.postimg.cc/Y0hq1pvS/shoe-img.jpg");
    position: absolute;
    width: 25%;
    height: 35%;
    margin-top: -30%;
    margin-left: 50%;
    border: 2px solid #555;
    z-index: 1000;
    background-repeat: no-repeat;
}

#mouse-overlay {
    cursor: zoom-in;
    position: absolute;
    width: 2em;
    height: 2em;
    transform: translate(-50%, -50%);
    background-color: rgba(245, 245, 245, 0.6);
    border-radius: 50%;
}
Step3: We will now give our picture zoom-in project responsiveness using the media query. We’ll specify “768 px” as the utmost width using the max-width property. When the screen size drops below the specified screen width, the image will instantly resize to fit the available space.
@media only screen and (max-width: 768px) {
    .image-container {
        width: 55%;
    }
    #overlay {
        margin-left: 70%;
        width: 25%;
        height: 15%;
    }
}
CSS Output:
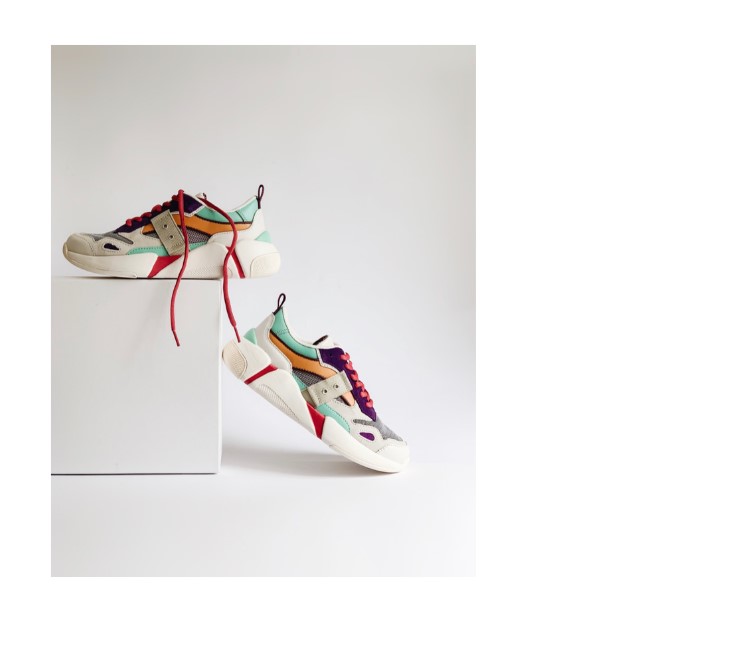
Now We Have Created The Structure Using HTML And Styled The Webpage Using CSS Its Time To Add The Functionality Using JavaScript In This Project.
JavaScript Code for Product Image Zoom
Last part Of The Project is JavaScript.
In Which We Have Added The Logical And Coded As Per The Requirement With Some Conditions. In This Code We Have Set The Image Position And Then Defined The Role Of The Cursor That When It Has To Convert Into Magnifying Glass When It Is On The Image.
When the mouse is hovering over a picture, our javascript will include the zoom-in feature. We will make various variables for that using the let keyword, and then we’ll use the document. We’ll choose various HTML elements using getElementById.
The next step is to make two objects—one for mouse movement and the other for touch—as well as the functions for mouse movement and touch movement. Finally, we will resize the image and position a zoomed-out version of it to the right of the original image.
Read also:
10+ Javascript Projects For Beginners With Source Code
//Initial References
let imageContainer = document.getElementById("image-container");
let productImage = document.getElementById("product-image");
let overlay = document.getElementById("overlay");
let mouseOverlay = document.getElementById("mouse-overlay");

//events object(stores events for touch,mouse)
let events = {
  mouse: {
    move: "mousemove",
  },
  touch: {
    move: "touchmove",
  },
};

//initially blank
let deviceType = "";

//Checks for device type
function isTouchDevice() {
  try {
    //We try to create touch event (it would fail for desktops and throw error)
    deviceType = "touch";
    document.createEvent("TouchEvent");
    return true;
  } catch (e) {
    deviceType = "mouse";
    return false;
  }
}

//hides overlay
const hideElement = () => {
  overlay.style.display = "none";
  mouseOverlay.style.display = "none";
};

//Check device so that deviceType variable is set to touch or mouse
isTouchDevice();

/*In addEventListener we use the events object to set the event so deviceType would be set to touch or mouse since we called 'isTouchDevice()' above
E.g:
if deviceType = "mouse" => the statement for event would be events[mouse].move which equals to mousemove.
if deviceType = "touch" => the statement for event would be events[touch].move which equals to touchstart.
*/

imageContainer.addEventListener(events[deviceType].move, (e) => {
  //Try, catch to avoid any errors for touch screens
  try {
    //pageX and pageY return the position of client's cursor from top left pf screen
    var x = !isTouchDevice() ? e.pageX : e.touches[0].pageX;
    var y = !isTouchDevice() ? e.pageY : e.touches[0].pageY;
  } catch (e) {}
  //get image height and width
  let imageWidth = imageContainer.offsetWidth;
  let imageHeight = imageContainer.offsetHeight;

  //check if mouse goes out of image container
  if (
    imageWidth - (x - imageContainer.offsetLeft) < 15 ||
    x - imageContainer.offsetLeft < 15 ||
    imageHeight - (y - imageContainer.offsetTop) < 15 ||
    y - imageContainer.offsetTop < 15
  ) {
    hideElement();
  } else {
    overlay.style.display = "block";
    mouseOverlay.style.display = "inline-block";
  }

  var posX = ((x - imageContainer.offsetLeft) / imageWidth).toFixed(4) * 100;
  var posY = ((y - imageContainer.offsetTop) / imageHeight).toFixed(4) * 100;

  //set background position to above obtained values
  overlay.style.backgroundPosition = posX + "%" + posY + "%";

  //move the overlay with cursor
  mouseOverlay.style.top = y + "px";
  mouseOverlay.style.left = x + "px";
});
Let’s See The live preview given below Of The Project Product Image Zoom Using HTML, CSS, and JavaScript.
Video output:
Live Preview of the Product Image Zoom Project
We have successfully created our Product Image Zoom using HTML, CSS, and JavaScript (Source Code). You can use this project for your personal needs and the respective lines of code are given with the code pen link mentioned above.
If you find out this Blog helpful, then make sure to search code with random on google for Front End Projects with Source codes and make sure to Follow the Code with Random Instagram page.
Written By – Harsh Sawant
Code By – @harshh9
Product Image Zoom using HTML, CSS, and JavaScript
Step 1 – The HTML (Hypertext Markup Language) will help us to create the structure for the list with some necessary attributes and elements to make this Project.
Step 2 – Then we will use CSS (Cascading Stylesheet) which will help us to style or design the project with suitable padding and alignment in this Project.
Step 3 – At last, we will use JS (JavaScript) which will add logic to make the Product Image Zoom Project functioning from the user end.
How to make Product Image Zoom using HTML, CSS, and JavaScript
In the HTML code first we have a div which class name is Image-Container and ID is also Image-Container, where we have a product image from a link.
Then we have div, which Id name is Mouse-Overlay. This is basicaly for when user mouse over on the image, a overlay will be created on that time. So this for it, and when you watch the javaScript code you will get it better.
Where do we use zoom-in type image projects?
Image zoom in type of projects are used on e-commerce website where we provide zoom in functionality to images so that shoppers can check the quality of the product.
Whether a zoomed-in image is responsive or not
Yes it is completely responsive project
