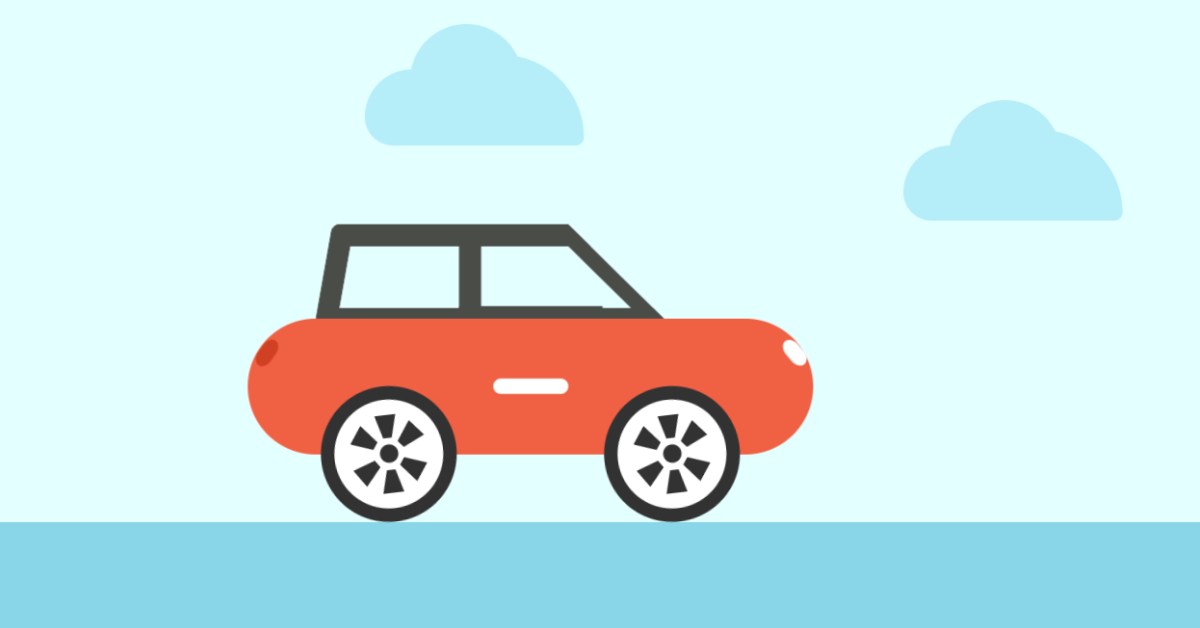
Create Moving Car Animation Using HTML and CSS
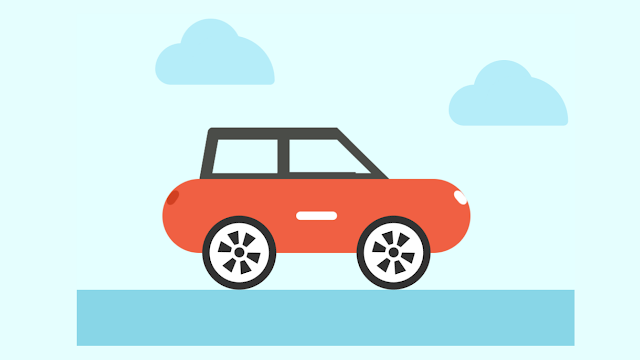
Welcome to the Code With Random blog. In this article, we create a moving car animation. We use only HTML and CSS coding for moving car animation projects.
A moving car animation is a frontend project in which we use the CSS concepts of animation to move forward with the help of keyframes in which we will add animation in the form of keyframes to make smooth car movement.
In this project, we will create a car using CSS animation concepts, which help add the animations to the car. Before we start with the project let’s understand some details about animation
What is the CSS Animation?
A CSS animation is a type of property that helps in changing the state of an element from one state to another with the help of property keyframes to add movement and change the state of animation from one state to another.
What is the Basic Syntax for CSS Animation?
h1 {
  width: 100px;
  height: 200px;
  background: blue;
  position: relative;
  animation-name: example;
  animation-duration: 3s;
  animation-fill-mode: forwards;
}

@keyframes example {
  from {top: 0px;}
  to {top: 200px; background-color: white;}
}
Hope you enjoy our blog so let’s start with a basic HTML structure for the Moving Car Animation.
10+ HTML CSS Projects For Beginners (Source Code)
| Code by | md usman ansari |
| Project Download | Link Available Below |
| Language used | HTML and CSS |
| External link / Dependencies | YES |
| Responsive | NO |
Moving Car Animation HTML code
<div class="car">
<div class="car__top"></div>
<div class="car__body">
<div class="car__bulb"></div>
<div class="car__bulb car__bulb--back"></div>
<div class="car__center"></div>
</div>
<div class="car__wheels">
<div class="car__wheel car__wheel--1">
<div class="wheel__circle"></div>
<div class="wheel__rect wheel__rect--1"></div>
<div class="wheel__rect wheel__rect--2"></div>
<div class="wheel__rect wheel__rect--3"></div>
<div class="wheel__rect wheel__rect--4"></div>
<div class="wheel__rect wheel__rect--5"></div>
<div class="wheel__rect wheel__rect--6"></div>
</div>
<div class="car__wheel car__wheel--2">
<div class="wheel__circle"></div>
<div class="wheel__rect wheel__rect--1"></div>
<div class="wheel__rect wheel__rect--2"></div>
<div class="wheel__rect wheel__rect--3"></div>
<div class="wheel__rect wheel__rect--4"></div>
<div class="wheel__rect wheel__rect--5"></div>
<div class="wheel__rect wheel__rect--6"></div>
</div>
</div>
</div>
<div class="cloud" style="--delay:1s;--top:10vmin"></div>
<div class="cloud" style="--delay:3s;--top:20vmin"></div>
<div class="cloud" style="--delay:7s;--top:10vmin"></div>
The div element with the class “car” will establish the main container for the construction of the car, thus we need to make a variety of containers using this tag to build the structure of our car. Then, we’ll make a few subdivisions inside the main container, using them to assemble the various car parts. like top, front, back, left, and right headlamps; adding wheels within our car; and ultimately, other features.
Following that, we’ll make the three distinct cloud divs.
There is all the html code for the Moving Car Animation. Now, you can see output without css, then we write css for the Moving Car Animation.
Portfolio Website using HTML and CSS (Source Code)
Moving car animation output
ADVERTISEMENT
ADVERTISEMENT

ADVERTISEMENT
ADVERTISEMENT
ADVERTISEMENT
Output with html and this is blank Output because we style all elements with Css.
Moving Car Animation Css Code
*{
padding: 0;
margin: 0;
box-sizing: border-box;
}
:root{
--color-car-body:#f06043;
--color-bg-1:#e4ffff;
}
html{
height: 100%;
}
body{
background-image: linear-gradient(to top,#88d6e7 30%,#e4ffff 20%);
overflow: hidden;
}
.car{
position: absolute;
top: 70%;
left: 50%;
transform: translate(-50%,-100%);
transform-origin: 25% bottom;
animation: start-car 2.5s 1.1s;
z-index: 100;
}
.car__top{
margin-left: 10vmin;
width: 24vmin;
height: 14vmin;
transform: skew(-10deg);
border:3vmin solid #4a4c48;
border-radius: 1vmin;
border-right: 0;
}
.car__top::after{
content: '';
position: absolute;
top: -3vmin;
right: 0;
width: 10vmin;
height: 100%;
transform:translateX(120%) skew(50deg);
border:3vmin solid #4a4c48;
border-left: 0;
}
.car__top::before{
content: '';
position: absolute;
top: -.22vmin;
right: 0;
width: 16vmin;
height: 100%;
transform: translateX(70%) skew(10deg);
border:3vmin solid #4a4c48;
border-right: 0;
border-top: 0;
}
.car__body{
width: 75vmin;
height: 18vmin;
background-color: var(--color-car-body);
border-radius: 10vmin;
margin-top: -1.5vmin;
position: relative;
z-index: 10;
}
.car__bulb{
position: absolute;
top: 14%;
right: 2%;
width: 2vmin;
height: 4vmin;
border-radius: 1rem / 1.4rem;
transform: rotate(-40deg);
background-color: #fff;
}
.car__bulb--back{
top: 14%;
left: 2%;
transform: rotate(35deg);
background-color:#d14022;
}
.car__center{
position: absolute;
top: 50%;
left:50%;
transform: translate(-50%,-50%);
width: 10vmin;
height: 2vmin;
border-radius: 2vmin;
background-color: #fff;
}
.car__wheels{
display: flex;
justify-content: space-around;
margin-top: -9vmin;
position: relative;
z-index: 200;
}
.car__wheel{
--r:18vmin;
width: var(--r);
height:var(--r);
border-radius: 50%;
border: 1.8vmin solid #323232;
background-color: #fff;
position: relative;
animation: run .5s 1s linear infinite;
}
.wheel__circle{
--r:2.4vmin;
position: absolute;
top: 50%;
left: 50%;
transform: translate(-50%,-50%);
width:var(--r);
height:var(--r);
border-radius: 50%;
background-color: #323232;
}
.wheel__rect{
position: absolute;
width: 2.8vmin;
height: 3.1vmin;
clip-path: polygon(0 0, 100% 0, 70% 100%, 30% 100%);
background-color: #323232;
}
.wheel__rect--1{
top: 30%;
left: 35%;
transform: translate(-50%,-50%) rotate(-40deg);
}
.wheel__rect--2{
top: 30%;
left: 64%;
transform: translate(-50%,-50%) rotate(35deg);
}
.wheel__rect--3{
top: 50%;
left: 25%;
transform: translate(-50%,-50%) rotate(-90deg);
}
.wheel__rect--4{
top: 50%;
left: 75%;
transform: translate(-50%,-50%) rotate(90deg);
}
.wheel__rect--5{
top: 70%;
left: 35%;
transform: translate(-50%,-50%) rotate(-145deg);
}
.wheel__rect--6{
top: 70%;
left: 64%;
transform: translate(-50%,-50%) rotate(146deg);
}
.cloud{
position: absolute;
top: var(--top);
left: 0;
width: 20vmin;
height: 10vmin;
border-radius: 10vmin 10vmin 0 6vmin;
background-color: #b5edf9;
-webkit-animation: cloud 10s var(--delay) linear infinite backwards;
animation: cloud 10s var(--delay) linear infinite backwards;
}
.cloud::after {
content: "";
position: absolute;
width: 20vmin;
height: 12vmin;
bottom: 0;
border-radius: 6rem 10rem 1rem 0;
-webkit-transform: translateX(9vmin);
transform: translateX(9vmin);
background-color: #b5edf9;
}
.cloud::before {
content: "";
position: absolute;
width: 15vmin;
height: 8vmin;
bottom: 8vmin;
border-radius: 20vmin 20vmin 0 0;
-webkit-transform: translateX(6vmin);
transform: translateX(6vmin);
background-color: #b5edf9;
}
@keyframes cloud {
0%{
transform: translateX(100vw);
}
100%{
transform: translateX(-100vw);
}
}
@keyframes run {
0%{
transform: rotate(0deg);
}
100%{
transform: rotate(360deg);
}
}
@keyframes start-car {
0%,10%,20%{
transform: translate(-50%,-100%);
}
5%{
transform: translate(-40%,-100%);
}
15%{
transform: translate(-45%,-100%);
}
25%{
transform: translate(-45%,-100%) rotate(-20deg);
}
35%,45%,50%{
transform: translate(-45%,-100%) rotate(0deg);
}
40%{
transform: translate(-45%,-100%) rotate(-10deg);
}
47%{
transform: translate(-45%,-100%) rotate(-5deg);
}
70%{
transform: translate(20%,-100%) rotate(0deg);
}
100%{
transform: translate(-50%,-100%) rotate(0deg);
}
}Step1:We’ll use the universal selector to automatically set the margin and padding to “zero,” and we’ll use the box-sizing property to set the box size to “border-box.”
100+ JavaScript Projects With Source Code ( Beginners to Advanced)
Next, we will predefine the colours for the car’s body and the backdrop colour using the root selector. Then, using the body tag selector, we will set the background as a linear gradient, and using the overflow property, we will hide the overflow elements. Finally, we will use the html property to set the height to “100%.”
* {
    padding: 0;
    margin: 0;
    box-sizing: border-box;
}

:root {
    --color-car-body: #f06043;
    --color-bg-1: #e4ffff;
}

html {
    height: 100%;
}

body {
    background-image: linear-gradient(to top, #88d6e7 30%, #e4ffff 20%);
    overflow: hidden;
}Step2:The position will now be set to “absolute” using the class selector (.car), and a 70% space and a 50% space will be added using the top and left attributes.
Restaurant Website Using HTML and CSS
After setting the position in accordance with the top structure using the class selector for the car’s top, body, and bulb, we will then center the vehicle.
.car {
    position: absolute;
    top: 70%;
    left: 50%;
    transform: translate(-50%, -100%);
    transform-origin: 25% bottom;
    animation: start-car 2.5s 1.1s;
    z-index: 100;
}

.car__top {
    margin-left: 10vmin;
    width: 24vmin;
    height: 14vmin;
    transform: skew(-10deg);
    border: 3vmin solid #4a4c48;
    border-radius: 1vmin;
    border-right: 0;
}

.car__top::after {
    content: '';
    position: absolute;
    top: -3vmin;
    right: 0;
    width: 10vmin;
    height: 100%;
    transform: translateX(120%) skew(50deg);
    border: 3vmin solid #4a4c48;
    border-left: 0;
}

.car__top::before {
    content: '';
    position: absolute;
    top: -.22vmin;
    right: 0;
    width: 16vmin;
    height: 100%;
    transform: translateX(70%) skew(10deg);
    border: 3vmin solid #4a4c48;
    border-right: 0;
    border-top: 0;
}

.car__body {
    width: 75vmin;
    height: 18vmin;
    background-color: var(--color-car-body);
    border-radius: 10vmin;
    margin-top: -1.5vmin;
    position: relative;
    z-index: 10;
}

.car__bulb {
    position: absolute;
    top: 14%;
    right: 2%;
    width: 2vmin;
    height: 4vmin;
    border-radius: 1rem / 1.4rem;
    transform: rotate(-40deg);
    background-color: #fff;
}

.car__bulb--back {
    top: 14%;
    left: 2%;
    transform: rotate(35deg);
    background-color: #d14022;
}

.car__center {
    position: absolute;
    top: 50%;
    left: 50%;
    transform: translate(-50%, -50%);
    width: 10vmin;
    height: 2vmin;
    border-radius: 2vmin;
    background-color: #fff;
}
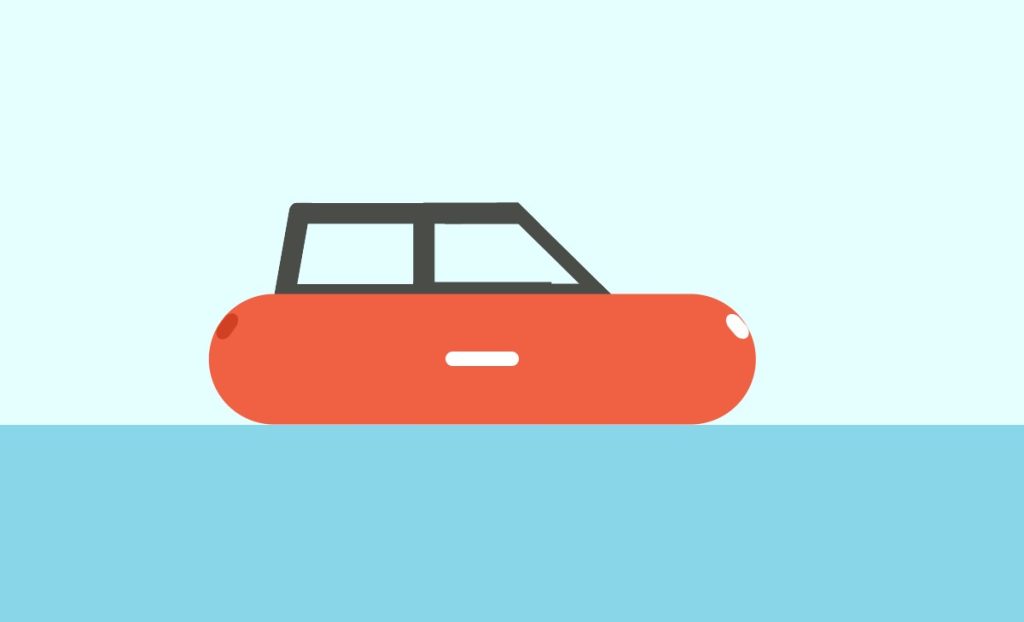
Step3: We will now give the car’s wheels some style. We’ll change the display to “flex” using the class selector “.car wheels,” then use the justify-content property to provide space around the wheels before giving them the same circle appearance as the other tyres.
.car__wheel {
    --r: 18vmin;
    width: var(--r);
    height: var(--r);
    border-radius: 50%;
    border: 1.8vmin solid #323232;
    background-color: #fff;
    position: relative;
    animation: run .5s 1s linear infinite;
}

.wheel__circle {
    --r: 2.4vmin;
    position: absolute;
    top: 50%;
    left: 50%;
    transform: translate(-50%, -50%);
    width: var(--r);
    height: var(--r);
    border-radius: 50%;
    background-color: #323232;
}

.wheel__rect {
    position: absolute;
    width: 2.8vmin;
    height: 3.1vmin;
    clip-path: polygon(0 0, 100% 0, 70% 100%, 30% 100%);
    background-color: #323232;
}

.wheel__rect--1 {
    top: 30%;
    left: 35%;
    transform: translate(-50%, -50%) rotate(-40deg);
}

.wheel__rect--2 {
    top: 30%;
    left: 64%;
    transform: translate(-50%, -50%) rotate(35deg);
}

.wheel__rect--3 {
    top: 50%;
    left: 25%;
    transform: translate(-50%, -50%) rotate(-90deg);
}

.wheel__rect--4 {
    top: 50%;
    left: 75%;
    transform: translate(-50%, -50%) rotate(90deg);
}

.wheel__rect--5 {
    top: 70%;
    left: 35%;
    transform: translate(-50%, -50%) rotate(-145deg);
}

.wheel__rect--6 {
    top: 70%;
    left: 64%;
    transform: translate(-50%, -50%) rotate(146deg);
}

step4: We’ll just finish up by adding some clouds to our project. With the help of the class selector (.cloud), we will set the position to “absolute,” add a top space using the top property, a width of 20 vm, and a height of 10 vm using the width and height values. Next, we will alter the clouds’ breadth and height using their before and after characteristics.
Ecommerce Website Using HTML, CSS, & JavaScript (Source Code)
Using the keyframes property, we will now add a keyframe for the automobile and cloud to run at various speeds, alter the motion of the wheel and clouds, and rotate the wheel between each keyframe.
Now we have completed our css section moving car animation, here is our final updated output html and css moving car animation.
Moving Car Animation Final Output
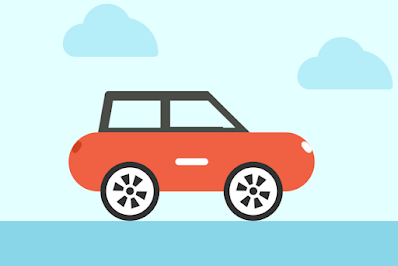
Video output:
Now we have completed our CSS section for moving car animation. Here is our updated output with HTML and CSS for the moving car animation. I hope you like the moving car animation. You can see the output project screenshots. See our other blogs and gain knowledge about front-end development. Thank you
50+ HTML, CSS, and JavaScript Projects With Source Code
In this post, we learn how to create a moving car animation using simple HTML and CSS. If we made a mistake or any confusion, please drop a comment to reply or help you with easy learning.
Written by – code with random/Anki
Code by – md usman ansari
FAQ on CSS Car Animation
Which code editor do you use for this Moving Car Animation coding?
is this project responsive or not?
What is the CSS Animation?
What is the Basic Syntax for CSS Animation?
height: 200px;
background: blue;
position: relative;
animation-name: example;
animation-duration: 3s;
animation-fill-mode: forwards;
}
@keyframes example { from {top: 0px;} to {top: 200px; background-color: white;} }
