Hello developers, codewithrandom is back with another amazing and informative blog, we will learn to build sticky notes today by using HTML, CSS, and Javascript. Let’s start with a fundamental HTML framework for the sticky notes in the hope that you will appreciate our site.
| Code by | N/A |
| Project Download | Link Available Below |
| Language used | HTML ,CSS and jQuery Code |
| External link / Dependencies | Yes |
| Responsive | Yes |
What is the need for sticky notes CSS?
The traditional paper sticky notes that people use to write down brief notes and reminders have been replaced with digital counterparts known as online sticky notes. By repeatedly releasing the same sticky notes, this kind of online sticky notes enables us to save our data online and conserve paper.
50+ HTML, CSS & JavaScript Projects With Source Code
HTML Code:-
<html>
<head>
<title>Sticky Note Web Widget</title>
<link rel = "stylesheet" type = "text/css" href = "sticky.css"></link>
<script src = "https://code.jquery.com/jquery-3.6.0.min.js"
integrity = "sha256-/xUj+3OJU5yExlq6GSYGSHk7tPXikynS7ogEvDej/m4="
crossorigin = "anonymous">
</script>
</head>
<body>
<div>
<ul>
<li>
<a href = "#" contenteditable = "true">
<h2>Title #1</h2>
<p>Text Content #1</p>
</a>
</li>
<li>
<a href = "#" contenteditable = "true">
<h2>Title #2</h2>
<p>Text Content #2</p>
</a>
</li>
<li>
<a href = "#" contenteditable = "true">
<h2>Title #3</h2>
<p>Text Content #3</p>
</a>
</li>
<li>
<a href = "#" contenteditable = "true">
<h2>Title #4</h2>
<p>Text Content #4</p>
</a>
</li>
<li>
<a href = "#" contenteditable = "true">
<h2>Title #5</h2>
<p>Text Content #5</p>
</a>
</li>
<li>
<a href = "#" contenteditable = "true">
<h2>Title #6</h2>
<p>Text Content #6</p>
</a>
</li>
<li>
<a href = "#" contenteditable = "true">
<h2>Title #7</h2>
<p>Text Content #7</p>
</a>
</li>
<li>
<a href = "#" contenteditable = "true">
<h2>Title #8</h2>
<p>Text Content #8</p>
</a>
</li>
</ul>
</div>
</body>
</html>
EXPLANATION FOR HTML CODE
We’ll start by adding the structure of the project, but first, we’ll need to include some items inside the link, such as the fact that we’ve utilized numerous CSS and javascript files, which we’ll need to connect up inside our HTML file.
<link rel = "stylesheet" type = "text/css" href = "sticky.css"></link>
<script src="script.js"></script>
We will now give our sticky notes some structure. To make the main container for our sticky notes, we will use the div tag. We will now make a list with some items using the unordered list, and each item will have an <a> anchor tag. The heading and paragraph for each list item will be made using the <h2> tag. With links, headings, and paragraphs, we will similarly create eight list items.
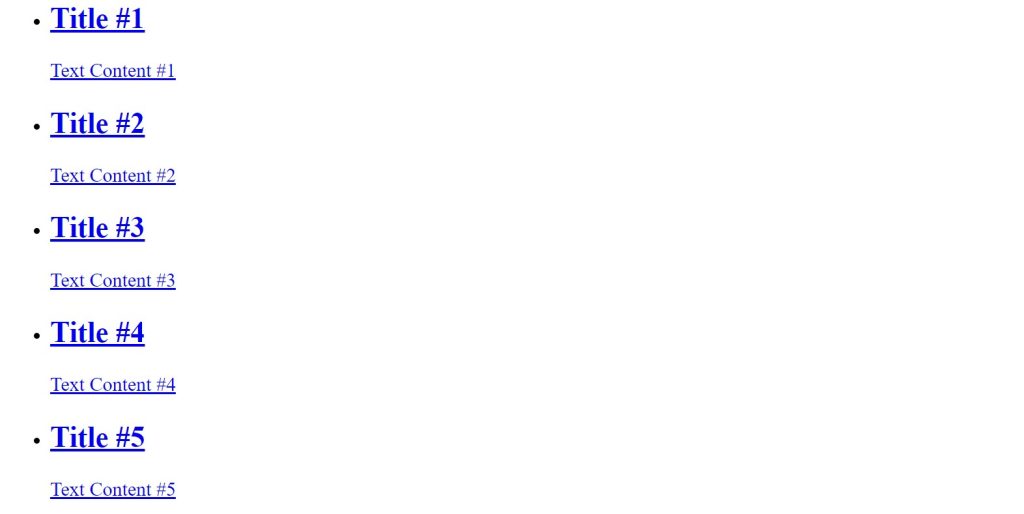
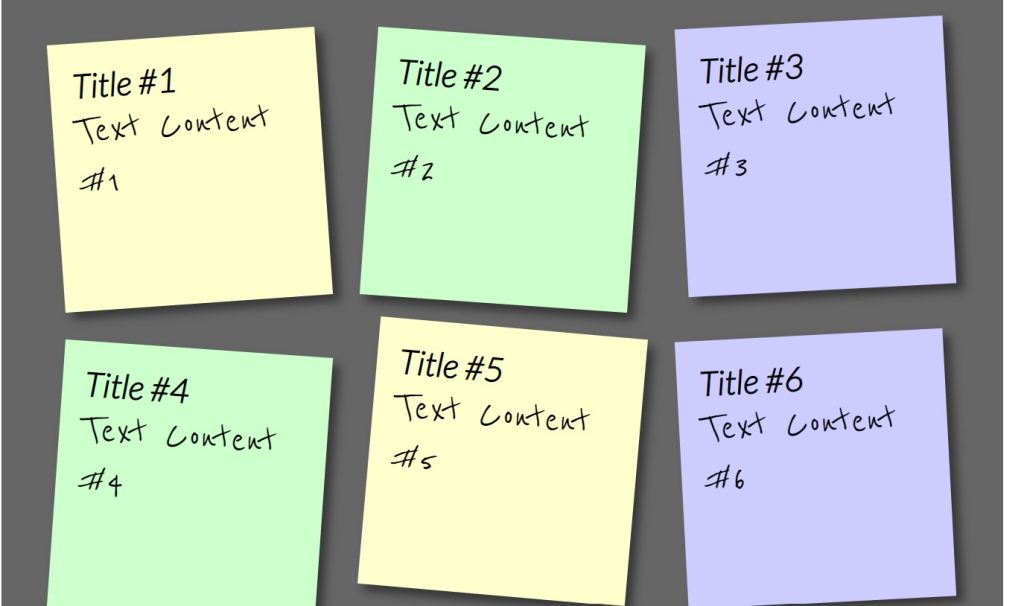
The sticky notes’ entire HTML code is present. You can now view a JavaScript and CSS output. Next, we create CSS for styling and add JavaScript for Sticky Notes’ primary functionality.
Portfolio Website using HTML and CSS (Source Code)
Html Code Output:-

Sticky Notes Using HTML,CSS and JavaScript
Css Code :-
 @import url('https://fonts.googleapis.com/css2?family=Reenie+Beanie&display=swap');
@import url('https://fonts.googleapis.com/css2?family=Lato:ital,wght@1,300&display=swap');
div {
margin: 20px auto;
width: 70%;
font-family: 'Lato';
padding: 5px;
background:#666;
color:#fff;
}
*{
margin:0;
padding:0;
}
h4 {
font-weight: bold;
font-size: 2rem;
}
p {
font-family: 'Reenie Beanie';
font-size: 2rem;
}
ul,li{
list-style:none;
}
ul{
display: flex;
flex-wrap: wrap;
justify-content: center;
}
ul li a{
text-decoration:none;
color:#000;
background:#ffc;
display:block;
height:10em;
width:10em;
padding:1em;
box-shadow: 5px 5px 7px rgba(33,33,33,.7);
transition: transform .15s linear;
}
ul li{
margin:1em;
}
ul li:nth-child(odd) a{
transform:rotate(-4deg);
position:relative;
top:5px;
}
ul li:nth-child(even) a{
transform:rotate(4deg);
position:relative;
top:5px;
}
ul li:nth-child(3n) a{
transform:rotate(-3deg);
position:relative;
top:-5px;
}
ul li:nth-child(5n) a{
transform:rotate(5deg);
position:relative;
top:-10px;
}
ul li a:hover,ul li a:focus{
box-shadow:10px 10px 7px rgba(0,0,0,.7);
transform: scale(1.25);
position:relative;
z-index:5;
}
ul li:nth-child(even) a{
position:relative;
top:5px;
background:#cfc;
}
ul li:nth-child(3n) a{
position:relative;
top:-5px;
background:#ccf;
}
Step1:
- Using the Google font URLs, we will first import a few new Google fonts for the sticky app.
- By using the font-family property in the quiz app selector, we will use the font.
- These fonts will assist in giving the website several font styles.
- Also using the universal selector (*) we will set the padding and margin of the project as zero.
Step2:
- We will now add a 20 px margin from top to bottom and auto at left and right using the tag selector (div).
- The div container’s background color is dark grey, its width is set to 70%, and its font family is “Lato” with a white font.
Step 3:
- We will now use the tag selector to set the items inside our sticky note container (h4, p).
- We will merely modify the text and alter the font’s size and weight in accordance with the user’s preferences.
Step 4
- We will now style the number of the list item that we are utilizing as a sticky note by using the unordered list (ul) and list item (li) tag selectors.
- We’ll set the display to “flex,” and then center the content using the justify-content attribute. In a similar vein, we have introduced additional list elements.
Read also: Restaurant Website Using HTML and CSS
10+ HTML CSS Projects For Beginners (Source Code)
Html + Css Output:

Javascript Source Code:-
$(document).ready(function () {
all_notes = $("li a");
all_notes.on("keyup", function () {
note_title = $(this).find("h2").text();
note_content = $(this).find("p").text();
item_key = "list_" + $(this).parent().index();
data = {
title: note_title,
content: note_content
};
window.localStorage.setItem(item_key, JSON.stringify(data));
});
all_notes.each(function (index) {
data = JSON.parse(window.localStorage.getItem("list_" + index));
if (data !== null) {
note_title = data.title;
note_content = data.content;
$(this).find("h2").text(note_title);
$(this).find("p").text(note_content);
}
});
});- We’ll develop a ready function in JavaScript, which will launch simultaneously with the website as soon as it loads.
- Then, using the up key event, we will select all of the li items from the document and create an array of all notes that will store the content in the variable.
- The text will then be archived and indexed inside the All Notes app.
Ecommerce Website Using HTML, CSS, & JavaScript (Source Code)
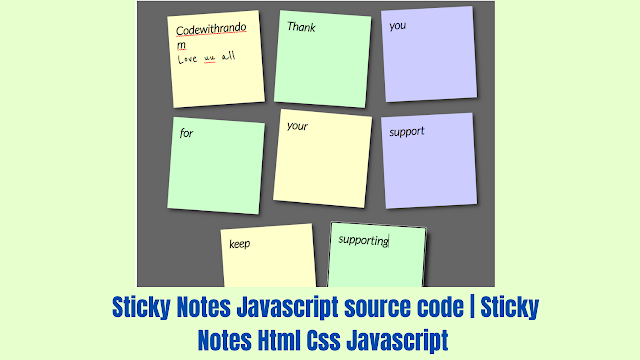
Final Output Of Sticky Notes Using JavaScript:-
Live Preview Of Sticky Notes:-
100+ JavaScript Projects With Source Code ( Beginners to Advanced)
ADVERTISEMENT
Now that we have completed our Sticky Notes. Here is our updated output with Html, Css, and JavaScript. Hope you like the Sticky Notes. you can see the output video and project screenshots. See our other blogs and gain knowledge in front-end development.
ADVERTISEMENT
Thank you!
ADVERTISEMENT
In this post, we learn how to create Sticky Notes using Html, Css, and JavaScript. If we made a mistake or any confusion, please drop a comment to reply or help you in easy learning.
ADVERTISEMENT
Written by – Code With Random/Anki
ADVERTISEMENT
Which code editor do you use for this Sticky Notes coding?
I personally recommend using VS Code Studio, it’s straightforward and easy to use.
is this project responsive or not?
Yes! this is a responsive project
What are the benefits of Online sticky Notes
Provide you with ease to jot down the important lines anywhere at anytime. Also, online sticky notes are available 24 hours a day, which we share with our friends too.


