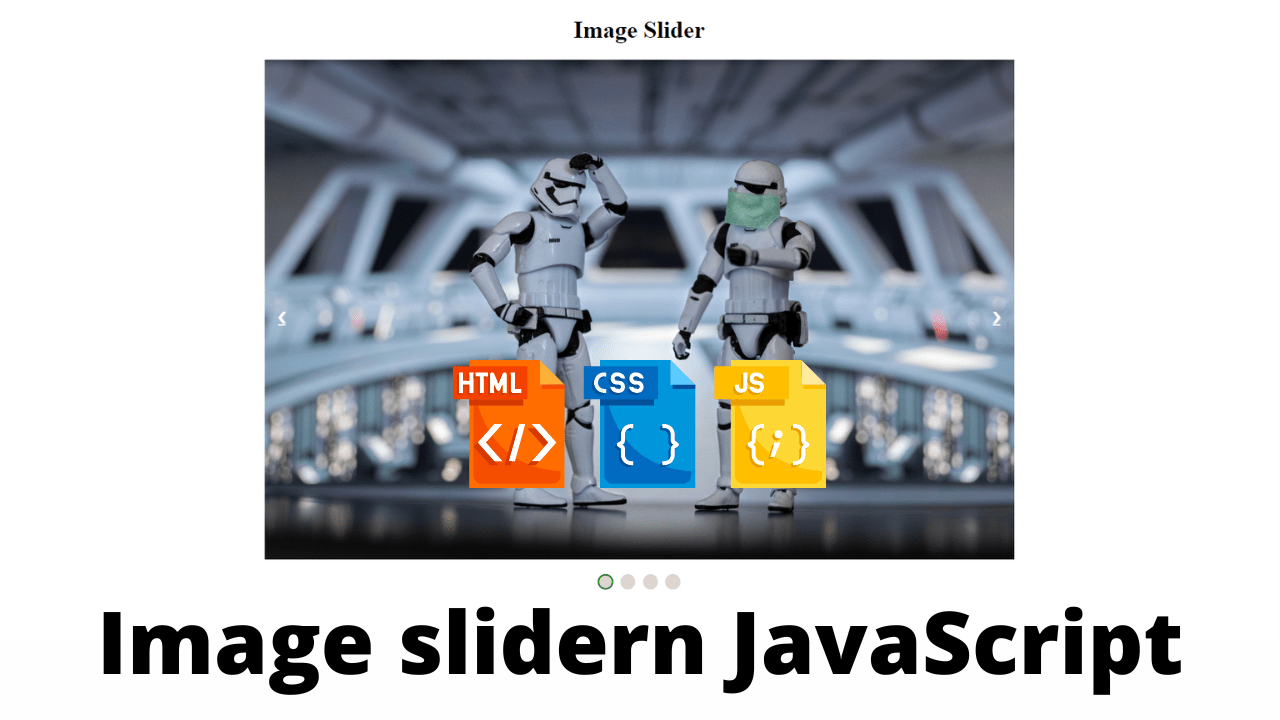
Create an Image slider with HTML, CSS, and JavaScript in just 2 minutes
An Image slider is a common web element that is used on a variety of websites. This type of Image slider is basically used to store many types of images together on a website. This Image slider can automatically change the image. There are also two buttons that can be used to change the image manually.
There’s a task that is to create a simple Image slider. It should contain arrows on each side to advance the image forward or backward. It should automatically move forward every 5 seconds. It should contain the little navigation circles at the bottom that indicate which slide you are on (and they should be clickable to advance to that particular slide).
First of all, I made a box on a web page. Then I added the image in that box. I have added two buttons to change the images.
I used JavaScript code to change the image. If you want to know how to make this design then follow the tutorial below. First of all, you create an HTML and CSS file with the name of ImageSlider.html and ImageSlider.css.
First, let’s create an HTML file named ImageSlider.html.
HTML Code For Image Slider
<!DOCTYPE html>
<html lang="en">
<head>
<meta charset="UTF-8" />
<meta http-equiv="X-UA-Compatible" content="IE=edge" />
<meta name="viewport" content="width=device-width, initial-scale=1.0" />
<title>Image slider</title>
<link rel="stylesheet" href="./ImageSlider.css">
</head>
<body>
<h1>Image Slider</h1>
<div class="slide-container">
<div class="slide fade">
<img src='https://images.unsplash.com/photo-1590595978583-3967cf17d2ea?ixlib=rb-1.2.1&q=85&fm=jpg&crop=entropy&cs=srgb&ixid=eyJhcHBfaWQiOjE0NTg5fQ' alt=''>
</div>
<div class="slide fade">
<img src='https://images.unsplash.com/photo-1588807308097-fb6e5047df8c?ixlib=rb-1.2.1&q=85&fm=jpg&crop=entropy&cs=srgb&ixid=eyJhcHBfaWQiOjE0NTg5fQ' alt=''>
</div>
<div class="slide fade">
<img src='https://images.unsplash.com/photo-1589808710416-24cf7ac026f2?ixlib=rb-1.2.1&q=85&fm=jpg&crop=entropy&cs=srgb&ixid=eyJhcHBfaWQiOjE0NTg5fQ' alt=''>
</div>
<div class="slide fade">
<img src='https://images.unsplash.com/photo-1588796388882-a4d533c47e5e?ixlib=rb-1.2.1&q=85&fm=jpg&crop=entropy&cs=srgb&ixid=eyJhcHBfaWQiOjE0NTg5fQ' alt=''>
</div>
<a href="#" class="prev" title="Previous">❮</a>
<a href="#" class="next" title="Next">❯</a>
</div>
<div class="dots-container">
<span class="dot"></span>
<span class="dot"></span>
<span class="dot"></span>
<span class="dot"></span>
</div>
<script src="./ImageSlider.js"></script>
</body>
</html>
In the HTML file, we have a container that serves as a frame for each slide and each slide contains an image. it’s basically our structure of the Image slider
I created a box first of all using the HTML and CSS code below. In this case I have used width and height. If you want to increase the size of this image slider, you can make the size.
Let’s add the styles. I’ll assume you have basic knowledge of CSS for you to want to build an image slider. I’ll try to make the styling basic and simple.
HTML Output


CSS Code For Image Slider
.slide-container .prev,
.slide-container .next {
  cursor: pointer;
  position: absolute;
  top: 50%;
  width: auto;
  margin-top: -22px;
  padding: 16px;
  color: white;
  font-weight: bold;
  font-size: 20px;
  transition: all 0.6s ease;
  border-radius: 0 3px 3px 0;
  user-select: none;
}

.slide-container .prev:hover,
.slide-container .next:hover {
  background-color: rgba(0, 0, 0, 0.8);
  color: white;
}

.slide-container .prev {
  left: 2px;
}

.slide-container .next {
  right: 2px;
}

.dots-container {
  display: flex;
  justify-content: center;
  align-items: center;
  padding: 10px;
}

.dots-container .dot {
  cursor: pointer;
  margin: 5px;
  width: 20px;
  height: 20px;
  color: #333;
  border-radius: 50%;
  background-color: #dfd6ce;
}

.dots-container .dot.active {
  border: 2px solid green;
}

* {
  padding: 0;
  border: 0;
  box-sizing: border-box;
}

body {
  height: 100%;
  /*   background-image: linear-gradient(to top, #accbee 0%, #e7f0fd 100%); */
}

body h1 {
  text-align: center;
}

.slide-container {
  display: flex;
  justify-content: center;
  align-items: center;
  max-width: 1000px;
  margin: auto;
  position: relative;
}

.slide-container .slide {
  display: none;
  width: 100%;
}

.slide-container .slide.fade {
  animation: fade 0.5s cubic-bezier(0.55, 0.085, 0.68, 0.53) both;
}

.slide-container .slide img {
  width: 100%;
}
The slide display property is set to none which makes them not visible now. The slide container and heading are centered too. We will add the functionality in the JavaScript to make the slides visible.
You Might Like This:
- Dark Mode Toggle Button
- Build your own Tip Calculator
- Portfolio Website Using Html And Css
- Word Guessing Game in HTML CSS & JavaScript
- Popup Box with Html, CSS and JavaScript
Now, let’s style the next and previous buttons and the dots for navigation. Also, add an active class to style the dot for the slide that is currently being displayed.
All we have displaying now is the heading, next and previous buttons, and the four dots.
CSS Output

JavaScript Code For Image Slider
let currentSlide = 0;
const slides = document.querySelectorAll(".slide");
const dots = document.querySelectorAll(".dot");

const init = (n) => {
  slides.forEach((slide, index) => {
    slide.style.display = "none";
    dots.forEach((dot, index) => {
      dot.classList.remove("active");
    });
  });
  slides[n].style.display = "block";
  dots[n].classList.add("active");
};
document.addEventListener("DOMContentLoaded", init(currentSlide));
const next = () => {
  currentSlide >= slides.length - 1 ? (currentSlide = 0) : currentSlide++;
  init(currentSlide);
};

const prev = () => {
  currentSlide <= 0 ? (currentSlide = slides.length - 1) : currentSlide--;
  init(currentSlide);
};

document.querySelector(".next").addEventListener("click", next);

document.querySelector(".prev").addEventListener("click", prev);

setInterval(() => {
  next();
}, 5000);

dots.forEach((dot, i) => {
  dot.addEventListener("click", () => {
    console.log(currentSlide);
    init(i);
    currentSlide = i;
  });
});
It’s time to add the functionality. Create a file named ImageSlider.js and this to it.
We created a variable named current slide that stores the index of the current slide to determine the current slide.
We also created a variable called slides to store each slide into a array which enables us to iterate over them and another variable named dots to store all the dots in an array.
Then we created a function named init that accepts a parameter n. The parameter will be the current slide passed into it. Inside the function, we iterated through slides and set each slide’s display property to none. While iterating through the slides, we also iterate through dots and remove the class action from each do. When done setting each slide’s display property to none and removing the class action from each dot, we then set the display of the current index according to the current slide, to block and add the active class to the dot of the current index using the current slide variable.
And lastly, we add an event to the window to run the init() function when the HTML content is done loading.
We created a function named next to change the current slide to the next one. Here, I used the ternary operator instead of if-else statement. Inside the function, we checked if the current slide is greater than or equal to the last index of the slides (4 -1 = 3) which is an array. If it is true, we reset the current slide to 0, else we increment the current slide variable and we run the init() function with the current slide value.
For the prev() function, we check if the current slide variable is less than or or equal to zero. If it is true, we set currentSlide to the last index of the slides (4 -1 = 3), else we decrement current slide.
And finally we add click event on next and previous button. When you click on the next button, it runs the next() function and when you click on the previous button, it runs the prev() function.
To make the slide change automatically, we set a timer that runs the next() function every 5 seconds.
ADVERTISEMENT
Here, we iterate through the dots variable and for each dot, we add an click event and run the init() function passing the index of the dot that is clicked as the parameter and also setting current slide to that index.
ADVERTISEMENT
Yes, that is all. We now have a working image slider.
ADVERTISEMENT
Final Output


ADVERTISEMENT
Source code
If you enjoyed reading this Image slider with JavaScript post and have found it useful for you, then please give a share with your friends, and follow me to get updates on my upcoming posts. You can connect with me on Instagram.
ADVERTISEMENT
if you have any confusion Regarding Image slider with JavaScript Comment below or you can contact us by filling out our contact us form from the home section.
Thank You And Keep Learning!!!
written by – Ninja_webTech


