Create Comment Box In HTML And CSS
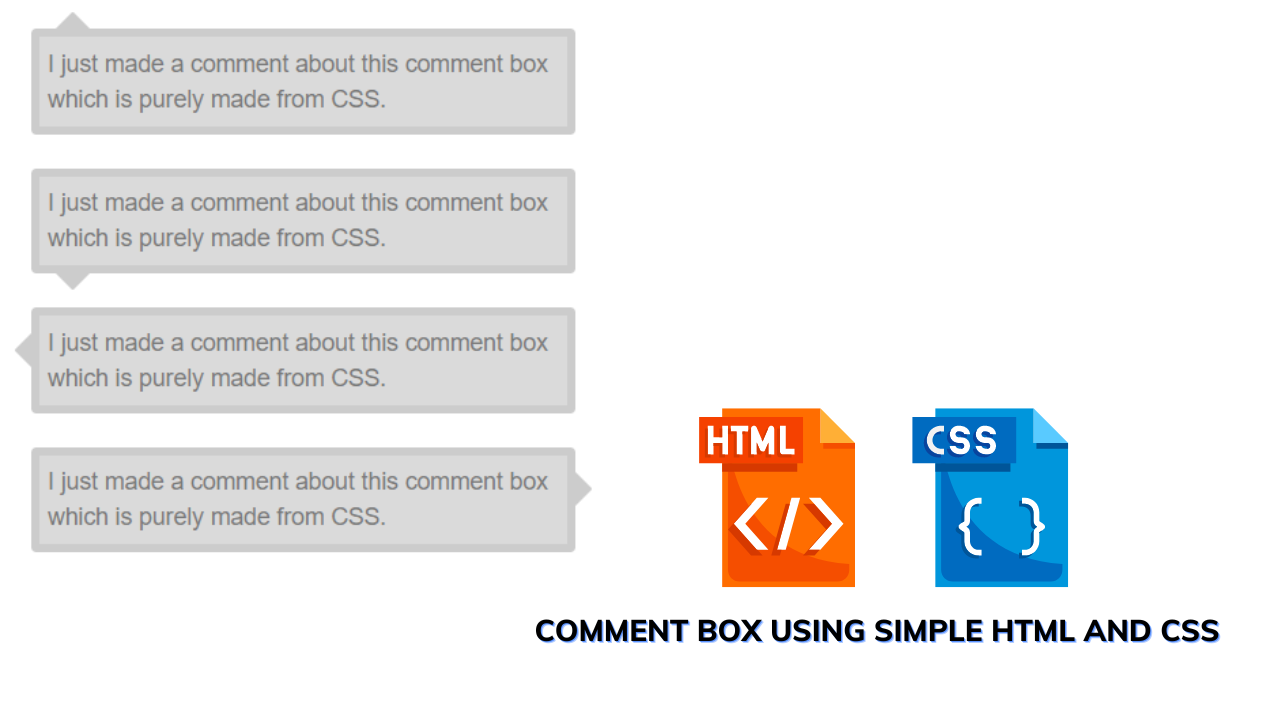
Hey Coder, Welcome To The Codewithrandom Blog. In Today’s Blog, We Are Going to Create An Comment Box Using HTML and CSS. A comment box is nothing but a user can comment on what is their thought about the project. It’s an idea of how to create a comment box.
So, Let’s Begin Our Comment Box Project By Adding The Source Codes. For That, First, We Are Using The Html Code.
50+ HTML, CSS & JavaScript Projects With Source Code
| Code by | Eze |
| Project Download | Link Available Below |
| Language used | HTML and CSS |
| External link / Dependencies | YES |
| Responsive | NO |
Html Code For Comment Box:-
<div class="container">
  <div class="dialogbox">
    <div class="body">
      <span class="tip tip-up"></span>
      <div class="message">
        <span>I just made a comment about this comment box which is purely made from CSS.</span>
      </div>
    </div>
  </div>

  <div class="dialogbox">
    <div class="body">
      <span class="tip tip-down"></span>
      <div class="message">
        <span>I just made a comment about this comment box which is purely made from CSS.</span>
      </div>
    </div>
  </div>
Here we first added the HTML code. Now In this code, we first create a three div class with the different class names,s, and inside of it we are just adding the span tag to make a comment box by calling it in CSS. And for the content that needs to be in the comment box, we just created another div class with a span inside and content. Then We closed all the div tags.
100+ JavaScript Projects With Source Code ( Beginners to Advanced)
Again We repeat the first step but here we have simply changed the class name of the div class and further are repeated has per given.
Now We have completed our HTML code. So let’s begin with adding CSS for making to view it has an actual comment box.
Css Code For Comment Box
.tip {
  width: 0px;
  height: 0px;
  position: absolute;
  background: transparent;
  border: 10px solid #ccc;
}

.tip-up {
  top: -25px; /* Same as body margin top + border */
  left: 10px;
  border-right-color: transparent;
  border-left-color: transparent;
  border-top-color: transparent;
}

.tip-down {
  bottom: -25px;
  left: 10px;
  border-right-color: transparent;
  border-left-color: transparent;
  border-bottom-color: transparent;
}
.dialogbox .body {
  position: relative;
  max-width: 300px;
  height: auto;
  margin: 20px 10px;
  padding: 5px;
  background-color: #DADADA;
  border-radius: 3px;
  border: 5px solid #ccc;
}

.body .message {
  min-height: 30px;
  border-radius: 3px;
  font-family: Arial;
  font-size: 14px;
  line-height: 1.5;
  color: #797979;
}
In the First step of CSS code, we are just styling out the two contents by adding the font sizes, families, line height, background color, font color, etc.. to make it attractive and for display, it has a comment by adding a comment box with borders.
Restaurant Website Using HTML and CSS
In the Second Step, We fixed the font to a minimum height of 30 px with border radius, font family, size, and color and for a little space we added out the line height.
The Code for the above explanation.
.dialogbox .body {
  position: relative;
  max-width: 300px;
  height: auto;
  margin: 20px 10px;
  padding: 5px;
  background-color: #DADADA;
  border-radius: 3px;
  border: 5px solid #ccc;
}

.body .message {
  min-height: 30px;
  border-radius: 3px;
  font-family: Arial;
  font-size: 14px;
  line-height: 1.5;
  color: #797979;
}
In the Third step, We just styled out the comment box by moving 10px away from the left and 25 px away from the top to have a gap in between that then we fixed the border’s right, top, and left colors to transparent.
Likewise, the fourth step is also repeated as the third one but here we have to mention the different class name which is given in HTML.
The code for the explanation is down.
.tip-up {
  top: -25px; /* Same as body margin top + border */
  left: 10px;
  border-right-color: transparent;
  border-left-color: transparent;
  border-top-color: transparent;
}

.tip-down {
  bottom: -25px;
  left: 10px;
  border-right-color: transparent;
  border-left-color: transparent;
  border-bottom-color: transparent;
}
Now we have successfully added the CSS code and even we have completed our project as well. So it’s time to view the project preview in the mentioned output section.
Copy To Clipboard From Input Element using JavaScript
Final Output Of Comment Box Using Html and Css:-
Now We have Successfully created our Comment Box Using HTML and CSS. You can use this project for your personnel needs and the respective lines of code are given with the code pen link mentioned below.
10+ Javascript Project Ideas For Beginners( Project Source Code)
If you find out this Blog helpful, then make sure to search Codewithrandom on google for Front End Projects with Source codes and make sure to Follow the Code with Random Instagram page.
REFER CODE – Eze
WRITTEN BY – Ragunathan S
ADVERTISEMENT
Which code editor do you use for this Comment Box coding?
I personally recommend using VS Code Studio, it’s straightforward and easy to use.
ADVERTISEMENT
is this project responsive or not?
YES! this is a responsive project
ADVERTISEMENT
Do you use any external links to create this project?
No!
ADVERTISEMENT


