Draggable Elements using HTML, CSS & JavaScript
Hello everyone. Welcome to today’s tutorial on Codewithrandom. We’ll learn how to make draggable object. In Today’s session, We will use HTML, CSS, and JavaScript to complete this Project. The project will be divided in 3 steps.
The HTML (Hypertext Markup Language) code will help us to make the structure of the project which includes all the necessary attributes and elements.
The CSS (Cascading Stylesheets) code will do the styling adding colors and and help to aligned the defined content so that they are properly placed.
And Lastly the JS (JavaScript) code will help to add logical part and some variable which will make the elements draggable by the end of the project.
I hope you have got an idea about the project.
HTML Code for Draggable Div
<div id="mydiv">
  <div id="mydivheader">Click here to move
    <button>close</button>
  </div>
  <p>Move</p>
  <p>this</p>
  <p>DIV</p>
</div>
In this HTML Code we have created the structure of the project which has some buttons and defined tags in which there is some content which will display once it will run. Let us code the CSS part to style the project.
Portfolio Website Using HTML CSS And JAVASCRIPT ( Source Code)
CSS Code for Draggable Div
#mydiv {
    position: absolute;
    z-index: 9;
    background-color: yellow;
    text-align: center;
    border: 1px solid #d3d3d3;
}

#mydivheader {
    padding: 10px;
    z-index: 10;
    background-color: green;
    color: #fff;
}
In this small CSS code we have just styled the content which is present in the div tag with padding, alignment and with appropriate border. Let us code the JavaScript part to make it user responsive.
50+ Html ,Css & Javascript Projects With Source Code
JavaScript Code for Draggable Div
dragElement(document.getElementById(("mydiv")));

function dragElement(elmnt) {
  var pos1 = 0, pos2 = 0, pos3 = 0, pos4 = 0;
  if (document.getElementById(elmnt.id + "header")) {
    /* if present, the header is where you move the DIV from:*/
    document.getElementById(elmnt.id + "header").onmousedown = dragMouseDown;
  } else {
    /* otherwise, move the DIV from anywhere inside the DIV:*/
    elmnt.onmousedown = dragMouseDown;
  }

  function dragMouseDown(e) {
    e = e || window.event;
    // get the mouse cursor position at startup:
    pos3 = e.clientX;
    pos4 = e.clientY;
    document.onmouseup = closeDragElement;
    // call a function whenever the cursor moves:
    document.onmousemove = elementDrag;
  }

  function elementDrag(e) {
    e = e || window.event;
    // calculate the new cursor position:
    pos1 = pos3 - e.clientX;
    pos2 = pos4 - e.clientY;
    pos3 = e.clientX;
    pos4 = e.clientY;
    // set the element's new position:
    elmnt.style.top = (elmnt.offsetTop - pos2) + "px";
    elmnt.style.left = (elmnt.offsetLeft - pos1) + "px";
  }

  function closeDragElement() {
    /* stop moving when mouse button is released:*/
    document.onmouseup = null;
    document.onmousemove = null;
  }
}
In this JavaScript which is the final part of the project we have added the logic in it to make it drag the elements from the user end. After that we have made the necessary attributes and elements user responsive which are required. Let us see the final output of Draggable Elements.
10+ Javascript Projects For Beginners With Source Code
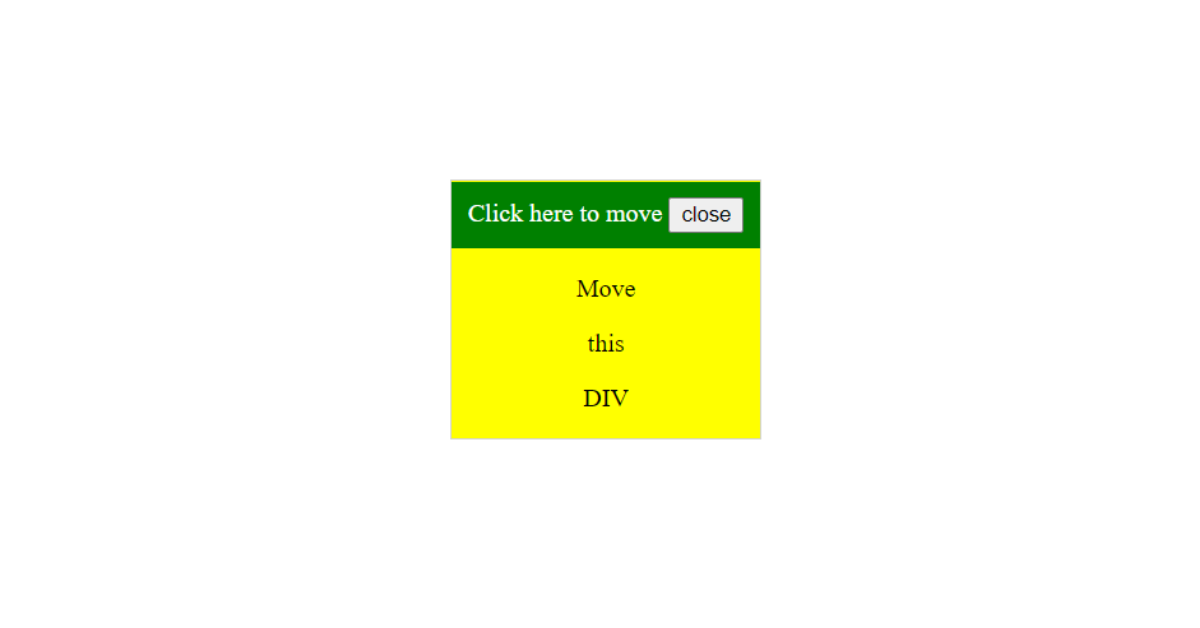
Final Output Of Draggable Elements using HTML, CSS & JavaScript
We have Successfully created our Draggable Elements using HTML, CSS & JavaScript. You can use this project for your personal needs and the respective lines of code are given with the code pen link mentioned above.
If you find out this Blog helpful, then make sure to search code with random on google for Front End Projects with Source codes and make sure to Follow the Code with Random Instagram page.
Written By – Harsh Sawant
Code By – @harshh9


