Jarvis is an AI-virtual assistant, just like Siri, Alexa, and Google Assistant. It is a master javascript project that uses the javascript advance concept with the feature of converting text to speech and then using the natural language processing method to help understand jarvis, what the client is asking for, and then providing the web search result to the user. We have just created a prototype for this project as of now, but there is a lot of scope for this project. In the future, we can add multiple features to our Jarvis virtual assistant project.

Major updates we can add to our project are adding more voice commands, providing datasets, and allowing media uploads, which Jarvis can scan and provide results in reference to our data.
But before we start, I would like to request that, for better understanding, you always practice the concept along with the projects, which will help you in the better implementation of concepts in the project.
General Questions:
What is a Virtual Assistant?
A virtual assistant is web application software that uses AI and NLP methods for listening to the commands of the user, interpreting them into machine-understandable language using NLP, and then providing the relevant web result.
What laguage is used for the project?
I have used CSS and Javascript for adding the styling and functionality to our jarvis project.
Creating Structure (HTML):
HTML, or Hyper Text Markup Language, is what we will be using for creating the structure for our Jarvis AI virtual assistant. We will be creating a default structure where we will add some media files and a button, which we will be using for providing commands to the virtual assistant using a Javascript function.
1. Adding Important links in head tag
We will give a suitable title to our Jarvis virtual assistant so that everyone can understand what the project is all about, and then for adding styling to our project, we will embed the external link to the CSS file, and we will also be using some icons in our project,so for that, we will be using the font-awesome icons website, where we can add different icons free of charge.
head>
    <title>JARVIS - Virtual Assistant</title>
    <link rel="shortcut icon" href="avatar.png" type="image/x-icon">
    <link rel="stylesheet" href="style.css">
    <link rel="stylesheet" href="https://cdnjs.cloudflare.com/ajax/libs/font-awesome/5.15.3/css/all.min.css">

</head>
2. Adding Structure:
We will first create a main section for our Jarvis file structure, and then, using the <div> tag with the class image container, we will create a container for our Jarvis animated image. We will also use the <img> tag with the location of the file along with the extension of the media, and using the <h1> the largest heading tag, we will give the largest heading as “JARVIS,” and using the p> tag, we will add a brief description of our project.
We will also create another container in which we will add a button, and inside the button we will add the microphone icon class using font-awesome classes and the <h1> tag to indicate that the that the user should click on the microphone icon to activate Jarvis.
<section class="main">
        <div class="image-container">
            <div class="image">
                <img src="giphy.gif" alt="image">
            </div>
            <h1>J A R V I S</h1>
            <p>I m a Virtual Assistant JARVIS, How may i help you?</p>
        </div>
        <div class="input">
            <button class="talk"><i class="fas fa-microphone-alt"></i></button>
            <h1 class="content"> Click here to speak</h1>
        </div>
    </section>
    <script src="app.js"></script>
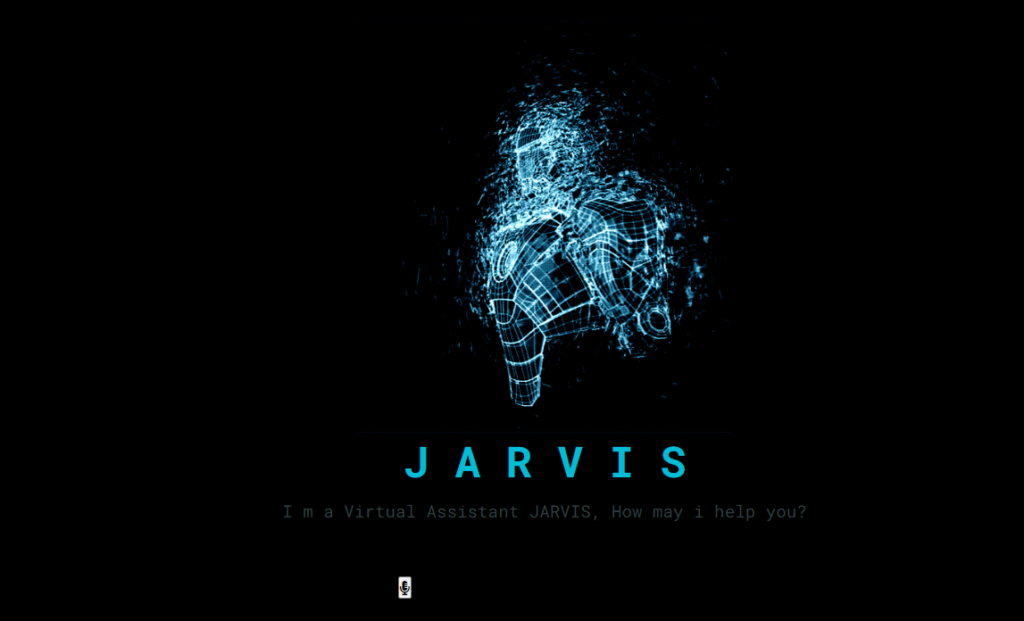
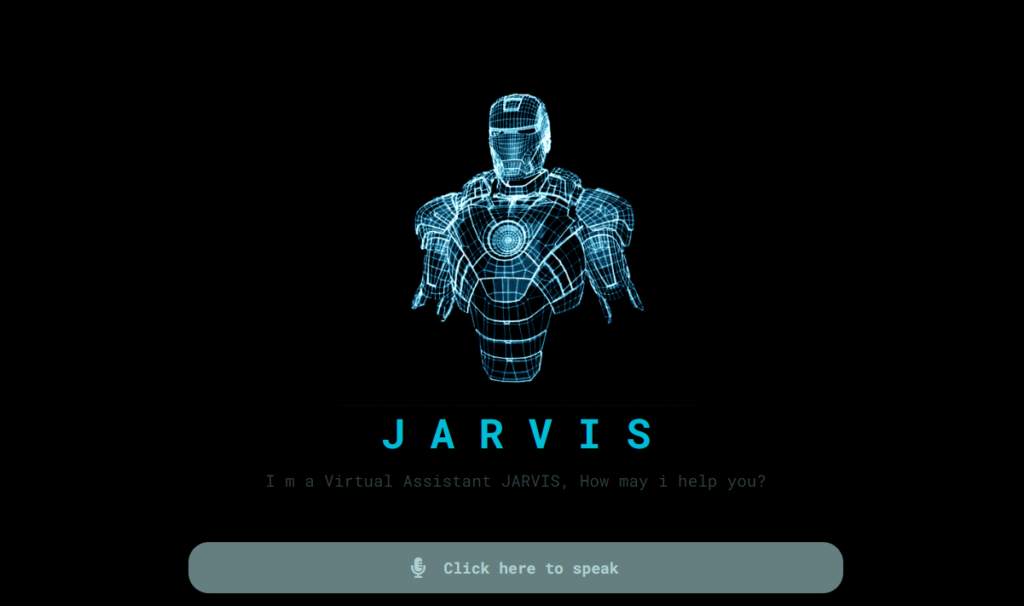
HTML Output:

Adding Styling:
1. Adding Basic Styling:
First of all, using the Google import link, we will import some new Google fonts that we will be adding to our project to style the text and fonts of our webpage. Then, using the universal tag selector, we will set the padding and margin to zero from the browser’s default padding and margin, and then using the font family property, we will add a font styling “Roboto Mono” to our Jarvis Project.
@import url("https://fonts.googleapis.com/css2?family=Roboto+Mono:wght@100;200;300;400;500;600;700&display=swap");
* {
    margin: 0;
    padding: 0;
    box-sizing: border-box;
    font-family: "Roboto Mono", monospace;
}
2. Styling Main Section:
(.Main) class selector property: we will set the minimum height of 100 vh, and using the position property, we will set the position relative to the body of the webpage. The width of the main section is set at 100%, and using the background color property, we will set the background color of our main section to black. Using the justify content property, we will justify all the main content in the center.
.main {
    min-height: 100vh;
    position: relative;
    width: 100%;
    background: #000;
    display: flex;
    flex-direction: column;
    align-items: center;
    justify-content: center;
}

.main .image-container {
    padding: 10px;
}
3. Styling Jarvis Elements:
Using the child tag selector, we will select our image first, set the width of the image to 100%, and using the display property, we will set the display to flex for responsive design, and using the justify content property, we will justify the content to the center.
Using the h1 tag selector, we will change the color of the heading of our Jarvis Virtual Assistant to blue, and using the text align property, we will align the heading to the center of the main section.
.main .image-container .image {
    width: 100%;
    display: flex;
    align-items: center;
    justify-content: center;
}

.main .image-container .image img {
    width: 350px;
    align-items: center;
}

.main .image-container h1 {
    color: #00bcd4;
    text-align: center;
    margin-bottom: 10px;
    font-size: 40px;
}

.main .image-container p {
    color: #324042;
    text-align: center;
    margin-bottom: 40px;
}
4. Styling button:
Using child class selector (.input) we will justify the input field to the center of the main section and using the width and height property we will set the widht and height as 40vw and 50px . Also using the border-radius property we will set the border radius as 20px .
.main .input {
    display: flex;
    justify-content: center;
    align-items: center;
    width: 40vw;
    height: 50px;
    border-radius: 20px;
    background: rgb(202 253 255 / 50%);
}

.main .input .talk {
    background: transparent;
    outline: none;
    border: none;
    width: 50px;
    height: 50px;
    display: flex;
    justify-content: center;
    align-items: center;
    font-size: 15px;
    cursor: pointer;
}

.main .input .talk i {
    font-size: 20px;
    color: #aed0d0;
}

.main .input .content {
    color: #aed0d0;
    font-size: 15px;
    margin-right: 20px;
}
Adding functionality (Javascript):
Selecting HTML Element:
const btn = document.querySelector('.talk');
const content = document.querySelector('.content');
Using the document.queryselector, we will select the HTML element with the class name “talk” and store its value in a constant variable called button, and similarly, we will create another variable called content and store the value of the content class HTML element.
Creating Speak function:
We will create a function called speak, pass an argument text to our speak function, and then use the speechSynthesis API to convert speech to text. The text_speak variable was created using SpeechSynthesisUtterance and assigned its value to the text_speak function.
ADVERTISEMENT
function speak(text) {
    const text_speak = new SpeechSynthesisUtterance(text);

    text_speak.rate = 1;
    text_speak.volume = 1;
    text_speak.pitch = 1;

    window.speechSynthesis.speak(text_speak);
}
Creating Wish User function:
ADVERTISEMENT
We will create a wishMe function in which we will fetch the user’s current date and time from their browsers using the gethours method and accordingly wish the user on the page load. We will create an event listener on the page load that will do two things: first, it will speak “initializing Jarvis”; second, it will trigger the wishme function; and using the speak, we will wish the user.
ADVERTISEMENT
function wishMe() {
    var day = new Date();
    var hour = day.getHours();

    if (hour >= 0 && hour < 12) {
        speak("Good Morning Boss...");
    } else if (hour >= 12 && hour < 17) {
        speak("Good Afternoon Master...");
    } else {
        speak("Good Evening Sir...");
    }
}

window.addEventListener('load', () => {
    speak("Initializing JARVIS...");
    wishMe();
});
Take Commands:
ADVERTISEMENT
We will now create some variables and functions for taking user commands. We will create a constant variable called speechRecognition and store the value in the in the window. speechRecognition, and we will create a function in which we will take the command from the user through the microphone, convert it to text using the speechsynthesis API, and then use the transcript. tolowercase() method, we will make all the text in lower case.
ADVERTISEMENT
We will create a button-click event listener in which we will activate the recognition function and listen to the user command. We will create some conditions and determine which condition matches the user command using the if and else condition. If the command by the user is not in the list, we will do a web search on the new tab and provide the relevant result.
const SpeechRecognition = window.SpeechRecognition || window.webkitSpeechRecognition;
const recognition = new SpeechRecognition();

recognition.onresult = (event) => {
    const currentIndex = event.resultIndex;
    const transcript = event.results[currentIndex][0].transcript;
    content.textContent = transcript;
    takeCommand(transcript.toLowerCase());
};

btn.addEventListener('click', () => {
    content.textContent = "Listening...";
    recognition.start();
});

function takeCommand(message) {
    if (message.includes('hey') || message.includes('hello')) {
        speak("Hello Sir, How May I Help You?");
    } else if (message.includes("open google")) {
        window.open("https://google.com", "_blank");
        speak("Opening Google...");
    } else if (message.includes("open youtube")) {
        window.open("https://youtube.com", "_blank");
        speak("Opening Youtube...");
    } else if (message.includes("open facebook")) {
        window.open("https://facebook.com", "_blank");
        speak("Opening Facebook...");
    } else if (message.includes('what is') || message.includes('who is') || message.includes('what are')) {
        window.open(`https://www.google.com/search?q=${message.replace(" ", "+")}`, "_blank");
        const finalText = "This is what I found on the internet regarding " + message;
        speak(finalText);
    } else if (message.includes('wikipedia')) {
        window.open(`https://en.wikipedia.org/wiki/${message.replace("wikipedia", "").trim()}`, "_blank");
        const finalText = "This is what I found on Wikipedia regarding " + message;
        speak(finalText);
    } else if (message.includes('time')) {
        const time = new Date().toLocaleString(undefined, { hour: "numeric", minute: "numeric" });
        const finalText = "The current time is " + time;
        speak(finalText);
    } else if (message.includes('date')) {
        const date = new Date().toLocaleString(undefined, { month: "short", day: "numeric" });
        const finalText = "Today's date is " + date;
        speak(finalText);
    } else if (message.includes('calculator')) {
        window.open('Calculator:///');
        const finalText = "Opening Calculator";
        speak(finalText);
    } else {
        window.open(`https://www.google.com/search?q=${message.replace(" ", "+")}`, "_blank");
        const finalText = "I found some information for " + message + " on Google";
        speak(finalText);
    }
}
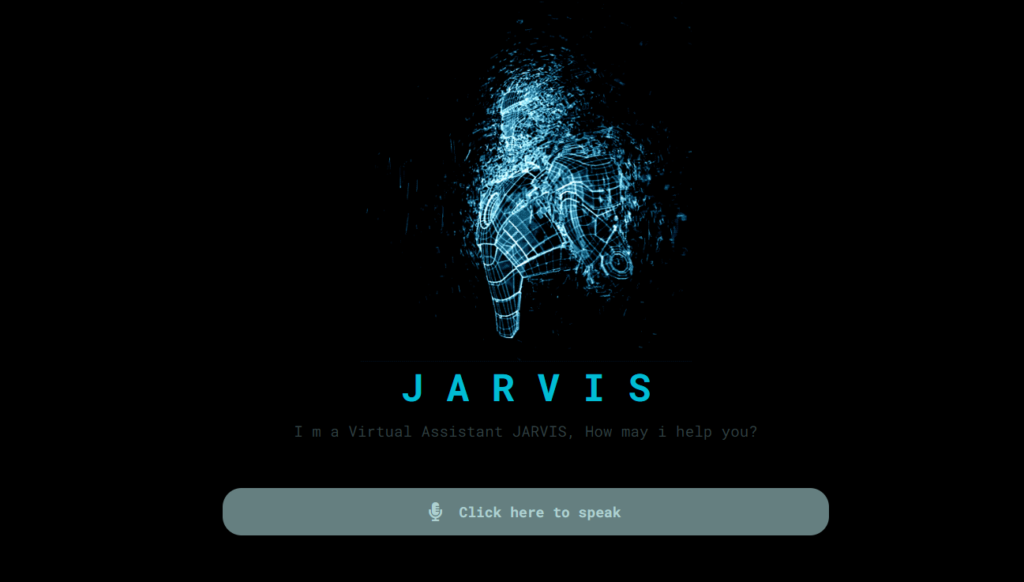
final Output

Video Output:
Conclusion:
It is very important college project and can make you stand out in a crowd. By this project we learned about important concepts like AI, NLP, and text conversion. My main motive was to make you understand the real-world use of the concepts through the project, and I hope you liked this project.
If you are able to create your own personal assistant along with this project, then trust me, you have understood these concepts.
Have any doubt? Ask us on instagram page codewithrandom
If you like this project, share it with friends and subscribe to our codewithrandom website for more such helpful projects.
Author: Arun
Source Code: link


What is the process to actually run the source code? Do we need to install npm or other dependencies?
You need to first download the zip file of the project onto your desktop and open that extract of the zip file inside the vs code. Then click on the run server button in the vs code that’s it
What the codes file name that required to save the code
you need to create html , css and javascript file and the name as per your choice.