Create a Calculator using HTML, CSS and JavaScript
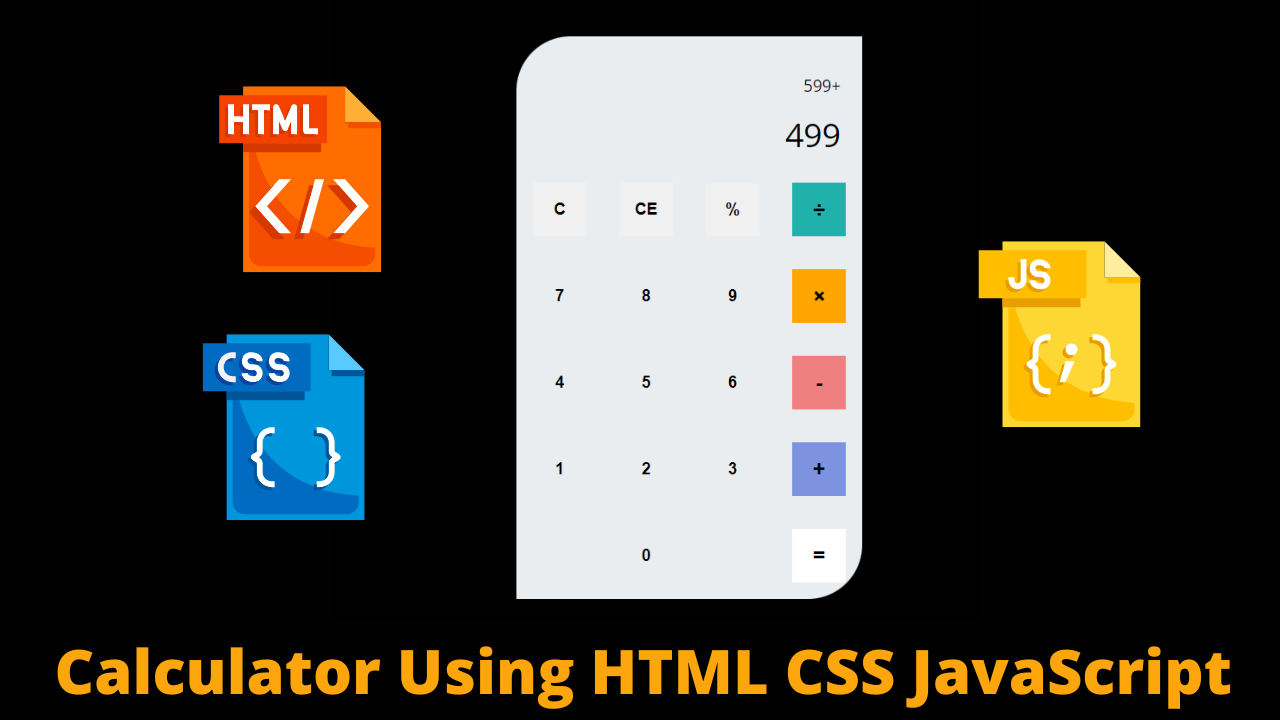
As you are looking in the project preview how the thing is organized in the single container.
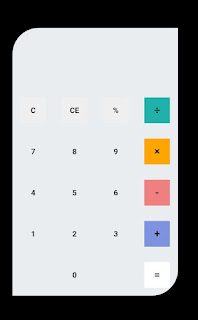
- Like as you are able to observe the attached awesome Ui design of the calculator in which we have a display combined with a few buttons that have numerical and some functional values on it.
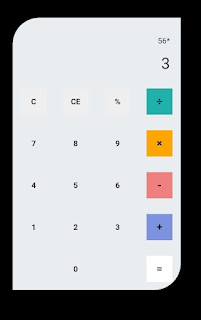
- Like in the second image I have selected two numbers with multiplication functionality and after doing this if you press equal to sign then the result will be previewed.
Html Code For Calculator:-
The HyperText Markup Language or HTML is the standard markup language for documents designed to be displayed in a web browser.
All HTML documents must start with a document type declaration: <!DOCTYPE html>.
10+ HTML CSS Projects With Source Code
The HTML document itself begins with <html> and ends with </html>.
The visible part of the HTML document is between <body> and </body>.Inside the body tag the main content of the website lies.
- First, we have a container that will enclose all other parts of the Calculator project.
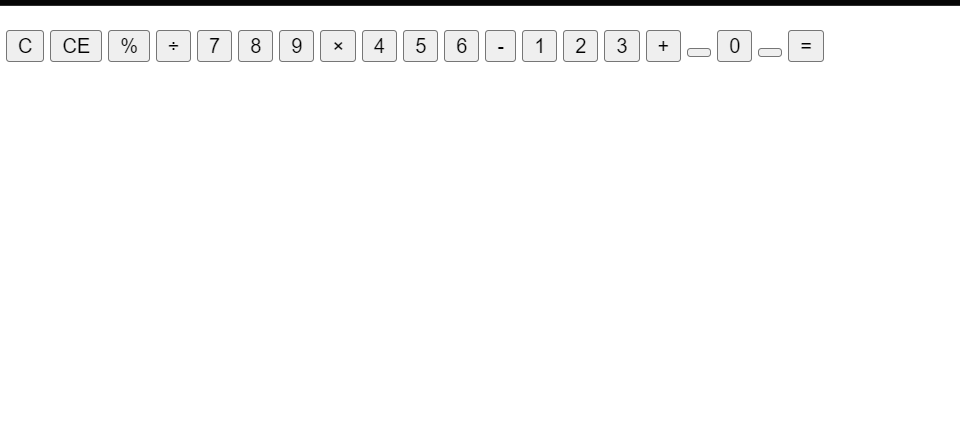
- Then we have div with id keyword with multiple buttons.As we need many buttons for every number 0to 9 and for different type of operators as well as different type of functions like deleting the previous letter or deleting all letters.
<html>
<head>
href="https://fonts.googleapis.com/css?family=Open+Sans:600,700"
rel="stylesheet">
<title>A simple calculator</title>
</head>
<body>
<div id="container">
<div id="calculator">
<div id="result">
<div id="history"><p id="history-value"></p></div>
<div id="output"><p id="output-value"></p></div>
</div>
<div id="keyboard">
<button class="operator" id="clear">C</button>
<button class="operator" id="backspace">CE</button>
<button class="operator" id="%">%</button>
<button class="operator" id="/">÷</button>
<button class="number" id="7">7</button>
<button class="number" id="8">8</button>
<button class="number" id="9">9</button>
<button class="operator" id="*">×</button>
<button class="number" id="4">4</button>
<button class="number" id="5">5</button>
<button class="number" id="6">6</button>
<button class="operator" id="-">-</button>
<button class="number" id="1">1</button>
<button class="number" id="2">2</button>
<button class="number" id="3">3</button>
<button class="operator" id="+">+</button>
<button class="empty" id="empty"></button>
<button class="number" id="0">0</button>
<button class="empty" id="empty"></button>
<button class="operator" id="=">=</button>
</div>
</div>
</div>
</body>
</html>
HTML Code Output:
Css Code For Calculator:-
Cascading Style Sheets is a style sheet language used for describing the presentation of a document written in a markup language such as HTML or XML. CSS is a cornerstone technology of the World Wide Web, alongside HTML and JavaScript.
body{
font-family: 'Open Sans',sans-serif;
background-color: black;
}
#container{
width: 1000px;
height: 550px;
background-image: linear-gradient(rgba(0,0,0,0.3),rgba(0,0,0,0.3));
margin: 20px auto;
}
#calculator{
width: 320px;
height: 520px;
background-color: #eaedef;
margin: 0 auto;
top: 20px;
position: relative;
border-radius: 50px 0 50px 0;
box-shadow: 0 4px 8px 0 rgba(0, 0, 0, 0.2), 0 6px 20px 0 rgba(0, 0, 0, 0.19);
}
#result{
height: 120px;
}
#history{
text-align: right;
height: 20px;
margin: 0 20px;
padding-top: 20px;
font-size: 15px;
color: #000;
}
#output{
text-align: right;
height: 60px;
margin: 10px 20px;
font-size: 30px;
}
#keyboard{
height: 400px;
}
.operator, .number, .empty{
width: 50px;
height: 50px;
margin: 15px;
float: left;
border-radius: 50% 0 50 %;
border-width: 0;
font-weight: bold;
font-size: 15px;
}
.number, .empty{
background-color: #eaedef;
}
.number, .operator{
cursor: pointer;
}
.operator:active, .number:active{
font-size: 13px;
}
.operator:focus, .number:focus, .empty:focus{
outline: 0;
}
button:nth-child(4){
font-size: 20px;
background-color: #20b2aa;
}
button:nth-child(8){
font-size: 20px;
background-color: #ffa500;
}
button:nth-child(12){
font-size: 20px;
background-color: #f08080;
}
button:nth-child(16){
font-size: 20px;
background-color: #7d93e0;
}
button:nth-child(20){
font-size: 20px;
background-color: #ffffff;
}Step1:The font family for our calculator will be defined using the body tag selector. The typeface family will be set to open-sans using the font family property, and the background colour will be set to black using the background colour property.
The styling will be added to our calculator container using the id selector (#container). We will set the width and height of our calculator to 1000 pixels and 550 pixels, respectively, using the width and height properties, and we will use the background image property to give our calculator a linear background.
How To Build Language Translator Using Google API in Python
body{
    font-family: 'Open Sans',sans-serif;
    background-color: black;
}
#container{
    width: 1000px;
    height: 550px;
    background-image: linear-gradient(rgba(0,0,0,0.3),rgba(0,0,0,0.3));
    margin: 20px auto;
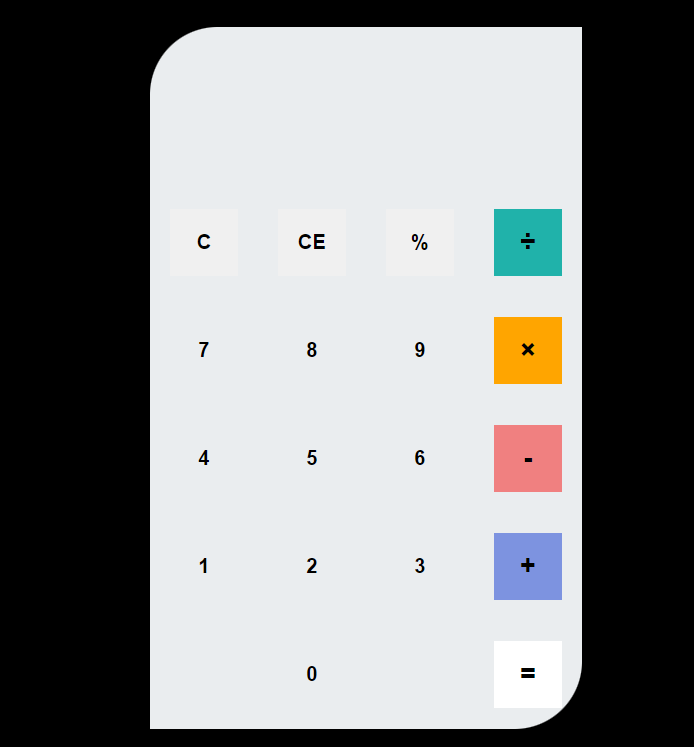
}Step2:The id selector (#calculator) will now be used to apply styling to our calculator. Using the background colour property, we will specify a light blue background and assign the width and height to 320 pixels and 520 pixels, respectively. Additionally, we will use the border radius property to add a 50px border to the calculator’s top left and bottom right corners. In a similar manner, we will style the keyboard button and the outcome display. Each component of our calculator will receive the design.
#calculator{
    width: 320px;
    height: 520px;
    background-color: #eaedef;
    margin: 0 auto;
    top: 20px;
    position: relative;
    border-radius: 50px 0 50px 0;
    box-shadow: 0 4px 8px 0 rgba(0, 0, 0, 0.2), 0 6px 20px 0 rgba(0, 0, 0, 0.19);
}
#result{
    height: 120px;
}
#history{
    text-align: right;
    height: 20px;
    margin: 0 20px;
    padding-top: 20px;
    font-size: 15px;
    color: #000;
}
#output{
    text-align: right;
    height: 60px;
    margin: 10px 20px;
    font-size: 30px;
}
#keyboard{
    height: 400px;
}
.operator, .number, .empty{
    width: 50px;
    height: 50px;
    margin: 15px;
    float: left;
    border-radius: 50% 0 50 %;
    border-width: 0;
    font-weight: bold;
    font-size: 15px;
}
.number, .empty{
    background-color: #eaedef;
}
.number, .operator{
    cursor: pointer;
}
.operator:active, .number:active{
    font-size: 13px;
}
.operator:focus, .number:focus, .empty:focus{
    outline: 0;
}
button:nth-child(4){
    font-size: 20px;
    background-color: #20b2aa;
}
button:nth-child(8){
    font-size: 20px;
    background-color: #ffa500;
}
button:nth-child(12){
    font-size: 20px;
    background-color: #f08080;
}
button:nth-child(16){
    font-size: 20px;
    background-color: #7d93e0;
}
button:nth-child(20){
    font-size: 20px;
    background-color: #ffffff;
}
CSS Code Output:
Javascript Code For Calculator:-
In the Javascript part, we will add magic logic as initially when our page will be loaded then our only static calculator will be previewed, and for operating with button functionality we will this js file.
A live preview of our project is attached below refer to this codepen
function getHistory(){
    return document.getElementById("history-value").innerText;
}
function printHistory(num){
    document.getElementById("history-value").innerText=num;
}
function getOutput(){
    return document.getElementById("output-value").innerText;
}
function printOutput(num){
    if(num==""){
        document.getElementById("output-value").innerText=num;
    }
    else{
        document.getElementById("output-value").innerText=getFormattedNumber(num);
    }
}
function getFormattedNumber(num){
    if(num=="-"){
        return "";
    }
    var n = Number(num);
    var value = n.toLocaleString("en");
    return value;
}
function reverseNumberFormat(num){
    return Number(num.replace(/,/g,''));
}
var operator = document.getElementsByClassName("operator");
for(var i =0;i<operator.length;i++){
    operator[i].addEventListener('click',function(){
        if(this.id=="clear"){
            printHistory("");
            printOutput("");
        }
        else if(this.id=="backspace"){
            var output=reverseNumberFormat(getOutput()).toString();
            if(output){//if output has a value
                output= output.substr(0,output.length-1);
                printOutput(output);
            }
        }
        else{
            var output=getOutput();
            var history=getHistory();
            if(output==""&&history!=""){
                if(isNaN(history[history.length-1])){
                    history= history.substr(0,history.length-1);
                }
            }
            if(output!="" || history!=""){
                output= output==""?output:reverseNumberFormat(output);
                history=history+output;
                if(this.id=="="){
                    var result=eval(history);
                    printOutput(result);
                    printHistory("");
                }
                else{
                    history=history+this.id;
                    printHistory(history);
                    printOutput("");
                }
            }
        }

    });
}
var number = document.getElementsByClassName("number");
for(var i =0;i<number.length;i++){
    number[i].addEventListener('click',function(){
        var output=reverseNumberFormat(getOutput());
        if(output!=NaN){ //if output is a number
            output=output+this.id;
            printOutput(output);
        }
    });
}
For our calculator app, we will build various functions in javascript. We will return the history value to the result using the.innerHTML property and then print the prior value to the user using the function gethistory(). Similar to how we created the function for getformatterNumber(num), we added the mathematical operation inside of our javascript, and we created the function for all the operations a simple calculator does.
By this blog… We have learned how we can design an Awesome UI Responsive Calculator Project HTML CSS JAVASCRIPT.
Final Output Of Calculator using HTML, CSS, and JavaScript:-
Video Output:
Now I’m looking for your reviews.
How to add buttons to this calculator program using HTML , CSS , JAVASCRIPT ?
To add buttons in this calculator program using HTML, we will use these sayntax:-<button class="number" id="4">4</button>
How to set calculator background in CSS file ?
Use this syntax to add backgroud colour in your CSS file:-background-color: #eaedef;
