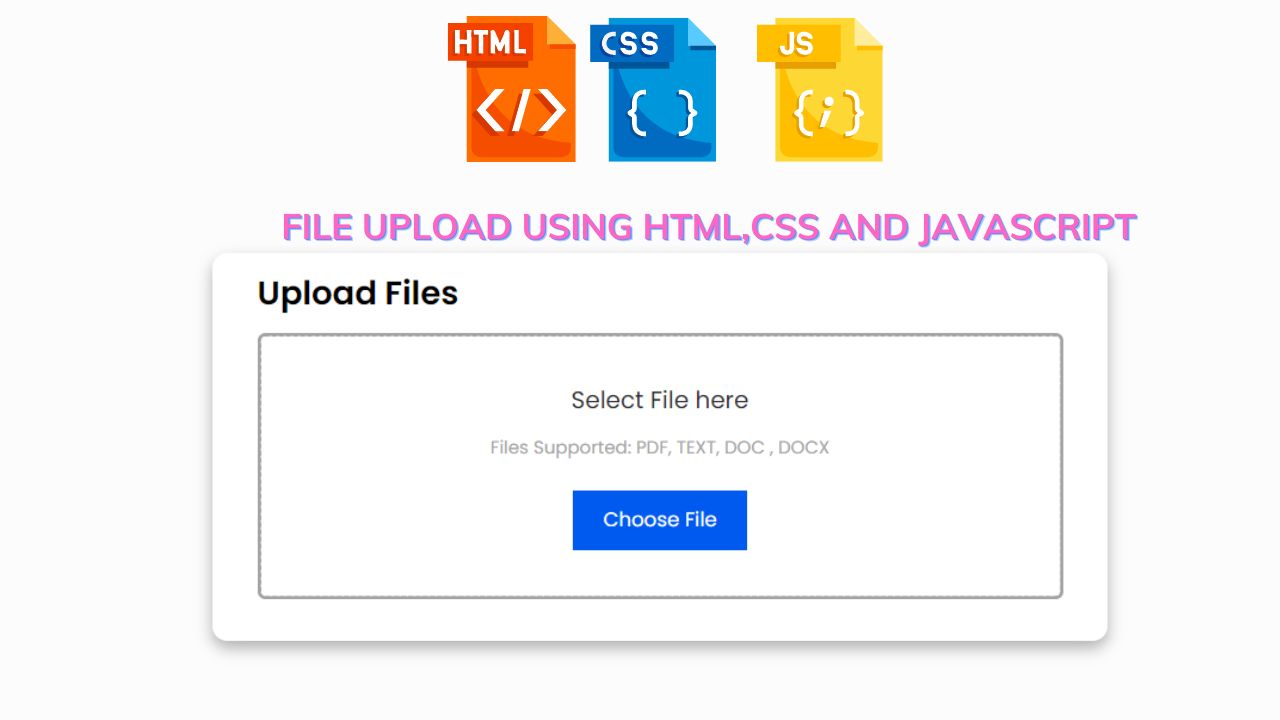
Upload File on Button Click with Preview Using JavaScript
Hello, Guys. Welcome to Our Blog, In today’s article, we’ll look at how to make an Upload File on Button Click with Preview using HTML, CSS, and JavaScript. Before that, we could see what this endeavor was about.
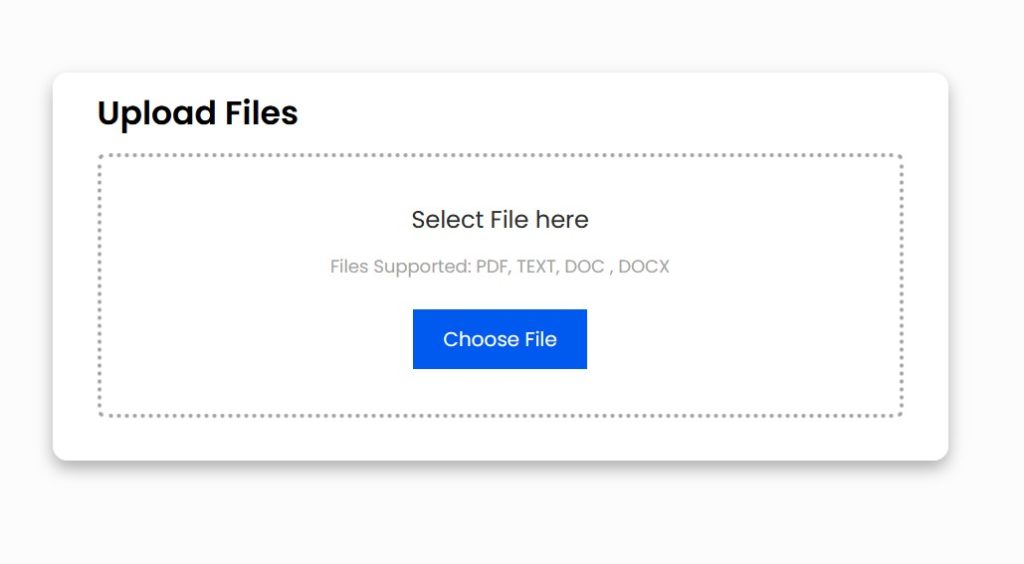
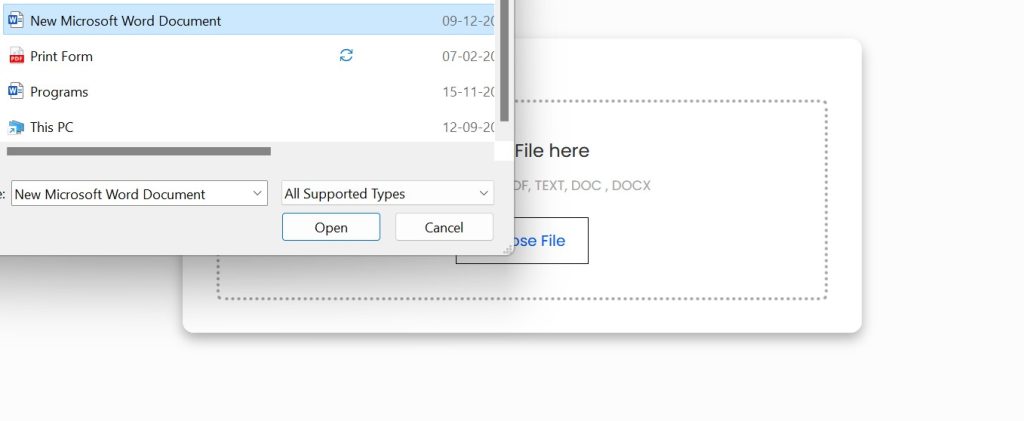
In this project, we first upload a File using the upload button or drag-and-drop method. Then we enter our email address to send that file, so the file that is sent will appear in the box.
The ability to drag and drop a file into position is referred to as drag-and-drop file upload. Using drag-and-drop interfaces, web apps can place files on a web page. This type of file upload function is probably available on most websites. In this blog post, I’ll demonstrate how to implement a drag-and-drop file upload function using only pure JavaScript. There are several JavaScript frameworks that enable you to do this with just a few lines of JavaScript code.
This type of upload document feature is mostly used on the website, where we need to use some media elements to complete the task. Basically, an upload file button is a type of form that allows the user to upload different types of media files, such as files, images, videos,and documents, as per the requirement.
50+ HTML, CSS & JavaScript Projects With Source Code
So, Let’s Begin Our Project Journey By Adding The Source Codes. For That, We Are Using The Html Code First.
HTML Code
<div class="container">
  <div class="card">
    <h3>Upload Files</h3>
    <div class="drop_box">
      <header>
        <h4>Select File here</h4>
      </header>
      <p>Files Supported: PDF, TEXT, DOC , DOCX</p>
      <input type="file" hidden accept=".doc,.docx,.pdf" id="fileID" style="display:none;">
      <button class="btn">Choose File</button>
    </div>

  </div>
</div>
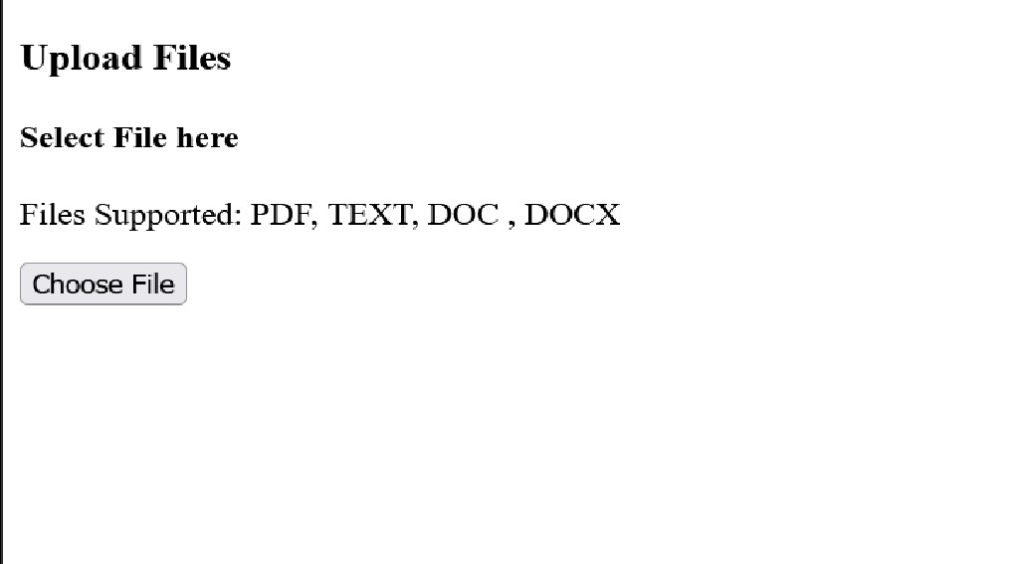
We’ve now added the HTML code for the project. In this code, we first construct a Div Class with a Name Container, and then for the File Upload Card, we create another Div Class with a Name Card.
100+ JavaScript Projects With Source Code ( Beginners to Advanced)
After that, a header tag was created. We simply added the title, any necessary file support requirements, and an input tag to show the uploaded files along with their file formats inside the header tag. This allow keyword input tag complied with the majority of the file format specifications.
The button to upload files from other sources was most recently introduced. And that’s it for HTML; we’ll now begin styling our project with CSS; the appropriate code is provided below.
HTML Output:
CSS Code File Upload
@import url("https://fonts.googleapis.com/css2?family=Poppins:wght@200;300;400;500;600;700&display=swap");
@import url('https://fonts.googleapis.com/css2?family=Noto+Sans:ital,wght@0,400;0,700;1,400;1,700&display=swap');

* {
  margin: 0;
  padding: 0;
  box-sizing: border-box;
  font-family: "Poppins", sans-serif;
}

.container {
  height: 100vh;
  width: 100%;
  align-items: center;
  display: flex;
  justify-content: center;
  background-color: #fcfcfc;
}

.card {
  border-radius: 10px;
  box-shadow: 0 5px 10px 0 rgba(0, 0, 0, 0.3);
  width: 600px;
  height: 260px;
  background-color: #ffffff;
  padding: 10px 30px 40px;
}

.card h3 {
  font-size: 22px;
  font-weight: 600;

}

.drop_box {
  margin: 10px 0;
  padding: 30px;
  display: flex;
  align-items: center;
  justify-content: center;
  flex-direction: column;
  border: 3px dotted #a3a3a3;
  border-radius: 5px;
}

.drop_box h4 {
  font-size: 16px;
  font-weight: 400;
  color: #2e2e2e;
}

.drop_box p {
  margin-top: 10px;
  margin-bottom: 20px;
  font-size: 12px;
  color: #a3a3a3;
}

.btn {
  text-decoration: none;
  background-color: #005af0;
  color: #ffffff;
  padding: 10px 20px;
  border: none;
  outline: none;
  transition: 0.3s;
}

.btn:hover{
  text-decoration: none;
  background-color: #ffffff;
  color: #005af0;
  padding: 10px 20px;
  border: none;
  outline: 1px solid #010101;
}
.form input {
  margin: 10px 0;
  width: 100%;
  background-color: #e2e2e2;
  border: none;
  outline: none;
  padding: 12px 20px;
  border-radius: 4px;
}
The CSS code for the project has now been added properly. In this code, we start by using the Import Property to add links for font families, then we set the margin and padding values to zero, and the box size and border using the Universal Mark(*).
Following this, we simply begin styling the entire Div Class that contains the Name Container, and then we add a Border Style with Dotted Property to make it more appealing. And we’ve just styled the Div Class Drop-Box that holds the necessary contents for the file upload project, and some of the contents within it may change.
Simple Portfolio Website Using Html And Css With Source Code
The Code For the Above Explanation Is Given Below.
.container {
  height: 100vh;
  width: 100%;
  align-items: center;
  display: flex;
  justify-content: center;
  background-color: #fcfcfc;
}

.card {
  border-radius: 10px;
  box-shadow: 0 5px 10px 0 rgba(0, 0, 0, 0.3);
  width: 600px;
  height: 260px;
  background-color: #ffffff;
  padding: 10px 30px 40px;
}

.card h3 {
  font-size: 22px;
  font-weight: 600;

}

.drop_box {
  margin: 10px 0;
  padding: 30px;
  display: flex;
  align-items: center;
  justify-content: center;
  flex-direction: column;
  border: 3px dotted #a3a3a3;
  border-radius: 5px;
}

.drop_box h4 {
  font-size: 16px;
  font-weight: 400;
  color: #2e2e2e;
}

.drop_box p {
  margin-top: 10px;
  margin-bottom: 20px;
  font-size: 12px;
  color: #a3a3a3;
}
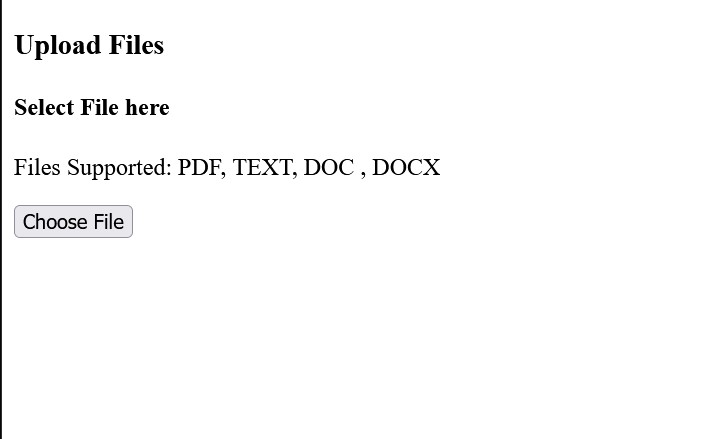
After this, We just styled out our button and input field to display the uploaded file in a user-attractive method, and the button after clicking it should change its content to “file uploaded” for this purpose, we have used this code… and some hover effects have been added for button element and it is also given below.
.btn {
  text-decoration: none;
  background-color: #005af0;
  color: #ffffff;
  padding: 10px 20px;
  border: none;
  outline: none;
  transition: 0.3s;
}

.btn:hover{
  text-decoration: none;
  background-color: #ffffff;
  color: #005af0;
  padding: 10px 20px;
  border: none;
  outline: 1px solid #010101;
}
.form input {
  margin: 10px 0;
  width: 100%;
  background-color: #e2e2e2;
  border: none;
  outline: none;
  padding: 12px 20px;
  border-radius: 4px;
}
CSS Output:

Now We Have Completed Our Css Code Successfully. It’s Time To Add Java Script Code And The Respective Code Is Down Below.
Javascript Code File Upload
const dropArea = document.querySelector(".drop_box"),
  button = dropArea.querySelector("button"),
  dragText = dropArea.querySelector("header"),
  input = dropArea.querySelector("input");
let file;
var filename;

button.onclick = () => {
  input.click();
};

input.addEventListener("change", function (e) {
  var fileName = e.target.files[0].name;
  let filedata = `
    <form action="" method="post">
    <div class="form">
    <h4>${fileName}</h4>
    <input type="email" placeholder="Enter email upload file">
    <button class="btn">Upload</button>
    </div>
    </form>`;
  dropArea.innerHTML = filedata;
});
Now We Have Added Our JavaScript Code Successfully. Here We Give Some Steps For The Particular Code With an Explanation In Which The Code Is Worked According To It.
ADVERTISEMENT
Responsive Drop-down Menu Using Html Css Jquery (Source Code)
ADVERTISEMENT
Step 1: Inside The Script File, We First Getting The Div Class And Input Class By The Query Selector Js Property Which Is Given Below
ADVERTISEMENT
const dropArea = document.querySelector(".drop_box"),
  button = dropArea.querySelector("button"),
  dragText = dropArea.querySelector("header"),
  input = dropArea.querySelector("input");
Step 2: After that, we are creating an empty variable to store value now we add the button event property to perform events after the button click.
ADVERTISEMENT
Then inside the button event, we simply declare an input click for choosing the file. The code for the explanation is down.
ADVERTISEMENT
let file;
var filename;

button.onclick = () => {
  input.click();
};
Step 3: in this last step, we add the input event using js event listener properties to display the file’s data that are uploaded using the javascript file properties after uploaded we may enter an email to send and the uploaded file will be visible for reference.
Gym Website Using HTML and CSS With Source Code
input.addEventListener("change", function (e) {
  var fileName = e.target.files[0].name;
  let filedata = `
    <form action="" method="post">
    <div class="form">
    <h4>${fileName}</h4>
    <input type="email" placeholder="Enter email upload file">
    <button class="btn">Upload</button>
    </div>
    </form>`;
  dropArea.innerHTML = filedata;
});
Now We Have Successfully Completed Our Javascript Code. So The Last Thing Left Here Is To Preview Our Project Given In The Output Section.
Javascript Ouput:
Create Responsive Animated Navbar Using Bootstrap
Final Output Upload File on Button Click with Preview
Now We Have Successfully Created Our File Upload Project Using Html, Css, And Java Script. You Can Use This Project For Your Personnel Needs And The Respective Lines Of Code Is Given With The CodePen Link Mentioned Below.
If You Find Out This Blog Helpful? , Then Make Sure To Search Code With Random On Google For Front End Projects With Source Codes And Make Sure To Follow The Code With Random Instagram Page.
Refer Code- Aman Chourasia
Written By- Ragunathan S
FAQ on Upload File on button click Using Javascript.
What is a Upload File?
An upload file is a form of function that assists the user in uploading a document. Uploading files allows the user to upload all of the documents needed by the website.
How to create a upload file section?
The upload files section is created using the form tag in which will take the input type as”file”.
What is the important of upload file section?
The upload files section’s main purpose is to upload different media files that are required per project. This method solves the problem of manually uploading the document from the backend. Multiple users can upload the files as per their needs.
