Hey Guys, Welcome To Our Blog, In Today’s Blog We Are Going To See How To Create An Automatic Popup Window Using HTML, CSS, and JavaScript.
What is automatic pop-up window HTML?
An Automatic Popup Window Is just a pop-up box with some information on it that displays the message during the loading of a webpage.

So Now We are going to create this project for that we are first adding the HTML code.
| Code by | Rosy Babu |
| Project Download | Link Available Below |
| Language used | HTML, CSS and JavaScript(jQuery) |
| External link / Dependencies | Yes |
| Responsive | No |
50+ HTML, CSS & JavaScript Projects With Source Code
HTML Code :
<div class='popup-onload'>
<div class='cnt223'>

<p>
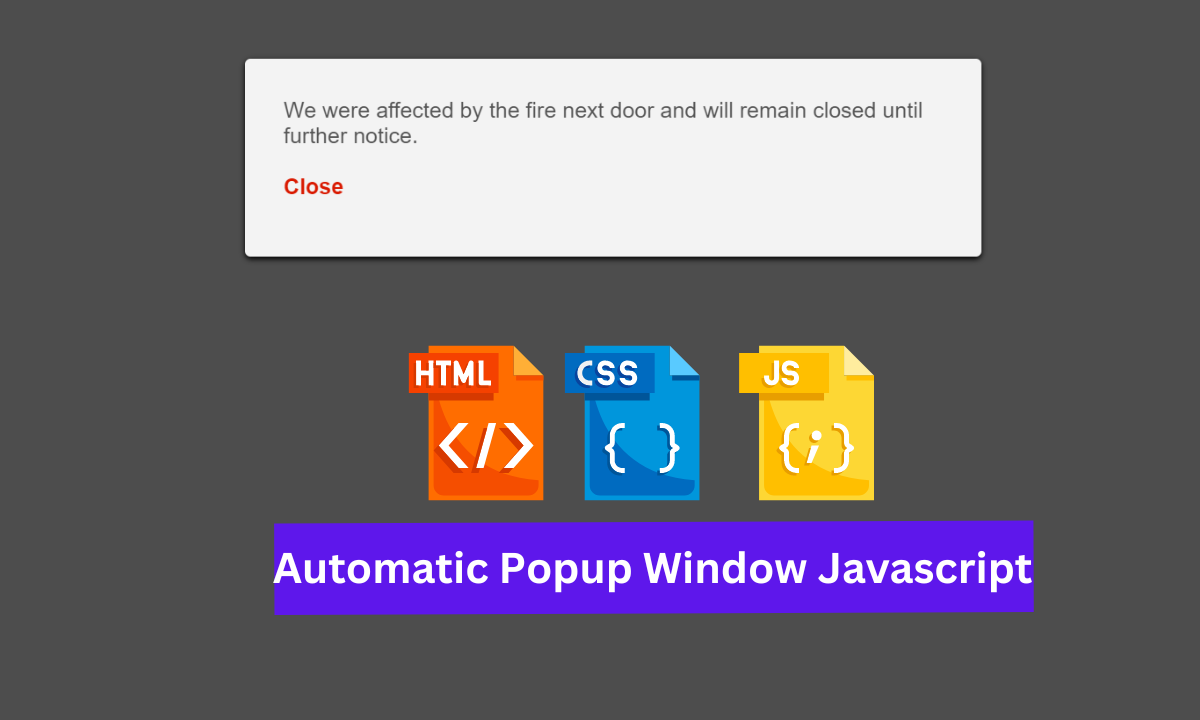
We were affected by the fire next door and will remain closed until further notice.
<br/>
<br/>
<a href='' class='close'>Close</a>
</p>
</div>
</div>
<script src="https://cdnjs.cloudflare.com/ajax/libs/jquery/3.6.1/jquery.min.js" integrity="sha512-aVKKRRi/Q/YV+4mjoKBsE4x3H+BkegoM/em46NNlCqNTmUYADjBbeNefNxYV7giUp0VxICtqdrbqU7iVaeZNXA==" crossorigin="anonymous" referrerpolicy="no-referrer"></script>
First we are creating two div classes with separate class name on it. Then we creating an paragraph tag to add a message that needs to be displayed. and then we are adding an anchor tag with close as option , which means it will close the pop up box when we click close and that is going to done with the help of Javascript.
Simple Portfolio Website Using Html And Css With Source Code
Lastly we have closed our both div class.
So , The HTML code is completed. Now we go for an CSS to make the pop up box attractive.
ADVERTISEMENT
Css Code:
ADVERTISEMENT
#overlay {
position: fixed;
top: 0;
left: 0;
width: 100%;
height: 100%;
background-color: #000;
filter:alpha(opacity=70);
-moz-opacity:0.7;
-khtml-opacity: 0.7;
opacity: 0.7;
z-index: 100;
display: none;
}
.cnt223 a{
text-decoration: none;
}
.popup-onload{
width: 100%;
margin: 0 auto;
display: none;
position: fixed;
z-index: 101;
}
.cnt223{
min-width: 600px;
width: 600px;
min-height: 150px;
margin: 100px auto;
background: #f3f3f3;
position: relative;
z-index: 103;
padding: 15px 35px;
border-radius: 5px;
box-shadow: 0 2px 5px #000;
}
.cnt223 p{
clear: both;
    color: #555555;
    /* text-align: justify; */
    font-size: 20px;
    font-family: sans-serif;
}
.cnt223 p a{
color: #d91900;
font-weight: bold;
}
.cnt223 .x{
float: right;
height: 35px;
left: 22px;
position: relative;
top: -25px;
width: 34px;
}
.cnt223 .x:hover{
cursor: pointer;
}
ADVERTISEMENT
The CSS code will be explained in steps so it will be easy and efficient. So follow the steps given below.
ADVERTISEMENT
Restaurant Website Using HTML and CSS
ADVERTISEMENT
STEP 1: First, We call out the class name popup-onload and add properties like width, margin, display, position and z-index for alignments, fixing of positions for fixed content and displaying none of the contents.
Second, We call out the second class name and add the exact properties of the first div class and here the additional properties is just min-width, background, and box-shadow to make it attractive.
.cnt223{
min-width: 600px;
width: 600px;
min-height: 150px;
margin: 100px auto;
background: #f3f3f3;
position: relative;
z-index: 103;
padding: 15px 35px;
border-radius: 5px;
box-shadow: 0 2px 5px #000;
}

.popup-onload{
width: 100%;
margin: 0 auto;
display: none;
position: fixed;
z-index: 101;
}
STEP 2 : The second step involves adding properties for paragraphs that are displayed in pop-up box. The properties were common which is font size, font family and color of the text.
.cnt223 p{
clear: both;
    color: #555555;
    /* text-align: justify; */
    font-size: 20px;
    font-family: sans-serif;
}
.cnt223 p a{
color: #d91900;
font-weight: bold;
}
STEP 3: Now the last step involves adding of button to the close option with button CSS properties.
.cnt223 p a{
color: #d91900;
font-weight: bold;
}
.cnt223 .x{
float: right;
height: 35px;
left: 22px;
position: relative;
top: -25px;
width: 34px;
}
.cnt223 .x:hover{
cursor: pointer;
}
Now The CSS part has been completed. So The last one Is javascript for making the auto popup.
Ecommerce Website Using HTML, CSS, & JavaScript (Source Code)
JavaScript Code(jQuery):
$(function(){
var overlay = $('<div id="overlay"></div>');
overlay.show();
overlay.appendTo(document.body);
$('.popup-onload').show();
$('.close').click(function(){
$('.popup-onload').hide();
overlay.appendTo(document.body).remove();
return false;
});


$('.x').click(function(){
$('.popup').hide();
overlay.appendTo(document.body).remove();
return false;
});
});
Explanation of Javascript code:
- The First part of JS is creating and declaring an HTML element inside of JS and storing it in an overlay variable. and assigning the content with append JS property.
- Now call the div class and print the show() method to display the box with the message.
- The Second Part is When we click on an empty area of the webpage then the popup box will disappear.
- The Last part again calls out a specific div class and adds a method for it like append, hide, and remove which would act when we click close. the act contains the closing of the popup.
- Now We have successfully completed adding the Source codes for our project. So we will go on to preview our project in the given output section.
Final Output Of Automatic Popup Window
Now We have Successfully created our Automatic Popup Window using HTML, CSS, and JavaScript. You can use this project for your personnel needs and the respective lines of code are given with the code pen link mentioned below.
If you find this Blog helpful, then make sure to search codewithrandom on Google for Front End Projects with Source codes and make sure to Follow the Code with Random Instagram page.
REFER CODE – Rosy Babu
WRITTEN BY – Ragunathan S
Which code editor do you use for this Automatic Popup Window coding?
I personally recommend using VS Code Studio, it’s straightforward and easy to use.
is this project responsive or not?
No! this is not a responsive project
Do you use any external links to create this project?
Yes!

![20+ CSS Popup Windows [ Demo + Code ] Read more about the article 20+ CSS Popup Windows [ Demo + Code ]](https://www.codewithrandom.com/wp-content/uploads/2022/11/15-Bootstrap-login-forms126-300x157.png)

