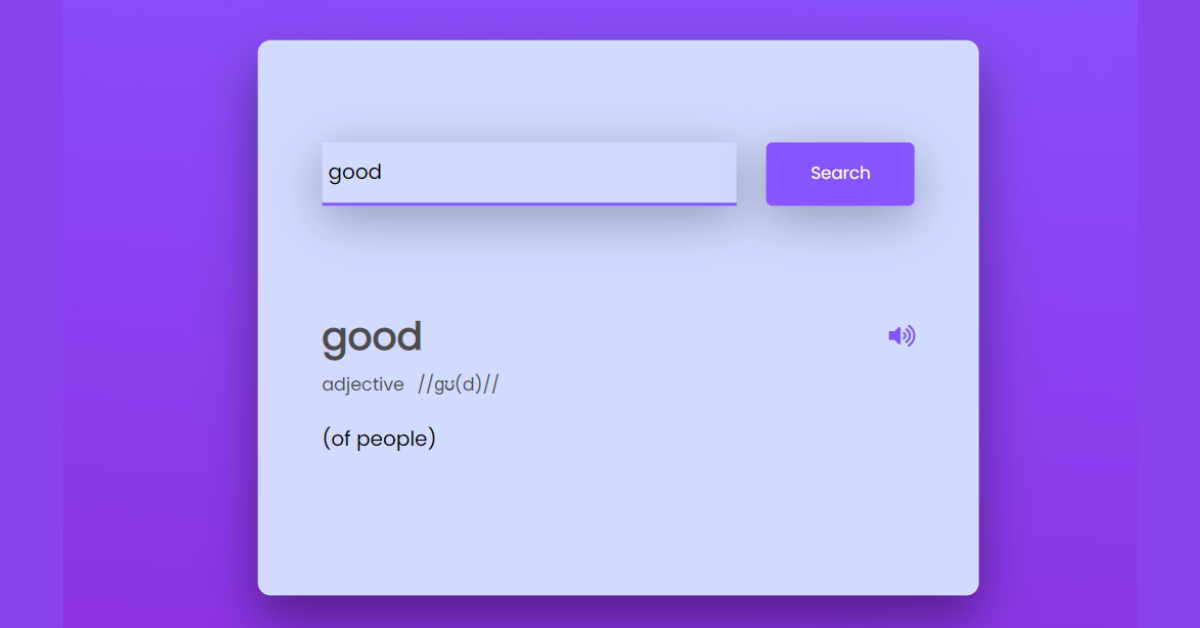
Create Dictionary App Using HTML, CSS & Javascript
JavaScript is a popular programming language among web developers. When learning JavaScript, everyone starts with the basics and constructs simple applications utilizing DOM manipulation.
Welcome to today’s tutorial. This article will teach you how to create a dictionary with JavaScript and DOM manipulation. Before reading this article, you should be familiar with the fundamentals of JavaScript. You are aware of what APIs are and how we can obtain requests through them.
API (Application programming interface)
API is an abbreviation for “Application Programming Interface.” APIs make software development and innovation easier by allowing apps to exchange data and functions in a simple and safe manner.
The dictionaryapi.dev API is used in this project. This is a free API that returns various meanings, phonetics, and other grammatical phrases for words that you search for.
The following is a link to the API:
https://api.dictionaryapi.dev/api/v2/entries/en/
I hope now you have a general idea of what the project entails. In our article, we will go over this project step by step.
Step1: HTML Code
<!DOCTYPE html>
<html lang="en">

<head>
    <meta name="viewport" content="width=device-width, initial-scale=1.0" />
    <!-- Font Awesome -->
    <link rel="stylesheet" href="https://cdnjs.cloudflare.com/ajax/libs/font-awesome/5.15.4/css/all.min.css" />
    <!-- Google Fonts -->
    <link href="https://fonts.googleapis.com/css2?family=Poppins&display=swap" rel="stylesheet" />
    <!-- Stylesheet -->
    <link rel="stylesheet" href="style.css" />
    <title>Dictionary App</title>
</head>

<body>
    <audio id="sound"></audio>
    <div class="container">
        <div class="search-box">
            <input type="text" placeholder="Type the word here.." id="inp-word" />
            <button id="search-btn">Search</button>
        </div>
        <div class="result" id="result"></div>
    </div>
    <!-- Script -->
    <script src="script.js"></script>
</body>

</html>
We’ll start by adding the structure of the project, but first we’ll need to include some items inside the link, such as the fact that we’ve utilised numerous CSS and javascript files, which we’ll need to connect up inside our HTML file. We’ve also used font icons, so we’ll need to provide a link to “font-awesome” in the top section.
//Header section
<!-- Font Awesome -->
<link rel="stylesheet" href="https://cdnjs.cloudflare.com/ajax/libs/font-awesome/5.15.4/css/all.min.css" />
<!-- Google Fonts -->
<link href="https://fonts.googleapis.com/css2?family=Poppins&display=swap" rel="stylesheet" />
<!-- Stylesheet -->
<link rel="stylesheet" href="style.css" />
//Body section
<!-- Script -->
<script src="script.js"></script>
Now, we’ll use the audio tag to create an audio player that we’ll employ in javascript. Now we’ll make a container to hold our search box and search button. Now, inside the container, we’ll make an input box with type as text for entering text, and a search button with the button tag. Finally, we will create a div that will display the result.
<audio id="sound"></audio>
<div class="container">
   <div class="search-box">
    <input type="text" placeholder="Type the word here.." id="inp-word" />
    <button id="search-btn">Search</button>
   </div>
   <div class="result" id="result"></div>
</div>
<!-- Script -->
<script src="script.js"></script>
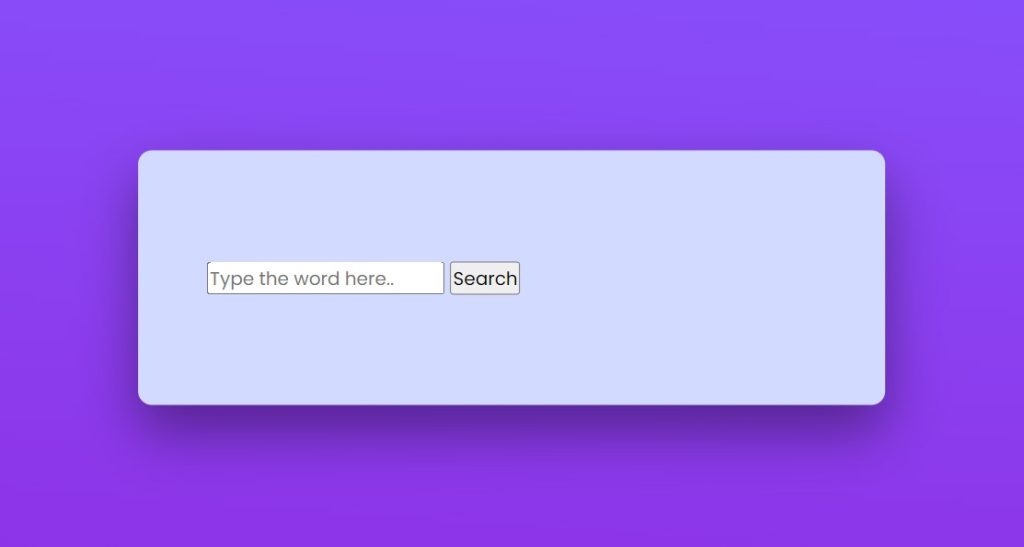
We don’t need anything else to develop the structure for our dictionary app. We’ll style our dictionary app now that we’ve learned how to use CSS. But first, let’s have a peek at our framework.
50+ Html ,Css & Javascript Projects With Source Code
Output

Step2: Adding CSS Code
Copy and paste the CSS code provided below into your stylesheet. We present the dictionary by styling it with CSS. The flex layout was utilised to position and space items. The remaining styling is self-explanatory. However, for beginners, we will describe the styling step by step.
* {
  padding: 0;
  margin: 0;
  box-sizing: border-box;
}
*:not(i) {
  font-family: "Poppins", sans-serif;
}
body {
  height: 100vh;
  background: linear-gradient(184deg, #8754ff, #8e2de2);
}
.container {
  background-color: #d2daff;
  width: 90vmin;
  position: absolute;
  transform: translate(-50%, -50%);
  top: 50%;
  left: 50%;
  padding: 80px 50px;
  border-radius: 10px;
  box-shadow: 0 20px 40px rgba(0, 0, 0, 0.4);
}
.search-box {
  width: 100%;
  display: flex;
  justify-content: space-between;
}
.search-box input {
  padding: 5px;
  width: 70%;
  border: none;
  outline: none;
  border-bottom: 3px solid #8754ff;
  font-size: 16px;
  background-color: #d2daff;
  box-shadow: 0 10px 40px rgba(0, 0, 0, 0.3);
}
.search-box button {
  padding: 15px 0;
  width: 25%;
  background-color: #8754ff;
  border: none;
  outline: none;
  color: #fff;
  box-shadow: 0 10px 40px rgba(0, 0, 0, 0.3);
  border-radius: 5px;
}
.result {
  position: relative;
}
.result h3 {
  font-size: 30px;
  color: rgb(77, 76, 76);
}
.result .word {
  display: flex;
  justify-content: space-between;
  margin-top: 80px;
}
.result button {
  background-color: transparent;
  color: #8754ff;
  border: none;
  outline: none;
  font-size: 18px;
}
.result .details {
  display: flex;
  gap: 10px;
  color: rgb(82, 81, 81);
  margin: 5px 0 20px 0;
  font-size: 14px;
}
.word-meaning {
  color: #000;
}
.word-example {
  color: rgb(82, 81, 81);
  font-style: italic;
  border-left: 5px solid #8754ff;
  padding-left: 20px;
  margin-top: 30px;
}
.error {
  margin-top: 80px;
  text-align: center;
}
Step1:Using the universal selector, we will change the margin and padding to “zero” from the default margin and the box-sizing property to “border-box.”
Now, we’ll use the body selector to set the height to 100 vh, and we’ll use the background to add a linear gradient combination of dark purple and light purple.
* {
  padding: 0;
  margin: 0;
  box-sizing: border-box;
}
*:not(i) {
  font-family: "Poppins", sans-serif;
}
body {
  height: 100vh;
  background: linear-gradient(184deg, #8754ff, #8e2de2);
}
Step2: We will now style the container with the class selector (.container) and set the backdrop colour to light grey. The width of our container is set to 90 vmin, and its position is set to “absolute.” We will leave 50% of the screen blank on the top and left using the top and left properties. The container’s border-radius is set to 10 px, and we will add a shadow to it using the box-shadow property.
Temperature Convertor using HTML, CSS JavaScript
.container {
  background-color: #d2daff;
  width: 90vmin;
  position: absolute;
  transform: translate(-50%, -50%);
  top: 50%;
  left: 50%;
  padding: 80px 50px;
  border-radius: 10px;
  box-shadow: 0 20px 40px rgba(0, 0, 0, 0.4);
}
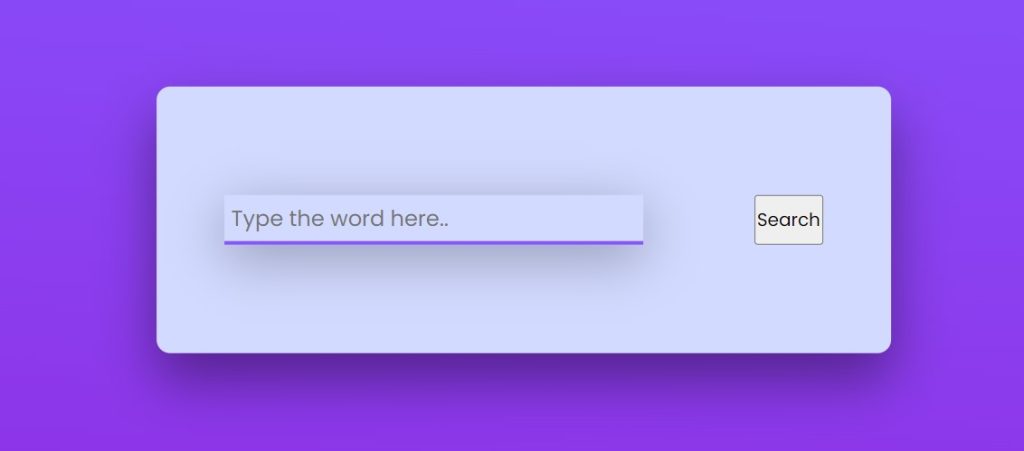
Step3:Using the class selector, we will now style the items within the container (.search-box). We will set its width to 100%, and we will set the display of our search box to flex using the display property, and we will justify the contents to the centre using the justify content property.
Using the child element selector, we will now add a 5 px padding to our input and set the width to 70%. (input). The border and outline of our input box are set to none, and we will use the border-bottom property to add a bottom border of 3 pixels of purple color. Our input box’s font size is set to 16 px.
.search-box {
 width: 100%;
  display: flex;
  justify-content: space-between;
}
.search-box input {
  padding: 5px;
  width: 70%;
  border: none;
  outline: none;
  border-bottom: 3px solid #8754ff;
  font-size: 16px;
  background-color: #d2daff;
  box-shadow: 0 10px 40px rgba(0, 0, 0, 0.3);
}
Step4: We’re going to style the button now. We’ll add 15 px padding to the top and bottom, and set the width to 25%. Using the background colour property, we will give the button a purple backdrop. The border and outline of the button, like the input box, are set to none.
5+ HTML CSS Projects With Source Code
We’ll now style the result by increasing the font size to 30px and changing the colour to dray grey. The display has been set to flex. After going through the code, you will understand the entire styling and will be able to add your own styling.
.result {
  position: relative;
}
.result h3 {
  font-size: 30px;
  color: rgb(77, 76, 76);
}
.result .word {
  display: flex;
  justify-content: space-between;
  margin-top: 80px;
}
.result button {
  background-color: transparent;
  color: #8754ff;
  border: none;
  outline: none;
  font-size: 18px;
}
.result .details {
  display: flex;
  gap: 10px;
  color: rgb(82, 81, 81);
  margin: 5px 0 20px 0;
  font-size: 14px;
}
.word-meaning {
  color: #000;
}
.word-example {
  color: rgb(82, 81, 81);
  font-style: italic;
  border-left: 5px solid #8754ff;
  padding-left: 20px;
  margin-top: 30px;
}
.error {
  margin-top: 80px;
  text-align: center;
}
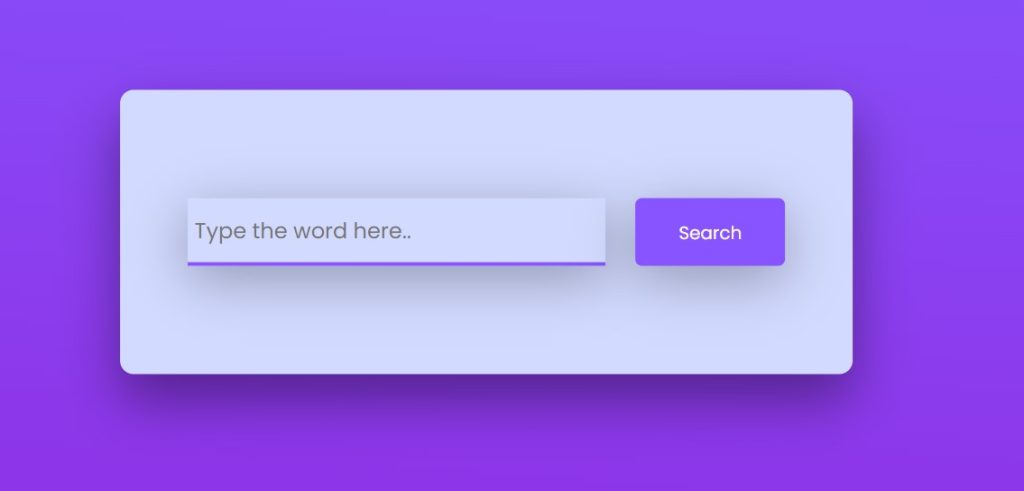
Step3: JavaScript Code
Finally, create a JavaScript file called script.js and paste the following codes into it. Remember to save the file with the.js extension.
const url = "https://api.dictionaryapi.dev/api/v2/entries/en/";
const result = document.getElementById("result");
const sound = document.getElementById("sound");
const btn = document.getElementById("search-btn");

btn.addEventListener("click", () => {
  let inpWord = document.getElementById("inp-word").value;
  fetch(`${url}${inpWord}`)
    .then((response) => response.json())
    .then((data) => {
      console.log(data);
      result.innerHTML = `
            <div class="word">
                    <h3>${inpWord}</h3>
                    <button onclick="playSound()">
                        <i class="fas fa-volume-up"></i>
                    </button>
                </div>
                <div class="details">
                    <p>${data[0].meanings[0].partOfSpeech}</p>
                    <p>/${data[0].phonetic}/</p>
                </div>
                <p class="word-meaning">
                   ${data[0].meanings[0].definitions[0].definition}
                </p>
                <p class="word-example">
                    ${data[0].meanings[0].definitions[0].example || ""}
                </p>`;
      sound.setAttribute("src", `${data[0].phonetics[0].audio}`);
    })
    .catch(() => {
      result.innerHTML = `<h3 class="error">Couldn't Find The Word</h3>`;
    });
});
function playSound() {
  sound.play();
}
- In javascript, we use a URL obtained from the dictionary API website and assign it to a variable called url. We also target other elements and assign them to variables.
- The button now has an on-click event listener. The user’s input word is saved in the variable inpWord. We retrieve the URL and receive a JSON answer. This response is contained within the JSON object. We must now use javascript to construct HTML elements. Then we search the JSON object for the required info. Each of these bits of data is shown in the corresponding HTML element.
- We write a function named playSound to play the pronunciation audio (). We call theplay() on the audio file within this function.
25+ HTML & CSS Card Design Layout Style
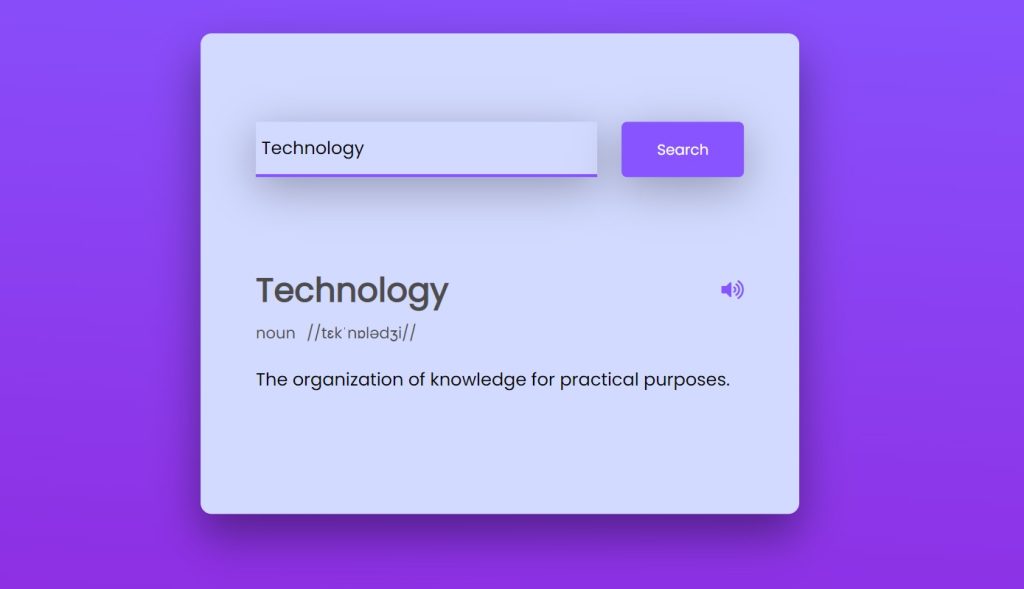
Now we’ve completed our Dictionary App using HTML , CSS & javascript. I hope you understood the whole project. Let’s take a look at our Live Preview.
Output:
Live Preview Of Dictionary App using HTML , CSS & Javascript
Now We have Successfully created our dictionary app using HTML , CSS & javascript. You can use this project directly by copying into your IDE. WE hope you understood the project , If you any doubt feel free to comment!!
If you find out this Blog helpful, then make sure to search code with random on google for Front End Projects with Source codes and make sure to Follow the Code with Random Instagram page.
