Set Cursor Position in the Input Using JavaScript
In this post, we’ll learn how to use JavaScript to position the cursor at the end of the text in a text input element.
We’ll start by making a text input box where users can enter a value and a button that will position the pointer at the end. Various JavaScript functions can be used to position the cursor at the conclusion of the text in a text input element.
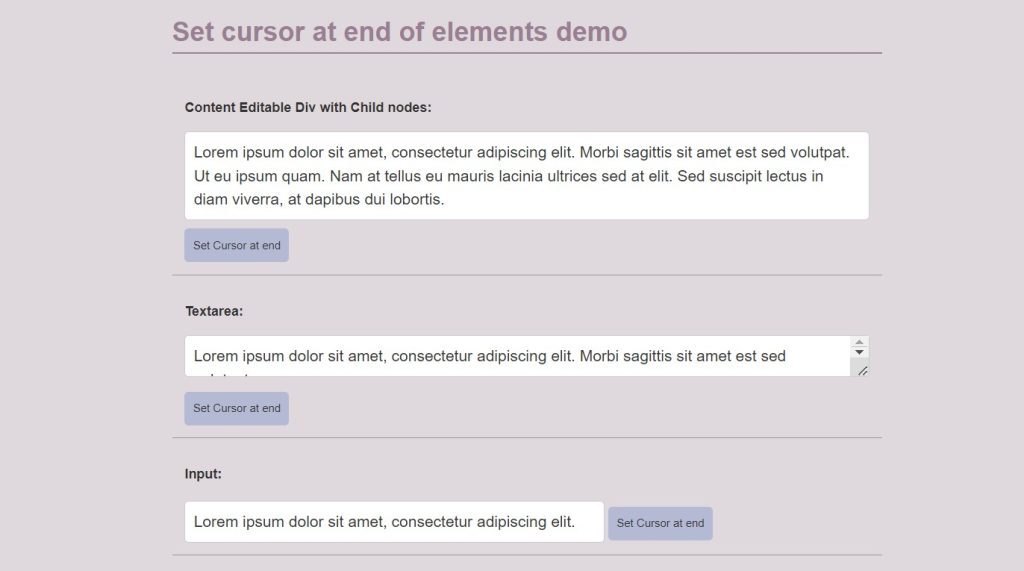
Javascript set cursor position in the input basic project in which we will make an input field, and if we want to move the cursor to the very end of the text, we must either use the mouse cursor to drag to the end or left-click at the end.
50+ HTML, CSS and JavaScript Projects With Source Code
The right arrow on your keyboard can be used to move the cursor in a different method. We will therefore make a button to provide a simple user interface. The cursor will automatically reach the conclusion of the input text as soon as the user presses the button. This makes it simple for us to type text into the input field.
We are going to make a really straightforward project. The project will make use of fundamental HTML, CSS, and Javascript ideas. This project is ideal for learning the fundamentals of form input, selecting Javascript elements, and the focus method if you are a newbie.
Let’s start with our project. We’ll start by building the framework for our project.
Step1: HTML For Input box
<body>
   <div class="container">
   <h1>Set cursor at end of elements demo</h1>
   <section>
      <p>Content Editable Div with Child nodes:</p>
      <div contenteditable="true" id="1" class="element" spellcheck="false">
         <span>Lorem ipsum dolor sit amet, consectetur adipiscing elit. Morbi sagittis sit amet est sed volutpat. Ut eu ipsum quam.</span><span> Nam at tellus eu mauris lacinia ultrices sed at elit. Sed suscipit lectus in diam viverra, at dapibus dui lobortis.
         </span>
      </div>
      <script>let element = document.getElementById("1")</script>
      <button onclick='setCarat(element)'>
      Set Cursor at end
      </button>
   </section>
   <section>
      <p>Textarea:</p>
      <textarea id="2" class="element" spellcheck="false">Lorem ipsum dolor sit amet, consectetur adipiscing elit. Morbi sagittis sit amet est sed volutpat.</textarea>
      <script>let element2 = document.getElementById("2")</script>
      <button onclick='setCarat(element2)'>
      Set Cursor at end
      </button>
   </section>
   <section>
      <p>Input:</p>
      <input id="3" class="element" value="Lorem ipsum dolor sit amet, consectetur adipiscing elit." spellcheck="false">
      <script>let element3 = document.getElementById("3")</script>
      <button onclick='setCarat(element3)'>
      Set Cursor at end
      </button>
   </section>
</body>
We’ll begin by adding the project’s structure, but first we’ll need to include certain items inside the link, such as the fact that we’ve used multiple CSS and javascript files, which we’ll need to link up inside our HTML file.
Create Portfolio Website Using HTML and CSS (Source Code)
//Head Section
<link rel="stylesheet" href="style.css">
//Body Section
<script src="script.js"></script>
Now inside the body using the input tag with types as text we will create the input box and inside it using the value method we will add some text already inside our input box . Also using the button tag we will create the button for moving the cursor to the end . Using that button we will create a link to move the cursor at the end of the text .
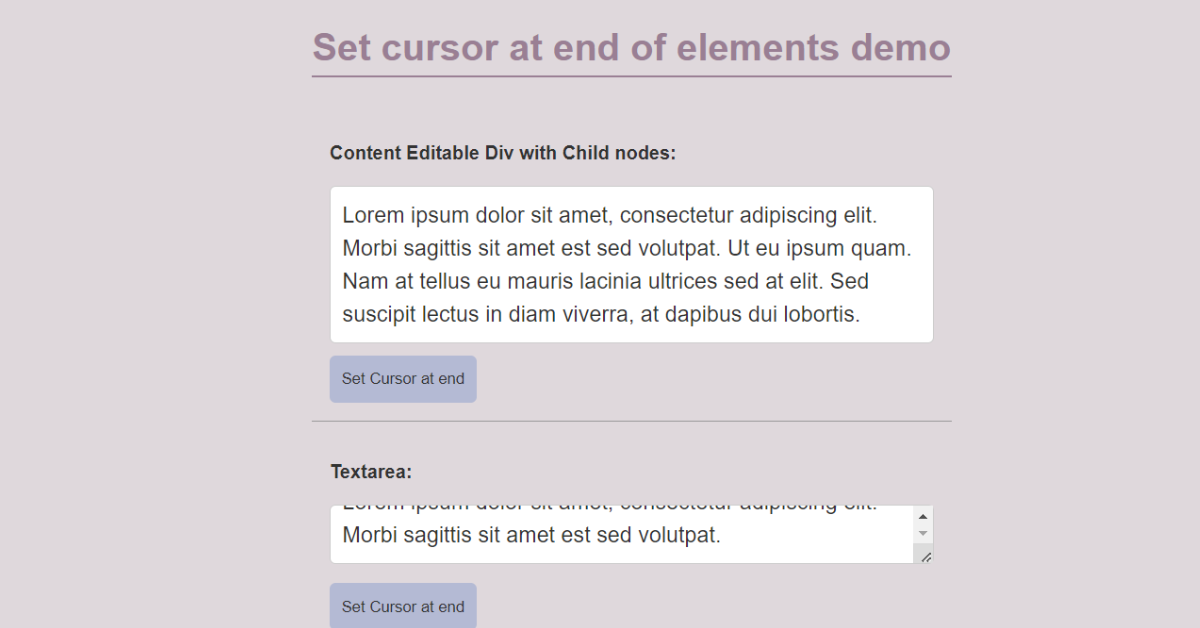
We have added the basic structure using the html , now let’s take a look at the output:
HTML Output:

Step1: CSS (Cascading Style Sheet)
* {
  box-sizing: border-box;
}

body {
  background: #DFD8DC;
}

body, p, div, textarea, input, button {
   color: #333;
  line-height: 1.5;
  font-family: sans-serif;
}

p {
  font-weight: bold;
}

section {
  padding: 15px;
  border-bottom: 1px solid #999;
}

.container {
  width: 50%;
  margin: 0 auto;
}

h1 {
  color: #9a7f94;
  border-bottom: 2px solid #9a7f94;
}

.element {
  border: 1px solid #ccc;
  padding: 10px;
  font-size: 14pt;
  background: #fff;
  border-radius: 5px;
}

textarea {
  height: 50px;
  width: 100%;
}

input {
  display: inline-block;
  min-width: 500px;
}

button {
  margin-top: 10px;
  padding: 10px;
  background: #B4BAD4;
  border: none;
  border-radius: 5px;
}

button:hover {
  background: #949dc3;
}
Step1: We will use the universal selector to change the box sizing to “border-box” and the background property to “shy pink” respectively. We’ll choose “sans-serif” as the font family and 1.5 as the distance between lines.
* {
  box-sizing: border-box;
}

body {
  background: #DFD8DC;
}

body, p, div, textarea, input, button {
   color: #333;
  line-height: 1.5;
  font-family: sans-serif;
}Step2:The padding will now be set to 15 px using the section tag, and the border-bottom attribute will be used to set the border bottom to 1 px of solid black. Similar to that, we will style the container using the class selector (.container). We’ll set the width to 50%, the top and bottom margins to 0, and the left and right sides to auto.
100+ JavaScript Projects With Source Code (2023)
Now we’ll use the h1 tag selector to set the colour to “wine” and the border-bottom property to “wine,” which will be 2 solid wine pixels wide.
section {
  padding: 15px;
  border-bottom: 1px solid #999;
}

.container {
  width: 50%;
  margin: 0 auto;
}

h1 {
  color: #9a7f94;
  border-bottom: 2px solid #9a7f94;
}
Step3: Now, using the class selector (.element), we will add a border that is 1 px wide and solid black. We will also use the padding property to add a 10 px padding and a 14 px font size. Using the button tag, we will also add a margin-top of 10px and set the background colour to a light pastel blue. We also added a border radius of 5px to give our textarea clean edges.
input {
  display: inline-block;
  min-width: 500px;
}

button {
  margin-top: 10px;
  padding: 10px;
  background: #B4BAD4;
  border: none;
  border-radius: 5px;
}

button:hover {
  background: #949dc3;
}
CSS Output:

Step3: Adding Javascript
function setCarat(element) {
    // Place cursor at the end of a content editable div
    if (element.type !== "textarea" && element.getAttribute("contenteditable") === "true") {
        element.focus()
        window.getSelection().selectAllChildren(element)
        window.getSelection().collapseToEnd()
    } else {
        // Place cursor at the end of text areas and input elements
        element.focus()
        element.select()
        window.getSelection().collapseToEnd()
    }
}
We will give the cursor feature to advance to the end with just one click in our Javascript. If the element type is equivalent to text area, we will utilise the if-else condition otherwise we will use the element.
We will add the focus to the element using the window using the getAttribute attribute. getSelection(). The functionality will be added if selectAllChildren() is called; otherwise, the focus and select methods will be added to the form’s input box.
Final Output Of Set Cursor Position in the Input:
Live Preview:
Now We have Successfully created our Javascript Set Cursor Position in the Input. You can use this project for your personal webpage and We hope you understood the project, If you any doubt feel free to comment!! If you find out this Blog helpful, then make sure to search Codewithrandom on Google for Front End Projects with Source codes and make sure to Follow the Code with Random Instagram page.
